Ingredients
Method
- Prepare the Produce: Begin by preparing all your vegetables and fruit. Ensure your watermelon is cut into manageable chunks, your cucumber is peeled and deseeded (to avoid a watery gazpacho), and your red onion, red bell pepper, and chillies are roughly chopped. The vibrant red of the watermelon should be prominently visible, promising a sweet base.
- Combine Ingredients: In a large, sturdy blender, combine the chopped watermelon, cucumber, red onion, red bell pepper, and deseeded red chillies. Add the fresh mint and coriander leaves. You'll notice the distinct fresh, herbaceous smell immediately.
- Add Liquids and Seasoning: Pour in the lime juice, extra virgin olive oil, and apple cider vinegar. Season with sea salt and black pepper. If using, add a tiny pinch of smoked paprika now. This stage introduces the tangy and savoury elements that will balance the sweetness.
- Blend Until Smooth: Secure the lid on your blender and blend on high speed until the mixture is completely smooth and uniform in colour. You're aiming for a liquid, pourable consistency, a beautiful vibrant pinkish-red hue, with no visible chunks of fruit or vegetable. If it seems too thick, add a few ice cubes or a splash of cold water and blend again.
- Taste and Adjust: Pour a small amount into a spoon and taste. This is your moment to adjust the seasoning. Does it need more salt? A little more lime juice for zing? Perhaps another dash of chilli for extra heat? Adjust until the balance of sweet, spicy, and tangy is just right for your palate.
- Chill Thoroughly: Transfer the gazpacho to a large jug or covered bowl and refrigerate for at least 1 hour, or preferably longer, to allow the flavours to meld and the soup to become wonderfully cold. A properly chilled gazpacho will intensify in flavour and offer that delightful cooling sensation.
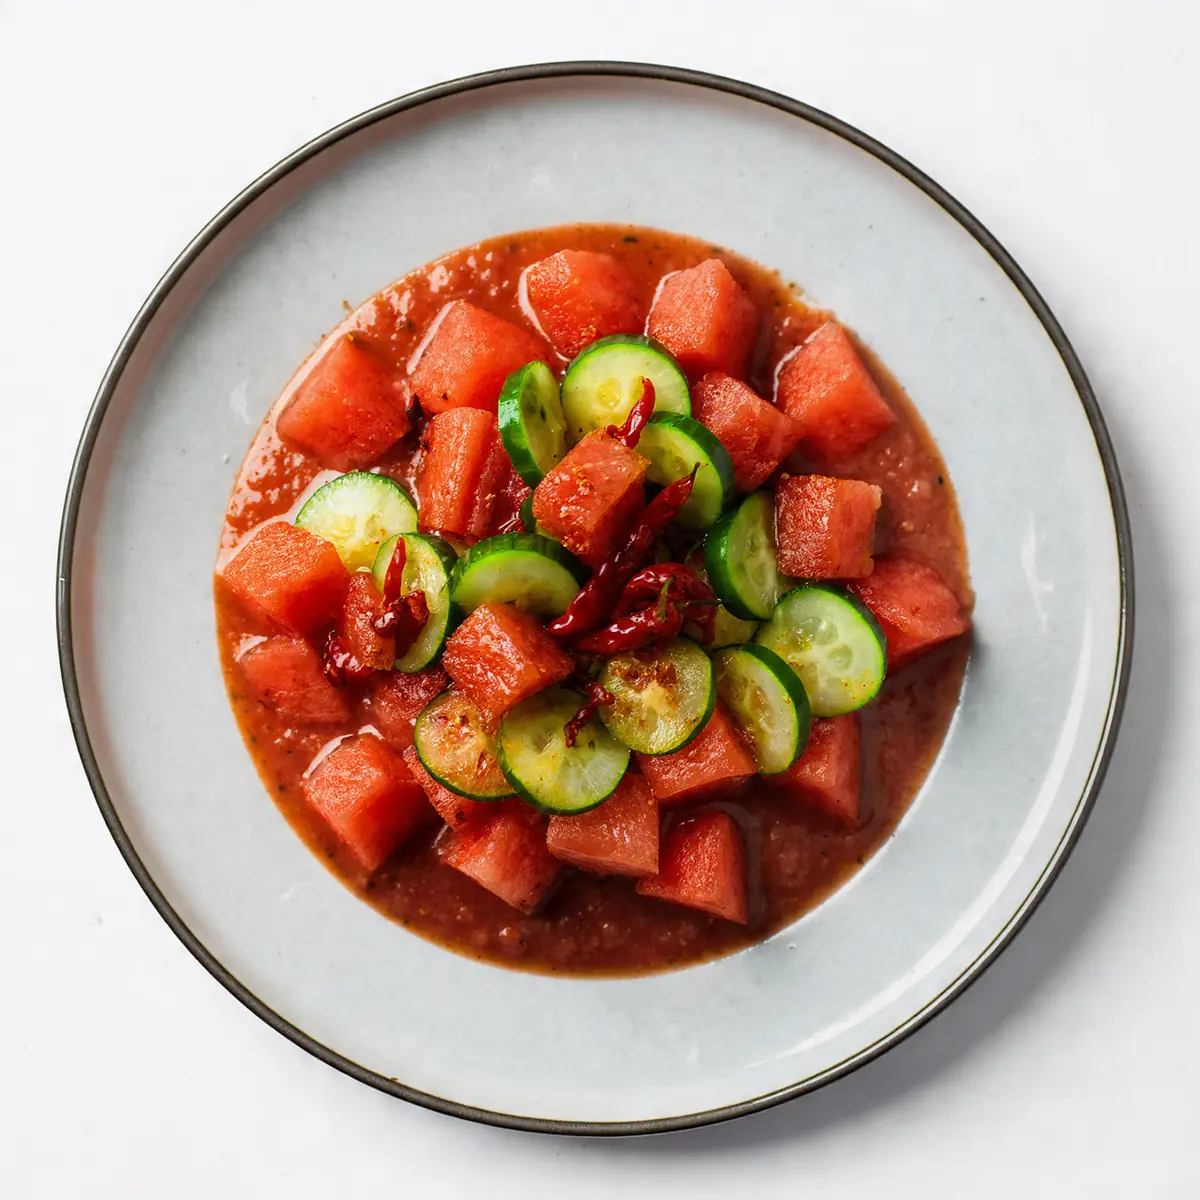
- Serve and Garnish: When ready to serve, pour the chilled gazpacho into small bowls or glasses. Drizzle lightly with a touch more extra virgin olive oil, and garnish with a few fresh mint or coriander leaves. You can also add a finely diced piece of cucumber or a tiny sliver of chilli for visual appeal and textural contrast. The aroma of fresh herbs will lift beautifully from the cold soup.
Notes
This gazpacho is best served very cold, so ensure adequate chilling time. Adjust the number of chillies to control the spice level. For a smoother texture, you can strain the gazpacho through a fine-mesh sieve after blending, though it's usually not necessary. It can be made a day ahead and stored in the refrigerator.