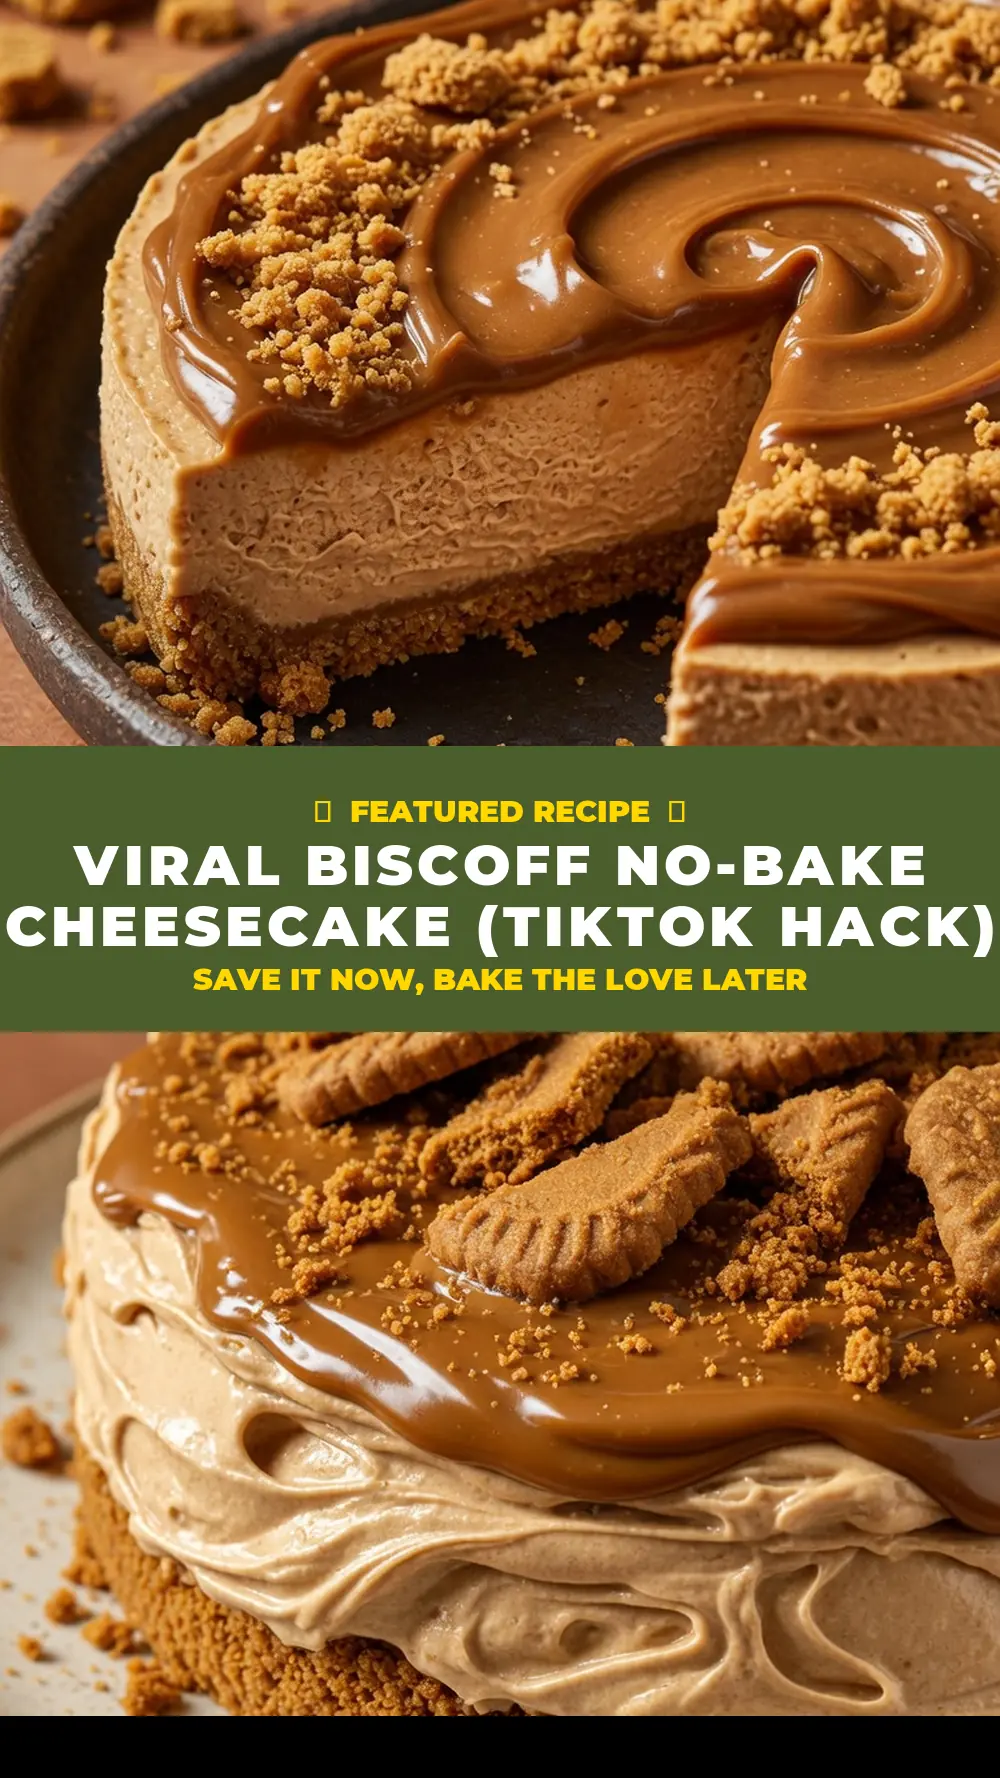
Viral Biscoff No-Bake Cheesecake (Tiktok Hack)
Welcome back to my kitchen! Today, we’re diving into a dessert that has taken the internet by storm, and for very good reason: the Viral Biscoff No-Bake Cheesecake. This recipe is an absolute game-changer for anyone who loves that distinctive caramelised biscuit flavour without the fuss of baking.
I remember the first time I saw a variation of this Biscoff cheesecake pop up on my feed – it looked too good to be true, a dessert that promised all the indulgence with none of the oven time. As someone who’s always looking for impressive yet straightforward recipes, I was instantly captivated. After testing this recipe five times, tweaking ratios and chilling times, I finally got it just right, resulting in a perfectly creamy, delightfully crunchy, and utterly irresistible cheesecake that I’m so excited to share with you. This is my go-to recipe when I need something quick but impressive, especially when I’m short on time but still want to bring a bit of homemade magic to the table, whether it’s a dessert like this, a breakfast like Viral Cinnamon Roll Baked Oats or Easy Tiramisu Overnight Oats, or a savory dish like Blt Pasta Salad With Ranch Dressing or Honey Hot Garlic Chicken Bites (Sweet & Spicy).cuisinebite.com/easy-tiramisu-overnight-oats/”>Easy Tiramisu Overnight Oats .cuisinebite.com/blt-pasta-salad-with-ranch-dressing/”>Blt Pasta Salad With Ranch Dressing .cuisinebite.com/easy-tiramisu-overnight-oats/”>Easy Tiramisu Overnight Oats .cuisinebite.com/viral-cinnamon-roll-baked-oats/”>Viral Cinnamon Roll Baked Oats or Easy Tiramisu Overnight Oats, or a savory dish like Blt Pasta Salad With Ranch Dressing .cuisinebite.com/easy-tiramisu-overnight-oats/”>Easy Tiramisu Overnight Oats .cuisinebite.com/blt-pasta-salad-with-ranch-dressing/”>Blt Pasta Salad With Ranch Dressing.cuisinebite.com/easy-tiramisu-overnight-oats/”>Easy Tiramisu Overnight Oats.
The beauty of this Viral Biscoff No-Bake Cheesecake, beyond its incredible flavour, lies in its simplicity. It’s a fantastic option for beginner bakers and seasoned dessert enthusiasts alike, offering a sophisticated taste with minimal effort. It’s also incredibly versatile, making it ideal for everything from a casual weekend treat to a show-stopping centrepiece at a dinner party. Trust me, once you try this recipe, you’ll understand why it’s become such a viral sensation.
Recipe Overview
- Prep Time: 25 minutes
- Chill Time: 4-6 hours (or overnight)
- Total Time: 4 hours 25 minutes
- Servings: 8-10 slices
- Difficulty: Easy
Why You’ll Love This Viral Biscoff No-Bake Cheesecake (TikTok Hack)
- Effortlessly Delicious: No oven required, making it ideal for hot weather or busy schedules.
- Iconic Biscoff Flavour: Layers of crushed biscuits, creamy filling, and a luscious topping deliver that signature caramelised spice.
- Stunning Presentation: Looks incredibly professional with minimal decorating skills needed, perfect for impressing guests.
- Make-Ahead Marvel: Prepare it the day before your event, allowing flavours to deepen and saving you time on the day.
- Family Favourite: A guaranteed hit with children and adults alike, suitable for various occasions.
Ingredients You’ll Need
- 250g Biscoff biscuits (Lotus Biscoff Speculoos), plus extra for decorating
- 100g unsalted butter, melted
- 600g full-fat cream cheese, softened (Philadelphia is ideal)
- 100g icing sugar (sifted)
- 1 tsp vanilla extract
- 300ml double cream (heavy cream in US), chilled
- 200g Lotus Biscoff spread (smooth or crunchy), melted slightly
- Pinch of fine sea salt
- Optional: 2 tbsp milk (for thinning Biscoff spread if needed)
Tip: Ensure all your dairy ingredients – cream cheese and double cream – are well chilled, except for the cream cheese which should be softened just enough to mix smoothly, not warm. This is crucial for achieving a firm, stable cheesecake filling that holds its shape beautifully.
How to Make Viral Biscoff No-Bake Cheesecake (TikTok Hack)
- Prepare the Biscuit Base: Begin by crushing the Biscoff biscuits. You can do this by placing them in a large zip-top bag and crushing them with a rolling pin until they resemble fine crumbs, or use a food processor for a quicker, more even result. The crumbs should be fine enough to stick together, almost like damp sand. Once crushed, melt the unsalted butter gently in a small saucepan or microwave, until it’s a clear, golden liquid with a warm, nutty aroma. Pour the melted butter over the biscuit crumbs in a bowl and mix thoroughly until every crumb is coated and glistens.
- Form the Base: Press the buttered biscuit crumbs firmly into the bottom of a 20cm (8-inch) springform tin. Use the back of a spoon or the bottom of a glass to create an even, compact layer. You should hear a slight crunching sound as you press, indicating the crumbs are compacting well. Place the tin in the fridge for at least 30 minutes to firm up, making sure the base feels solid and cool to the touch.
- Whip the Cream Cheese Mixture: In a large mixing bowl, beat the softened full-fat cream cheese with the sifted icing sugar and vanilla extract using a stand mixer or a hand mixer on medium speed. Continue mixing until the mixture is completely smooth and creamy, with no lumps, and has a slightly pale, airy appearance. Scrape down the sides of the bowl to ensure everything is incorporated.
- Whip the Double Cream: In a separate, chilled bowl, pour the cold double cream. Whip the cream on high speed until it forms stiff peaks. The cream should hold its shape when you lift the whisk, looking thick and voluminous, with a faint sweet smell. Be careful not to over-whip, as it can turn grainy.
- Combine and Fill: Gently fold the whipped double cream into the cream cheese mixture in three additions, using a spatula. Use a light hand, folding until just combined, being careful not to knock out too much air. The mixture should be light, fluffy, and uniformly pale cream in colour. Spoon this creamy filling over the chilled biscuit base in the springform tin, spreading it evenly to the edges. Tap the tin gently on the counter a few times to release any air bubbles, aiming for a smooth, level surface.
- Chill the Cheesecake: Cover the cheesecake loosely with cling film and refrigerate for a minimum of 4-6 hours, or ideally overnight. This extended chilling time is vital for the cheesecake to set properly, becoming firm and sliceable. When ready, the cheesecake should feel solid to the touch and have a slightly chilled, firm texture.
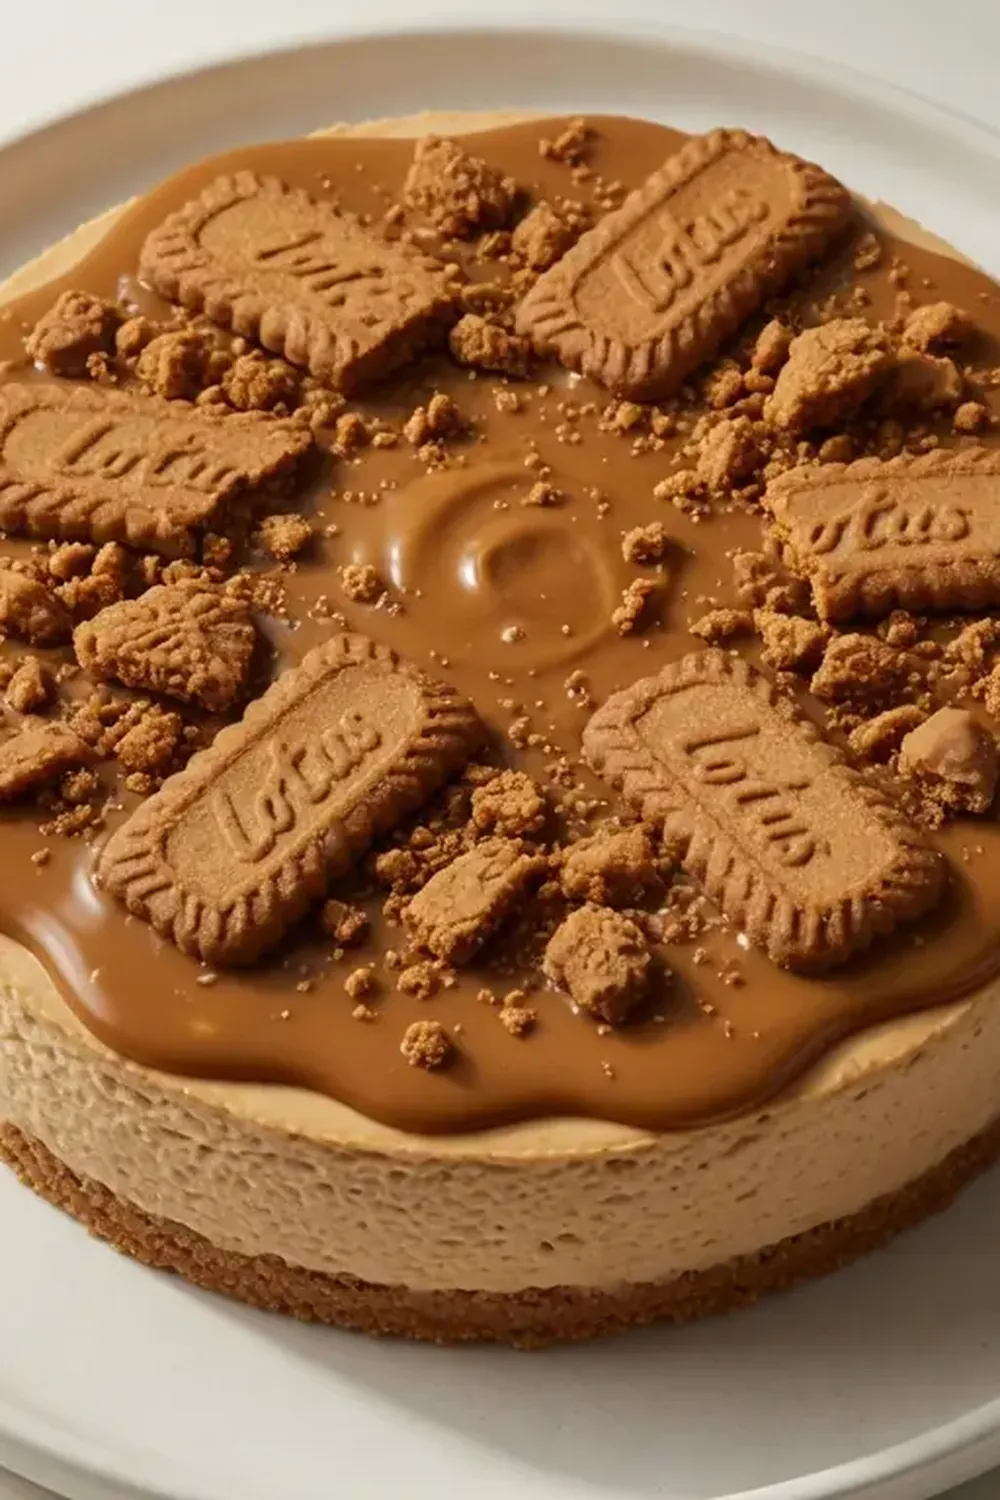
- Prepare and Add the Biscoff Topping: Just before serving, gently melt the Biscoff spread. You can do this in a microwave in short bursts (15-20 seconds) or over a bain-marie, stirring frequently until it’s a pourable, glossy liquid. If it’s too thick, add a tablespoon or two of milk to thin it slightly. Pour the melted Biscoff spread evenly over the set cheesecake, allowing it to drip attractively down the sides. The aroma of warm Biscoff will fill your kitchen.
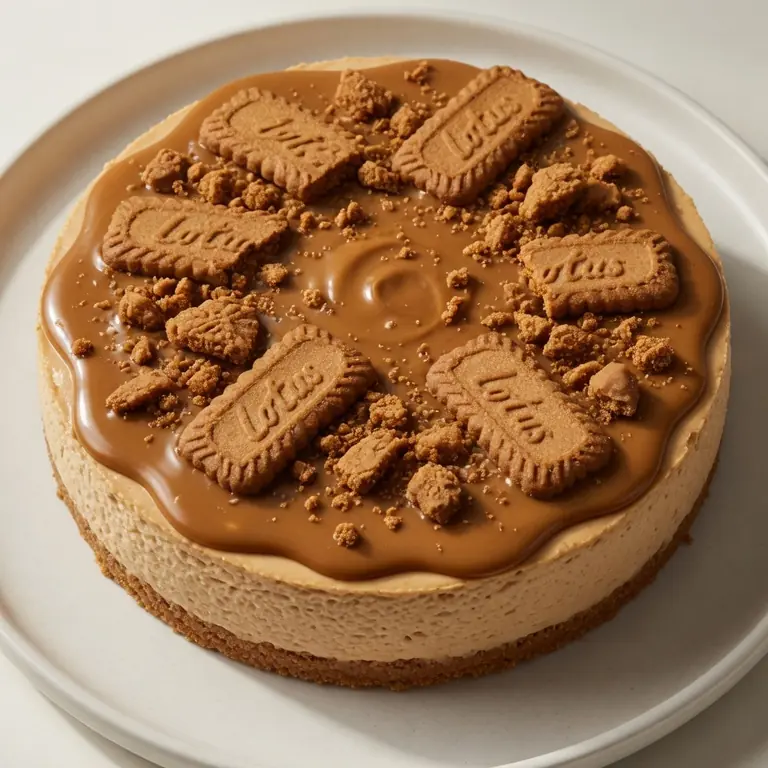
- Decorate and Serve: Decorate the top with extra crushed Biscoff biscuits or whole biscuits, arranging them artfully. Carefully release the cheesecake from the springform tin by running a thin knife around the edge before unclipping. Slice with a hot, dry knife for clean cuts. Enjoy!
Tips From My Kitchen
- Use Full-Fat Cream Cheese and Chill It Properly: The secret to a firm, luscious no-bake cheesecake lies in full-fat cream cheese. Low-fat varieties contain more water, which can lead to a runny filling that won’t set properly. Furthermore, ensure your cream cheese is softened slightly at room temperature before beating, but not warm. This allows it to whip smoothly without lumps, creating a creamy base. Conversely, your double cream must be thoroughly chilled; cold cream whips up much more effectively and to a greater volume, providing the essential structure for your cheesecake.
- Don’t Over-Whip the Double Cream: While stiff peaks are desired, it’s crucial not to over-whip your double cream. Over-whipped cream can become grainy and separate, which will negatively affect the smooth, silky texture of your cheesecake filling. Stop whipping as soon as the cream holds its shape firmly; it should look light and airy, not curdled. This careful whipping ensures a delightful melt-in-your-mouth consistency.
- Crush Biscuits Evenly for the Base: For a stable and aesthetically pleasing base, aim for uniformly crushed Biscoff biscuits. Large chunks can make the base crumbly and difficult to slice, while overly fine dust might make it too dense. Using a food processor is ideal for achieving consistent crumbs, but if using a rolling pin, take your time to ensure an even texture. A well-compacted, even base is the foundation of a successful cheesecake.
- Chill, Chill, Chill!: The chilling period is non-negotiable for a no-bake cheesecake. It’s not just about making it cold; it’s about allowing the fat in the cream cheese and butter, along with the proteins in the dairy, to firm up and set. Rushing this step will result in a soft, slumping cheesecake that won’t hold its shape when sliced. An overnight chill is always recommended for the best results, ensuring a beautifully firm and sliceable dessert. Patience here truly pays off!
- Melt Biscoff Spread Gently for Topping: When melting the Biscoff spread for the topping, do so gently. High heat can cause the spread to seize or burn, altering its smooth texture and rich flavour. Use a microwave in short 15-20 second bursts, stirring in between, or a bain-marie (a bowl over simmering water). The goal is a warm, pourable consistency, not hot. If it seems too thick, a tiny splash of milk will help loosen it to that perfect drizzling texture, allowing it to spread beautifully over the cheesecake without disturbing the filling.
- Clean Slicing Technique: To achieve those picture-perfect slices, always use a sharp knife that has been run under hot water and then wiped completely dry between each cut. The warmth helps the blade glide through the cheesecake and the Biscoff topping without dragging or sticking, resulting in clean, elegant portions. This small extra step makes a big difference in presentation.
Equipment You’ll Need
- Stand mixer or hand mixer
- 20cm (8-inch) springform tin
- Parchment paper (for lining base, optional but recommended)
- Large mixing bowls
- Spatula
- Rolling pin or food processor
What to Serve With Viral Biscoff No-Bake Cheesecake (TikTok Hack)
- A dusting of cocoa powder or cinnamon
- A scoop of vanilla bean ice cream
- Fresh berries, such as raspberries or strawberries, for a tart contrast
- A dollop of extra whipped cream
- A warm cup of coffee or a comforting mug of Maple Pecan Sticky Buns for breakfast the next day!
Frequently Asked Questions
Viral Biscoff No-Bake Cheesecake (TikTok Hack)
Ingredients
Method
-
Prepare the Biscuit Base: Begin by crushing the Biscoff biscuits. You can do this by placing them in a large zip-top bag and crushing them with a rolling pin until they resemble fine crumbs, or use a food processor for a quicker, more even result. The crumbs should be fine enough to stick together, almost like damp sand. Once crushed, melt the unsalted butter gently in a small saucepan or microwave, until it’s a clear, golden liquid with a warm, nutty aroma. Pour the melted butter over the biscuit crumbs in a bowl and mix thoroughly until every crumb is coated and glistens.
-
Form the Base: Press the buttered biscuit crumbs firmly into the bottom of a 20cm (8-inch) springform tin. Use the back of a spoon or the bottom of a glass to create an even, compact layer. You should hear a slight crunching sound as you press, indicating the crumbs are compacting well. Place the tin in the fridge for at least 30 minutes to firm up, making sure the base feels solid and cool to the touch.
-
Whip the Cream Cheese Mixture: In a large mixing bowl, beat the softened full-fat cream cheese with the sifted icing sugar and vanilla extract using a stand mixer or a hand mixer on medium speed. Continue mixing until the mixture is completely smooth and creamy, with no lumps, and has a slightly pale, airy appearance. Scrape down the sides of the bowl to ensure everything is incorporated.
-
Whip the Double Cream: In a separate, chilled bowl, pour the cold double cream. Whip the cream on high speed until it forms stiff peaks. The cream should hold its shape when you lift the whisk, looking thick and voluminous, with a faint sweet smell. Be careful not to over-whip, as it can turn grainy.
-
Combine and Fill: Gently fold the whipped double cream into the cream cheese mixture in three additions, using a spatula. Use a light hand, folding until just combined, being careful not to knock out too much air. The mixture should be light, fluffy, and uniformly pale cream in colour. Spoon this creamy filling over the chilled biscuit base in the springform tin, spreading it evenly to the edges. Tap the tin gently on the counter a few times to release any air bubbles, aiming for a smooth, level surface.
-
Chill the Cheesecake: Cover the cheesecake loosely with cling film and refrigerate for a minimum of 4-6 hours, or ideally overnight. This extended chilling time is vital for the cheesecake to set properly, becoming firm and sliceable. When ready, the cheesecake should feel solid to the touch and have a slightly chilled, firm texture.
-
Prepare and Add the Biscoff Topping: Just before serving, gently melt the Biscoff spread. You can do this in a microwave in short bursts (15-20 seconds) or over a bain-marie, stirring frequently until it’s a pourable, glossy liquid. If it’s too thick, add a tablespoon or two of milk to thin it slightly. Pour the melted Biscoff spread evenly over the set cheesecake, allowing it to drip attractively down the sides. The aroma of warm Biscoff will fill your kitchen.
-
Decorate and Serve: Decorate the top with extra crushed Biscoff biscuits or whole biscuits, arranging them artfully. Carefully release the cheesecake from the springform tin by running a thin knife around the edge before unclipping. Slice with a hot, dry knife for clean cuts. Enjoy!
Notes
And there you have it – your very own Viral Biscoff No-Bake Cheesecake, ready to impress and delight. This dessert truly embodies the joy of simple, effective cooking, proving that you don’t need a complicated recipe to create something extraordinary. I hope you enjoy making (and devouring!) this cheesecake as much as I do. Please leave a comment below and let me know how your Biscoff masterpiece turns out!