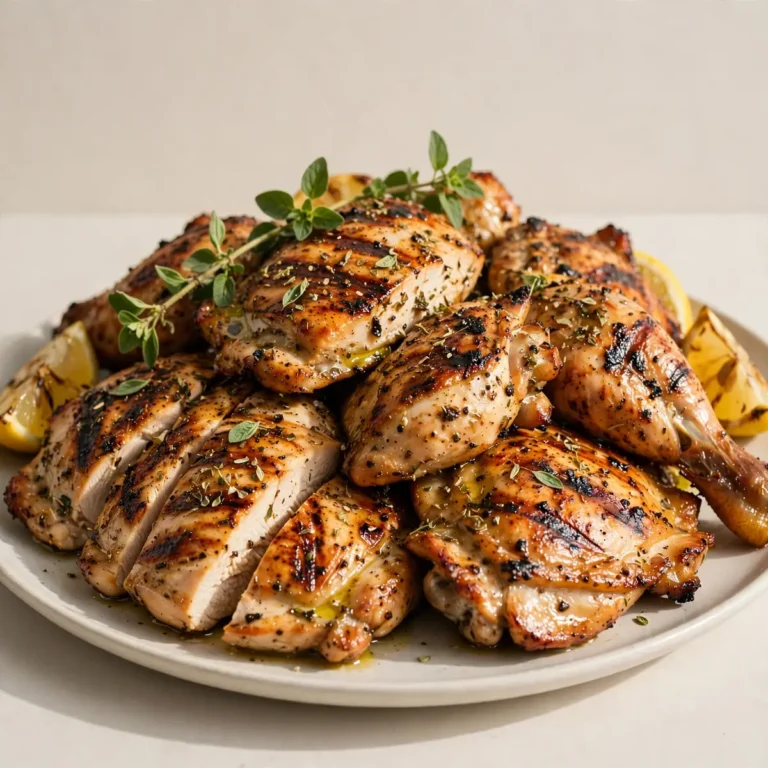
Honey Mustard Baked Chicken
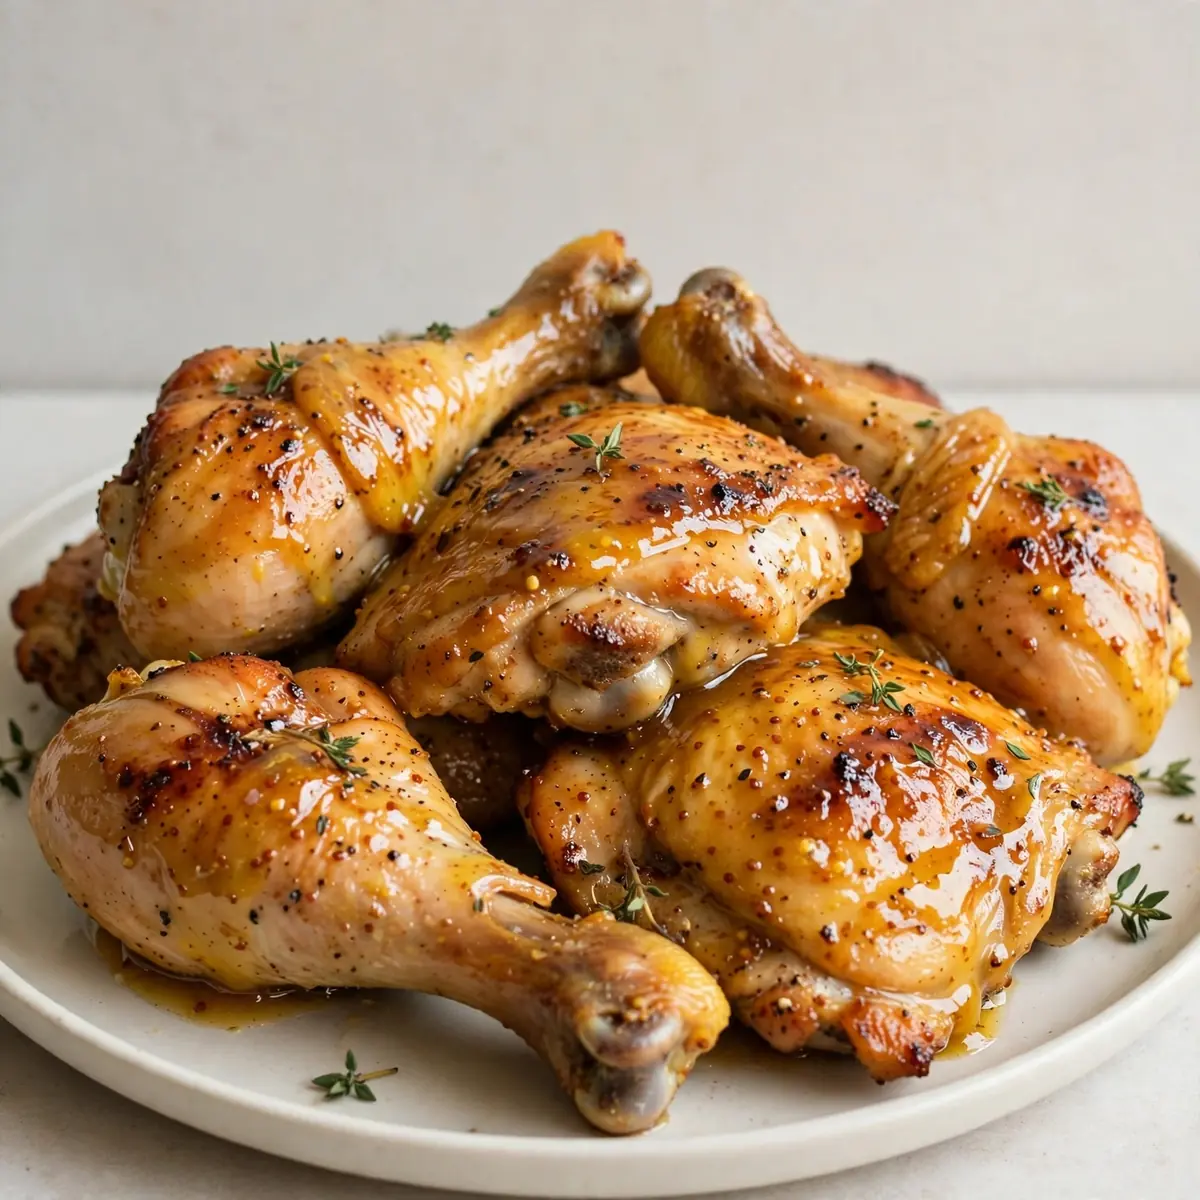
I don’t know about your house, but in mine, weeknights are a blur of packed lunches, homework battles, and the ever-present question: what’s for dinner? That’s why I created this Honey Mustard Baked Chicken — it’s the meal that saves my sanity. With just a few minutes of hands-on prep and a single dish to wash, you can have a sticky, golden, and utterly satisfying dinner on the table without the usual midweek chaos.
Recipe Overview
- Prep time: 10 minutes
- Cook time: 35-40 minutes
- Total time: 45-50 minutes
- Servings: 4-6
- Difficulty: Easy
Why You’ll Love This Honey Mustard Baked Chicken
- One-dish wonder: Everything bakes in a single dish, so you spend less time scrubbing and more time relaxing.
- Pantry-friendly ingredients: You likely have the honey, mustard, and oil in your cupboard right now, which makes this an ideal last-minute meal.
- Foolproof for beginners: There’s no searing, no flipping, and no complicated techniques — just mix, pour, and bake.
- Make-ahead magic: The marinade can be prepped the night before, meaning you can literally toss everything together in the morning and bake when you get home.
- Family-approved flavour: The sweet and tangy glaze appeals to both kids and adults, which means fewer complaints at the dinner table.
Ingredients You’ll Need
- 4-6 boneless, skinless chicken breasts (about 700g)
- 4 tablespoons honey
- 3 tablespoons whole grain mustard
- 2 tablespoons Dijon mustard
- 2 tablespoons olive oil
- 1 tablespoon apple cider vinegar
- 2 cloves garlic, minced
- 1 teaspoon smoked paprika
- ½ teaspoon salt
- ¼ teaspoon black pepper
- 1 tablespoon fresh thyme leaves (or 1 teaspoon dried)
- Fresh parsley, chopped, for garnish (optional)
Tip: For the best texture, choose chicken breasts that are roughly the same size and thickness. This ensures they cook evenly, so you don’t end up with dry edges and an undercooked centre.
How to Make Honey Mustard Baked Chicken
- Preheat your oven to 200°C (400°F). As the oven warms, take your chicken breasts out of the fridge and let them sit on the counter for about 10 minutes — this helps them cook more evenly.
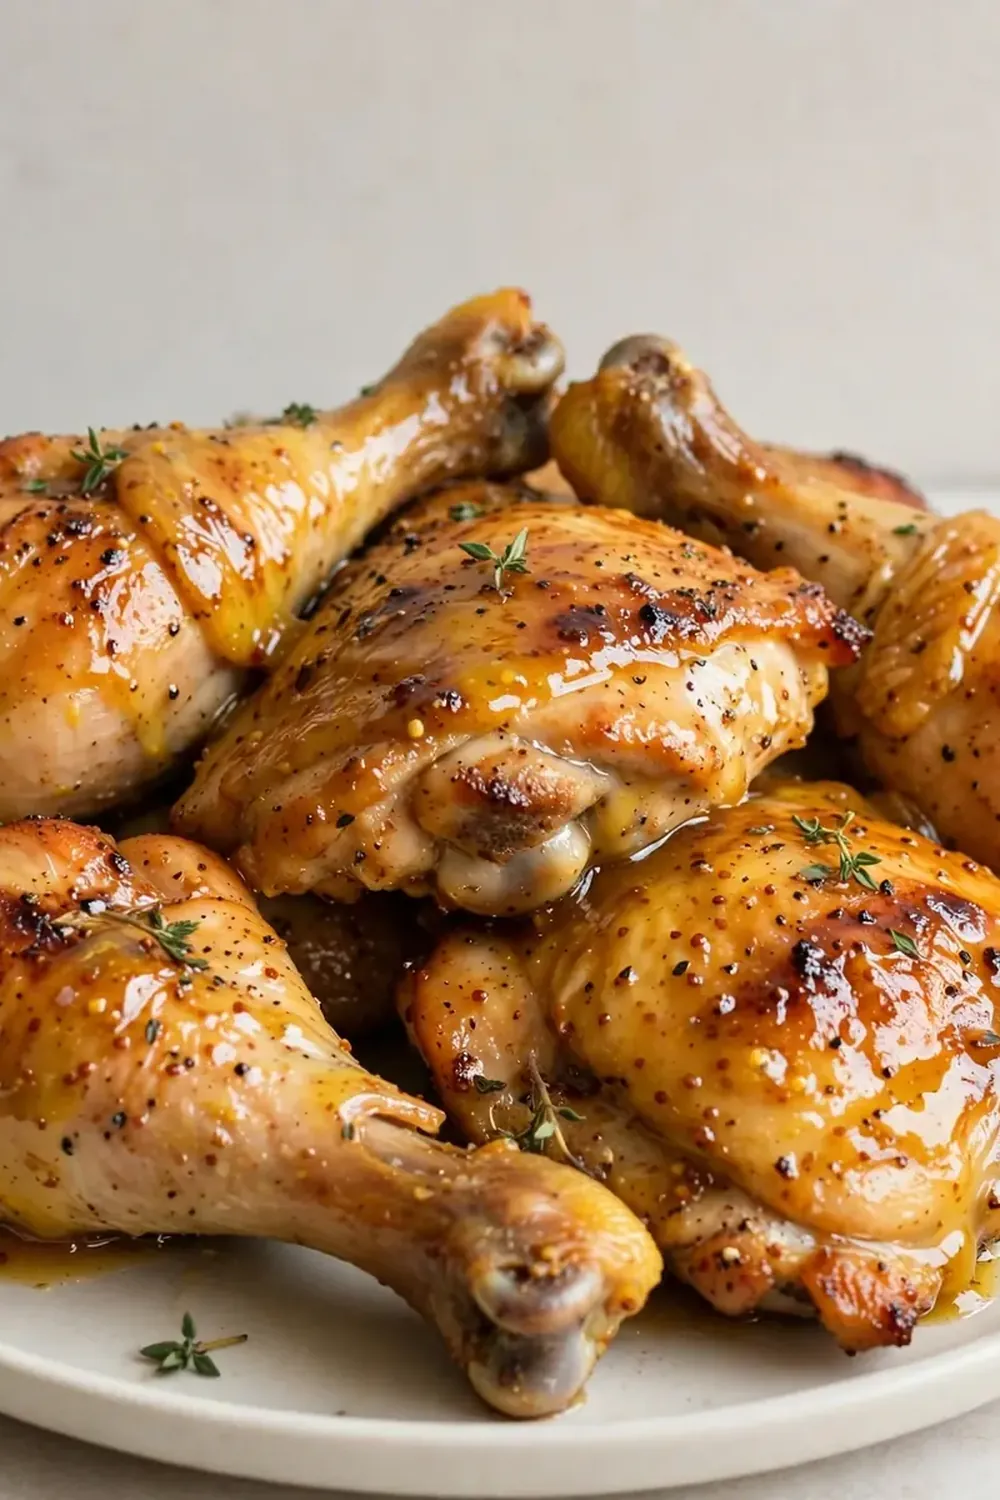
- Make the glaze: In a medium mixing bowl, whisk together the honey, whole grain mustard, Dijon mustard, olive oil, apple cider vinegar, minced garlic, smoked paprika, salt, pepper, and thyme. The mixture should look glossy and smell pungent yet sweet, with the mustard seeds visible throughout.
- Prepare the chicken: Place the chicken breasts in a single layer in your 9×13 inch baking dish. If any pieces are much thicker than the others, gently pound them to an even thickness using a rolling pin or the bottom of a sturdy mug. You’ll hear a soft thud as you flatten them.
- Coat the chicken: Pour the honey mustard mixture over the chicken, turning each piece to ensure it’s fully coated. The chicken should look glossy and well-covered, with bits of mustard seed clinging to the surface.
- Bake uncovered: Place the dish in the preheated oven and bake for 25 minutes. At this point, the kitchen will smell sweet and tangy, and the chicken will look pale but starting to firm up around the edges.
- Baste and finish: Remove the dish from the oven and spoon the pan juices over the chicken. Return to the oven for another 10-15 minutes. The chicken is done when it reaches an internal temperature of 74°C (165°F) and the thickest part feels firm to the touch but yields slightly when pressed. The glaze should be bubbling and sticky, with deep golden-brown edges.
- Rest and serve: Remove the dish from the oven and let the chicken rest for 5 minutes. You’ll notice the juices settling back into the meat rather than pooling on the plate. Garnish with fresh parsley if desired, then serve with the pan juices spooned over the top.
Tips From My Kitchen
- Use a meat thermometer: This is the single most important tool for perfect chicken. The difference between juicy and dry is just a few degrees, so invest in a simple instant-read thermometer. Insert it into the thickest part of the breast — when it reads 74°C (165°F), you’re done. No more guessing!
- Don’t skip the resting time: I know it’s tempting to dig in immediately, but resting the chicken for 5 minutes allows the juices to redistribute throughout the meat. If you cut into it too soon, those lovely juices will run out onto the cutting board, leaving you with dry chicken.
- Make it ahead for busy days: Combine the honey, mustards, oil, vinegar, garlic, and spices in a jar or bowl up to 48 hours in advance. Store it in the fridge. When you’re ready to cook, simply pour it over the chicken and bake. This cuts your evening prep time down to about two minutes.
- Line your dish for zero cleanup: For the ultimate lazy-cook hack, line your baking dish with aluminium foil before adding the chicken. When dinner is over, you can simply lift out the foil, throw it away, and your baking dish is practically clean. I do this on the most frantic nights.
- Adjust the sweetness to your taste: If you prefer a more tangy glaze, reduce the honey to 3 tablespoons and add an extra tablespoon of Dijon mustard. For a sweeter version, add an extra tablespoon of honey. The recipe is forgiving, so feel free to tweak it until it suits your family’s palate.
Equipment You’ll Need
- 9×13 inch baking dish (or similar size)
- Aluminium foil (optional, for easy cleanup)
- Mixing bowls (one medium, one small)
- Sharp knife
- Cutting board
- Whisk or fork for mixing
- Instant-read meat thermometer (highly recommended)
Common Mistakes to Avoid
- Overcrowding the pan: If you cram too many chicken breasts into the dish, they’ll steam rather than roast, and the glaze won’t caramelise properly. The chicken should sit in a single layer with a little space between each piece. If necessary, use two smaller dishes or bake in batches.
- Wrong temperature: Baking at too low a temperature will dry out the chicken before it develops that sticky, golden crust. I always stick to 200°C (400°F). If your oven runs hot, check the chicken at the 30-minute mark rather than 35.
- Skipping the rest time: This is the mistake I see most often. After all that careful cooking, slicing into the chicken immediately will release all the moisture. Let it rest for 5 minutes — use that time to set the table or pour the drinks — and you’ll be rewarded with tender, juicy meat.
Delicious Variations to Try
- Spicy Version: Add ½ to 1 teaspoon of cayenne pepper or red chilli flakes to the glaze mixture. For even more heat, drizzle a little sriracha or harissa paste over the chicken before baking. The sweetness of the honey balances the heat beautifully.
- Vegetarian/Vegan Option: Replace the chicken with thick slices of firm tofu, cauliflower steaks, or large portobello mushrooms. Bake at the same temperature for 20-25 minutes, or until the vegetables are tender and the glaze is sticky. Tofu will need a little longer to develop a firm texture.
- Different Protein: This glaze works wonderfully on chicken thighs (bone-in or boneless), which are even more forgiving and stay juicy. You can also use it on salmon fillets — bake for just 15-18 minutes, until the fish flakes easily with a fork. For a beef option, try it on flank steak, though you’ll need to slice it against the grain after resting.
What to Serve With Honey Mustard Baked Chicken
- Steamed rice or quinoa: The pan juices are fantastic spooned over fluffy rice, which soaks up every bit of the sweet and tangy sauce.
- Roasted vegetables: Toss broccoli, asparagus, or green beans in olive oil and salt, then roast them alongside the chicken for the last 15 minutes of cooking. This keeps everything in one tray and saves on washing up.
- A simple green salad: A crisp salad with a light vinaigrette cuts through the richness of the glaze and adds a fresh contrast.
- Mashed potatoes: Creamy mashed potatoes are a classic pairing, and the pan juices serve as a built-in gravy. If you’re looking for other quick dinner ideas, you can browse our Dinner category for more family-friendly recipes.
Still hungry for ideas? You might also love Baked Crunchy Hot Honey Chicken Recipe, Crispy Baked Chicken Tenders Recipe from our sister kitchens.
Frequently Asked Questions
Honey Mustard Baked Chicken
Ingredients
Method
- Preheat your oven to 200°C (400°F). As the oven warms, take your chicken breasts out of the fridge and let them sit on the counter for about 10 minutes — this helps them cook more evenly.
- Make the glaze: In a medium mixing bowl, whisk together the honey, whole grain mustard, Dijon mustard, olive oil, apple cider vinegar, minced garlic, smoked paprika, salt, pepper, and thyme. The mixture should look glossy and smell pungent yet sweet, with the mustard seeds visible throughout.
- Prepare the chicken: Place the chicken breasts in a single layer in your 9x13 inch baking dish. If any pieces are much thicker than the others, gently pound them to an even thickness using a rolling pin or the bottom of a sturdy mug. You'll hear a soft thud as you flatten them.
- Coat the chicken: Pour the honey mustard mixture over the chicken, turning each piece to ensure it's fully coated. The chicken should look glossy and well-covered, with bits of mustard seed clinging to the surface.
- Bake uncovered: Place the dish in the preheated oven and bake for 25 minutes. At this point, the kitchen will smell sweet and tangy, and the chicken will look pale but starting to firm up around the edges.
- Baste and finish: Remove the dish from the oven and spoon the pan juices over the chicken. Return to the oven for another 10-15 minutes. The chicken is done when it reaches an internal temperature of 74°C (165°F) and the thickest part feels firm to the touch but yields slightly when pressed. The glaze should be bubbling and sticky, with deep golden-brown edges.
- Rest and serve: Remove the dish from the oven and let the chicken rest for 5 minutes. You'll notice the juices settling back into the meat rather than pooling on the plate. Garnish with fresh parsley if desired, then serve with the pan juices spooned over the top.
Notes
I’ve been making this Honey Mustard Baked Chicken for over 2 years, and it never disappoints. This is my go-to recipe when I need something quick but impressive, and I love that it leaves me with more time to enjoy my family rather than scrubbing pots. If you give it a try, I’d love to hear how it went for you. Drop a comment below and let me know what sides you served with it — or if you came up with your own twist on the glaze. Happy cooking!