Classic Onion Rings
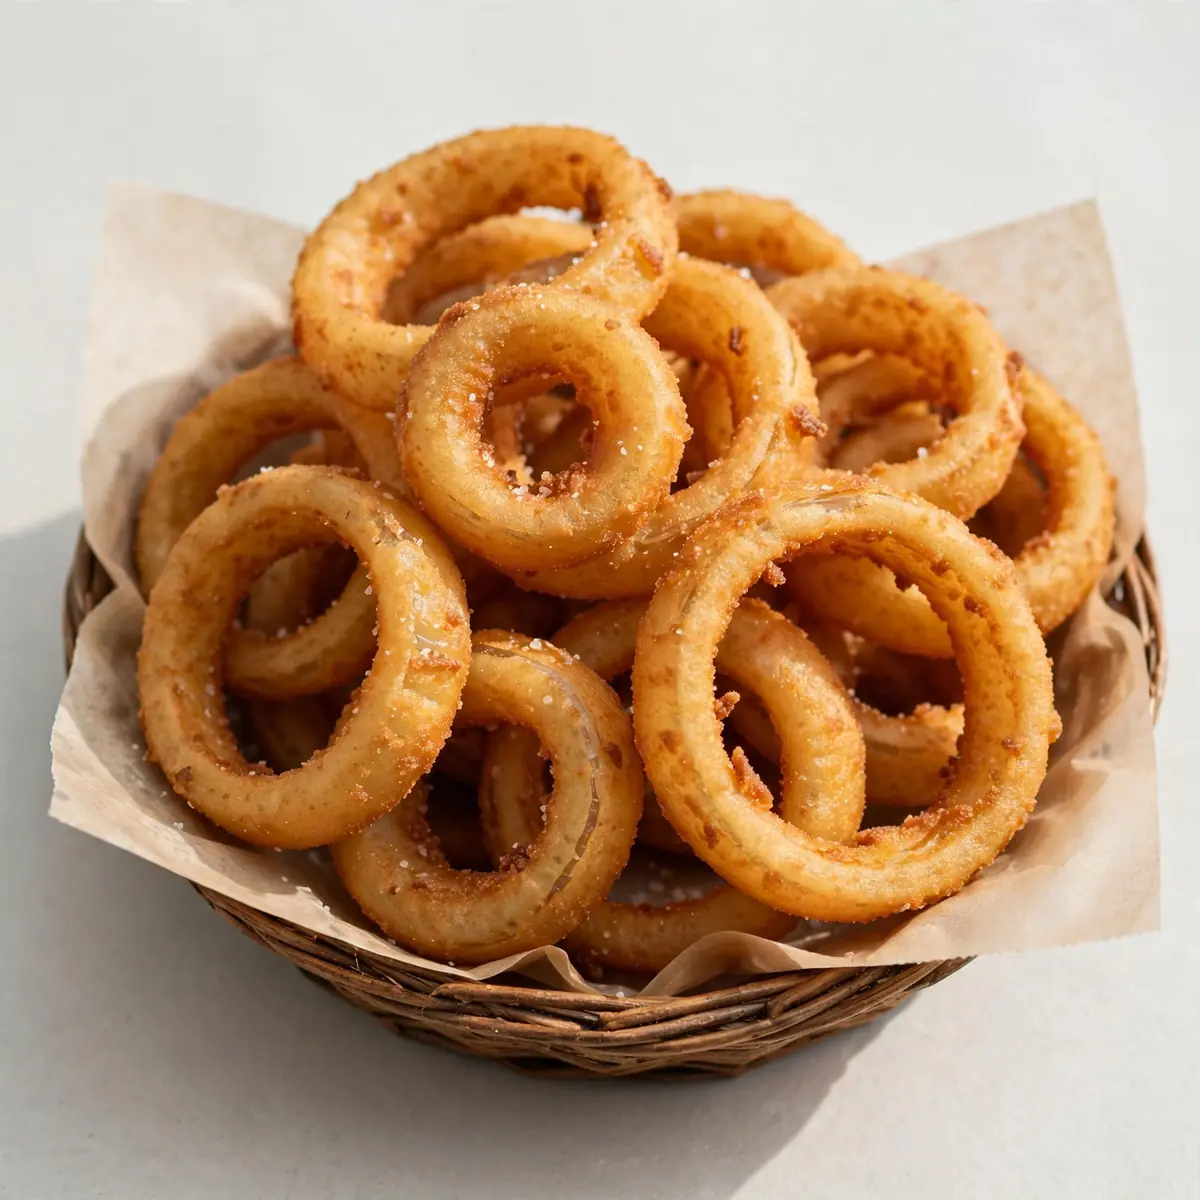
When the clock strikes six and everyone’s hungry, I need a dinner that comes together faster than takeaway but feels like a proper treat. These Classic Onion Rings are my secret weapon for those chaotic weeknights — they’re on the table in under thirty minutes, require just one pan for frying, and I’ve perfected the make-ahead tricks so you can prep them while the kids do homework.
Recipe Overview
- Prep time: 10 minutes
- Cook time: 12 minutes
- Total time: 22 minutes
- Servings: 4 (as a main) or 6 (as a side)
- Difficulty: Easy
Why You’ll Love This Classic Onion Rings
- Ready in under 25 minutes: From the moment you slice the onion to the last ring hitting the plate, this recipe moves fast — no long marinating or complicated steps.
- One-pan cleanup: Everything happens in a single frying pan, so you’re not staring at a mountain of washing-up after dinner.
- Make-ahead friendly: You can prepare the batter and slice the onions hours ahead, storing them separately in the fridge. When you’re ready, just dip and fry.
- Crispy without being greasy: The secret is in the batter consistency and oil temperature — I’ll show you how to get that shatteringly crisp coating that stays light.
- Kids actually eat them: My kids absolutely devour this every time I make it. They think it’s a treat, I know it’s just onion and batter — everyone wins.
Ingredients You’ll Need
- 2 large brown onions (about 400g total)
- 150g plain flour
- 1 teaspoon baking powder
- ½ teaspoon salt
- ¼ teaspoon black pepper
- ½ teaspoon paprika (smoked or sweet)
- 200ml whole milk
- 1 large egg
- 1 tablespoon vegetable oil (for the batter)
- 750ml vegetable or sunflower oil (for frying)
- Extra 50g plain flour (for dusting the rings)
Tip: For the fluffiest batter, make sure your milk and egg are at room temperature. I take them out of the fridge ten minutes before I start — it makes a noticeable difference to how light the coating turns out.
How to Make Classic Onion Rings
- Prepare the onions: Peel both onions and slice them into 1cm-thick rounds. Gently separate each round into individual rings — you’ll get about 12 to 16 decent-sized rings per onion. Discard the tiny inner pieces or save them for another dish. The rings should look like perfect circles, pale white with a slight purple edge.
- Make the batter: In a large mixing bowl, whisk together 150g flour, baking powder, salt, pepper and paprika until combined — you’ll see the pale pink of the paprika evenly distributed through the white flour. In a separate small bowl or jug, beat the egg with the milk and 1 tablespoon of oil. Pour the wet mixture into the dry ingredients and whisk until smooth. The batter should be thick enough to coat the back of a spoon but still runny — think double cream in consistency. It will smell faintly of paprika and raw flour.
- Heat the oil: Pour the 750ml of frying oil into a large, deep frying pan or skillet — the oil should be about 2cm deep. Heat over a medium-high flame for about 4 to 5 minutes. To test if it’s ready, drop a tiny bit of batter into the oil — if it sizzles immediately and floats to the surface, you’re at the right temperature (around 175°C to 180°C). If the batter sinks without bubbling, the oil isn’t hot enough yet.
- Dust the rings: Spread the extra 50g of flour on a plate. Take each onion ring and toss it lightly in the flour, shaking off any excess. You want a very thin, even coating — the ring should look dusty but not clumpy. This step is crucial because it helps the batter stick properly to the slippery onion surface.
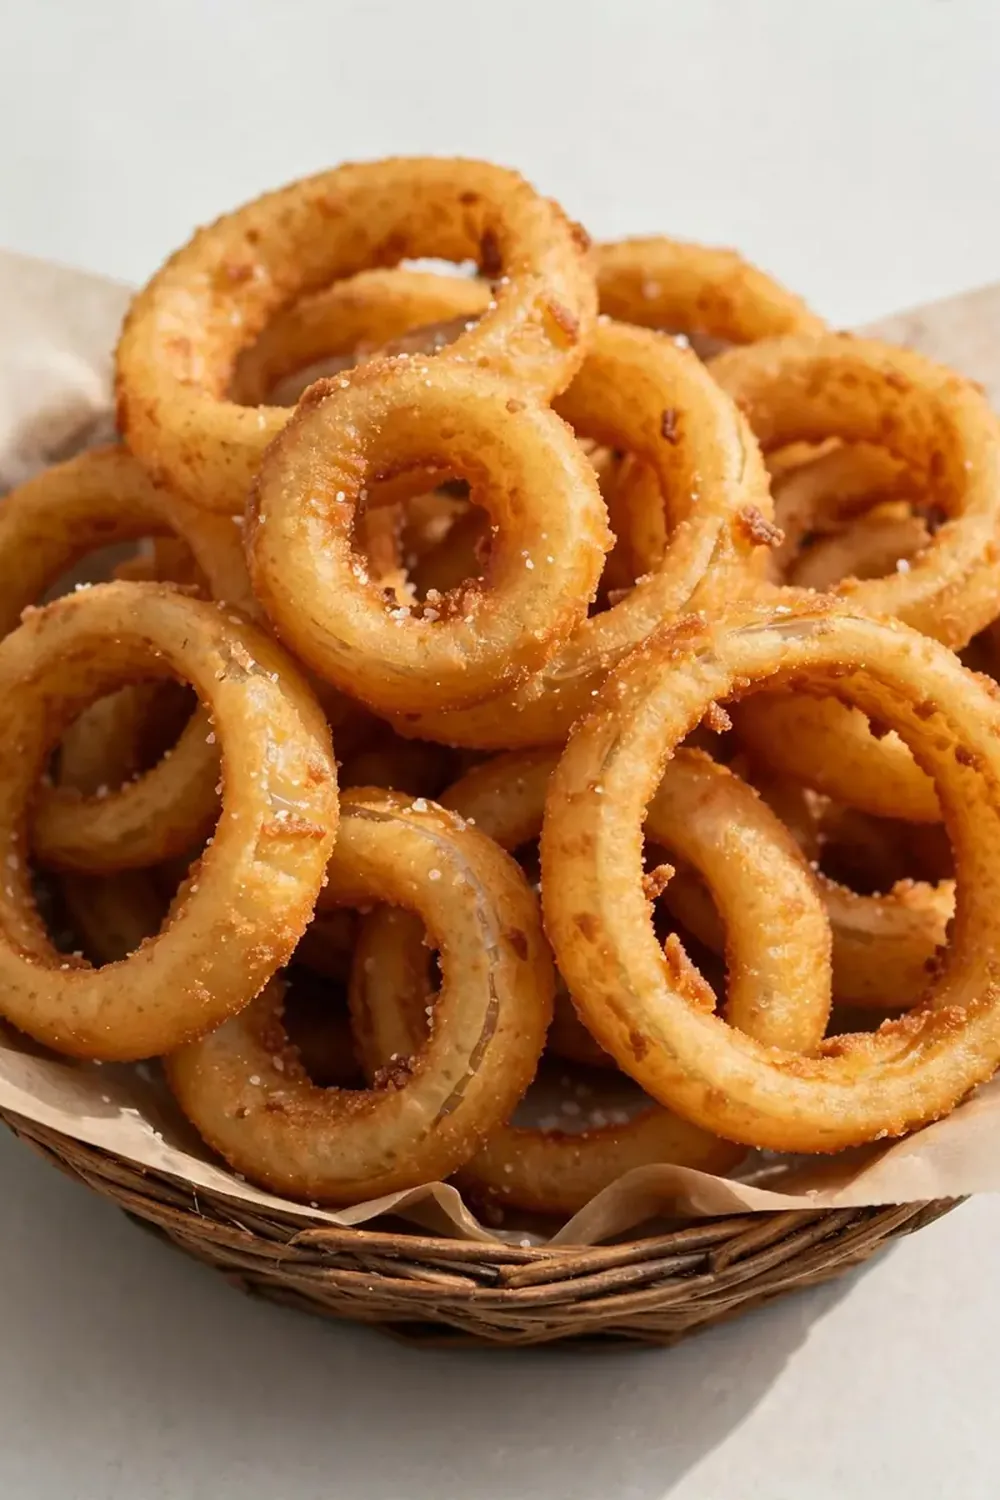
- Dip and fry: Working in batches of 4 to 5 rings at a time (do not overcrowd the pan), dip each floured ring into the batter, letting any excess drip back into the bowl. Carefully lower the ring into the hot oil — you’ll hear an immediate, satisfying sizzle. The ring should float and start bubbling vigorously around the edges. Fry for 2 to 3 minutes per side, until the coating turns a deep golden brown — the colour of honey or a well-toasted crumpet. The rings will look puffed and slightly irregular, with tiny bubbles on the surface of the batter.
- Drain and season: Using a slotted spoon or tongs, transfer the cooked rings to a plate lined with kitchen paper. They’ll be steaming hot and making a faint crackling sound as they cool. Sprinkle immediately with a pinch of salt while they’re still hot — the salt sticks better to the hot, slightly oily surface. Repeat with the remaining rings, letting the oil come back up to temperature between batches (about 30 seconds).
Tips From My Kitchen
- Keep the oil temperature steady: If the oil drops too low, the batter absorbs fat and turns greasy — you’ll see the rings looking dark and oily rather than crisp and golden. If it’s too high, the outside burns before the inside cooks. I keep a kitchen thermometer clipped to the pan, but if you don’t have one, watch the bubbles: vigorous, constant bubbling means the oil is at the right heat; frantic, spitting bubbles mean it’s too hot.
- Don’t skip the flour dusting: Onions are naturally wet and slippery. Without that initial dusting of flour, the batter slides right off during frying, leaving you with bare, burnt onion and a pan full of crispy batter fragments. The flour acts like glue — it gives the batter something to grip onto.
- Make the batter ahead of time: You can prepare the batter up to 4 hours in advance and store it covered in the fridge. When you’re ready to cook, give it a quick stir — it might have thickened slightly, so add a teaspoon of milk to loosen it if needed. This is my favourite trick for busy evenings: I make the batter during the afternoon lull, then dinner is just slice, dip and fry.
- Slice the onions in advance: Slice your onions and store them in a sealed container in the fridge for up to 8 hours. They’ll stay fresh and crisp. Just make sure they’re completely dry before you dust them with flour — any excess moisture from condensation will ruin the coating.
- Keep cooked rings warm in the oven: If you’re making a large batch, preheat your oven to the lowest setting (about 100°C) and place a wire rack on a baking tray. As each batch finishes frying, transfer the rings to the rack in the oven. They’ll stay crisp for up to 20 minutes without going soggy — the wire rack lets air circulate underneath, unlike a flat plate which traps steam.
Equipment You’ll Need
- Large frying pan or skillet (at least 28cm diameter)
- Sharp knife and cutting board
- Mixing bowls (one large, one medium)
- Wooden spoon or spatula
- Slotted spoon or metal tongs
- Kitchen thermometer (optional but helpful)
- Kitchen paper for draining
Common Mistakes to Avoid
- Overcrowding the pan: When you drop too many rings in at once, the oil temperature plummets. Instead of frying, the rings start steaming — the batter turns pale and soggy, and you lose that essential crunch. Fry in small batches of 4 to 5 rings, leaving plenty of space between them. The oil should bubble energetically around each ring, not sit flat and still.
- Wrong temperature: If your oil isn’t hot enough, the batter absorbs fat like a sponge and the rings come out heavy and greasy — you’ll see them looking dark brown and slick with oil. If the oil is too hot, the outside burns to a dark brown before the onion inside has softened. Aim for a steady 175°C to 180°C, and always let the oil reheat between batches.
- Skipping the rest time: After dusting the rings with flour, let them sit for 2 to 3 minutes before dipping in the batter. This resting period allows the flour to absorb a little moisture from the onion surface, creating a tacky layer that the batter clings to. If you dip them straight away, the dry flour just slides off into the batter.
Delicious Variations to Try
- Spicy Version: Add 1 teaspoon of cayenne pepper and ½ teaspoon of chilli flakes to the dry flour mixture. For an extra kick, sprinkle the finished rings with a pinch of smoked chilli powder while they’re still hot. The heat builds gradually — it’s warm without being overwhelming.
- Vegetarian/Vegan Option: Replace the whole milk with unsweetened oat or soya milk, and swap the egg for 2 tablespoons of aquafaba (the liquid from a tin of chickpeas) or a flax egg (1 tablespoon ground flaxseed mixed with 3 tablespoons water, left to sit for 5 minutes). The batter will be slightly less puffy but still beautifully crisp — I make this version for my vegan friends and they can’t tell the difference.
- Different Protein: While these are classic onion rings, you can use the same batter technique for other vegetables — try thick slices of courgette, button mushrooms, or even cauliflower florets. The cooking time stays roughly the same, just adjust based on the vegetable’s density. For a full meal, I often serve these alongside a Korean Ground Beef Bowl for a quick and satisfying dinner.
What to Serve With Classic Onion Rings
- A simple dipping sauce made from equal parts mayonnaise and Greek yoghurt, with a squeeze of lemon juice and a pinch of smoked paprika
- A crisp green salad with a sharp vinaigrette to cut through the richness
- Grilled chicken or steak — I love pairing these with a Garlic Beef Recipe Savory Steak Dinner for a proper weeknight feast
- Oven-baked chips or wedges for a double-carb treat that kids adore
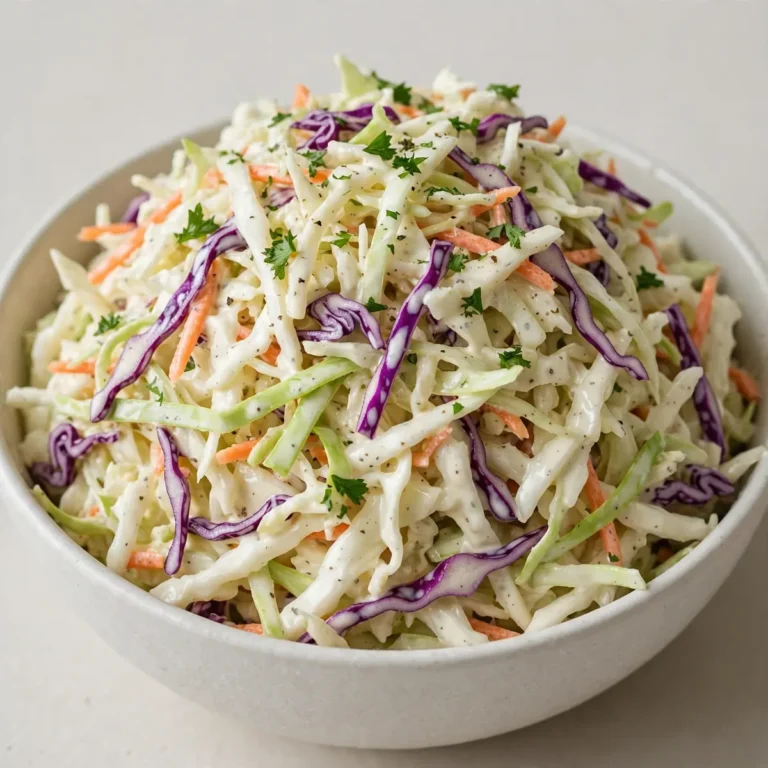
- A side of coleslaw for crunch and contrast
Frequently Asked Questions
Classic Onion Rings
Ingredients
Method
- Prepare the onions: Peel both onions and slice them into 1cm-thick rounds. Gently separate each round into individual rings — you'll get about 12 to 16 decent-sized rings per onion. Discard the tiny inner pieces or save them for another dish. The rings should look like perfect circles, pale white with a slight purple edge.
- Make the batter: In a large mixing bowl, whisk together 150g flour, baking powder, salt, pepper and paprika until combined — you'll see the pale pink of the paprika evenly distributed through the white flour. In a separate small bowl or jug, beat the egg with the milk and 1 tablespoon of oil. Pour the wet mixture into the dry ingredients and whisk until smooth. The batter should be thick enough to coat the back of a spoon but still runny — think double cream in consistency. It will smell faintly of paprika and raw flour.
- Heat the oil: Pour the 750ml of frying oil into a large, deep frying pan or skillet — the oil should be about 2cm deep. Heat over a medium-high flame for about 4 to 5 minutes. To test if it's ready, drop a tiny bit of batter into the oil — if it sizzles immediately and floats to the surface, you're at the right temperature (around 175°C to 180°C). If the batter sinks without bubbling, the oil isn't hot enough yet.
- Dust the rings: Spread the extra 50g of flour on a plate. Take each onion ring and toss it lightly in the flour, shaking off any excess. You want a very thin, even coating — the ring should look dusty but not clumpy. This step is crucial because it helps the batter stick properly to the slippery onion surface.
- Dip and fry: Working in batches of 4 to 5 rings at a time (do not overcrowd the pan), dip each floured ring into the batter, letting any excess drip back into the bowl. Carefully lower the ring into the hot oil — you'll hear an immediate, satisfying sizzle. The ring should float and start bubbling vigorously around the edges. Fry for 2 to 3 minutes per side, until the coating turns a deep golden brown — the colour of honey or a well-toasted crumpet. The rings will look puffed and slightly irregular, with tiny bubbles on the surface of the batter.
- Drain and season: Using a slotted spoon or tongs, transfer the cooked rings to a plate lined with kitchen paper. They'll be steaming hot and making a faint crackling sound as they cool. Sprinkle immediately with a pinch of salt while they're still hot — the salt sticks better to the hot, slightly oily surface. Repeat with the remaining rings, letting the oil come back up to temperature between batches (about 30 seconds).
Notes
I make this at least once a week — it’s become a family favourite that rescues me on those evenings when I’ve got nothing planned and everyone’s hungry. The beauty of these Classic Onion Rings is that they feel like a treat but fit seamlessly into a busy weeknight routine. Whether you serve them alongside a Spicy Beef Tacos Recipe Easy Weeknight Dinner or just pile them high with a simple dip, they never fail to bring smiles to the table. I’d love to hear how they turn out for you — drop a comment below and let me know your favourite way to serve them.