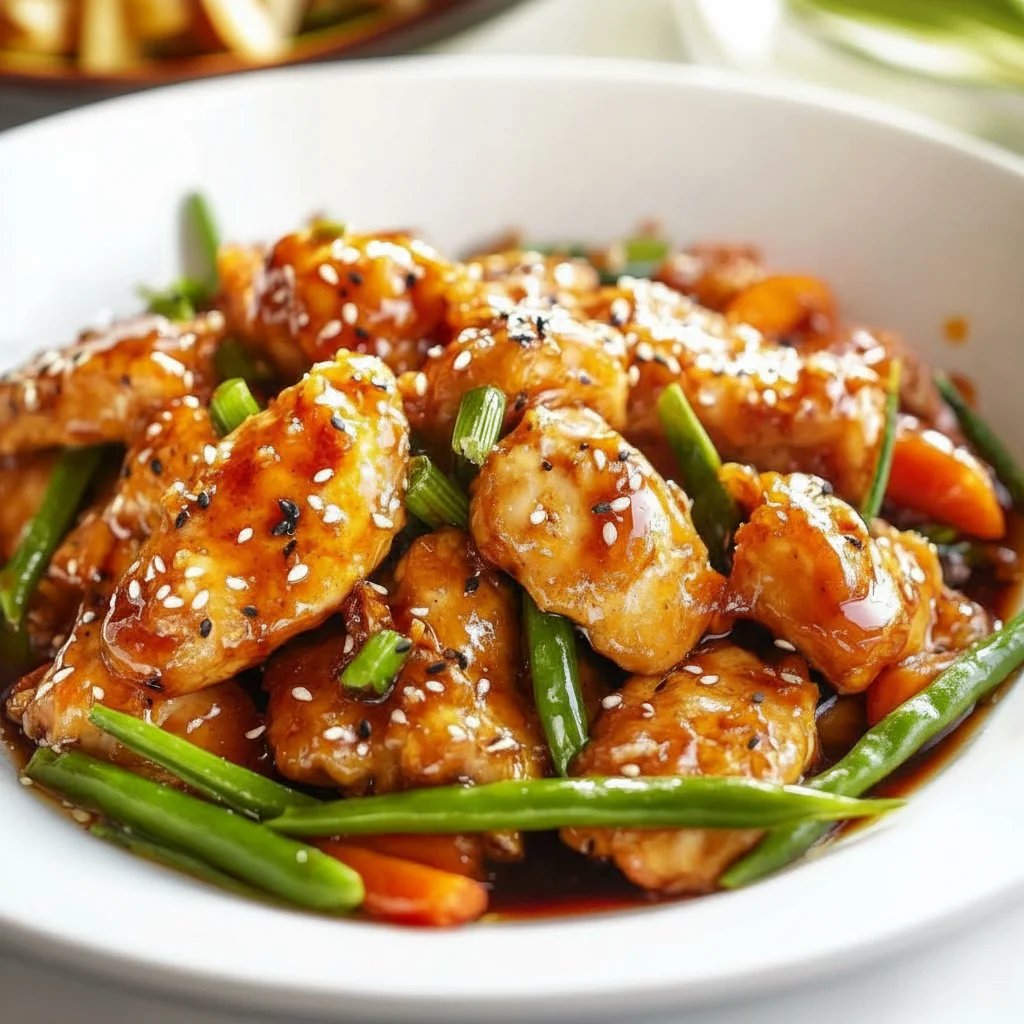
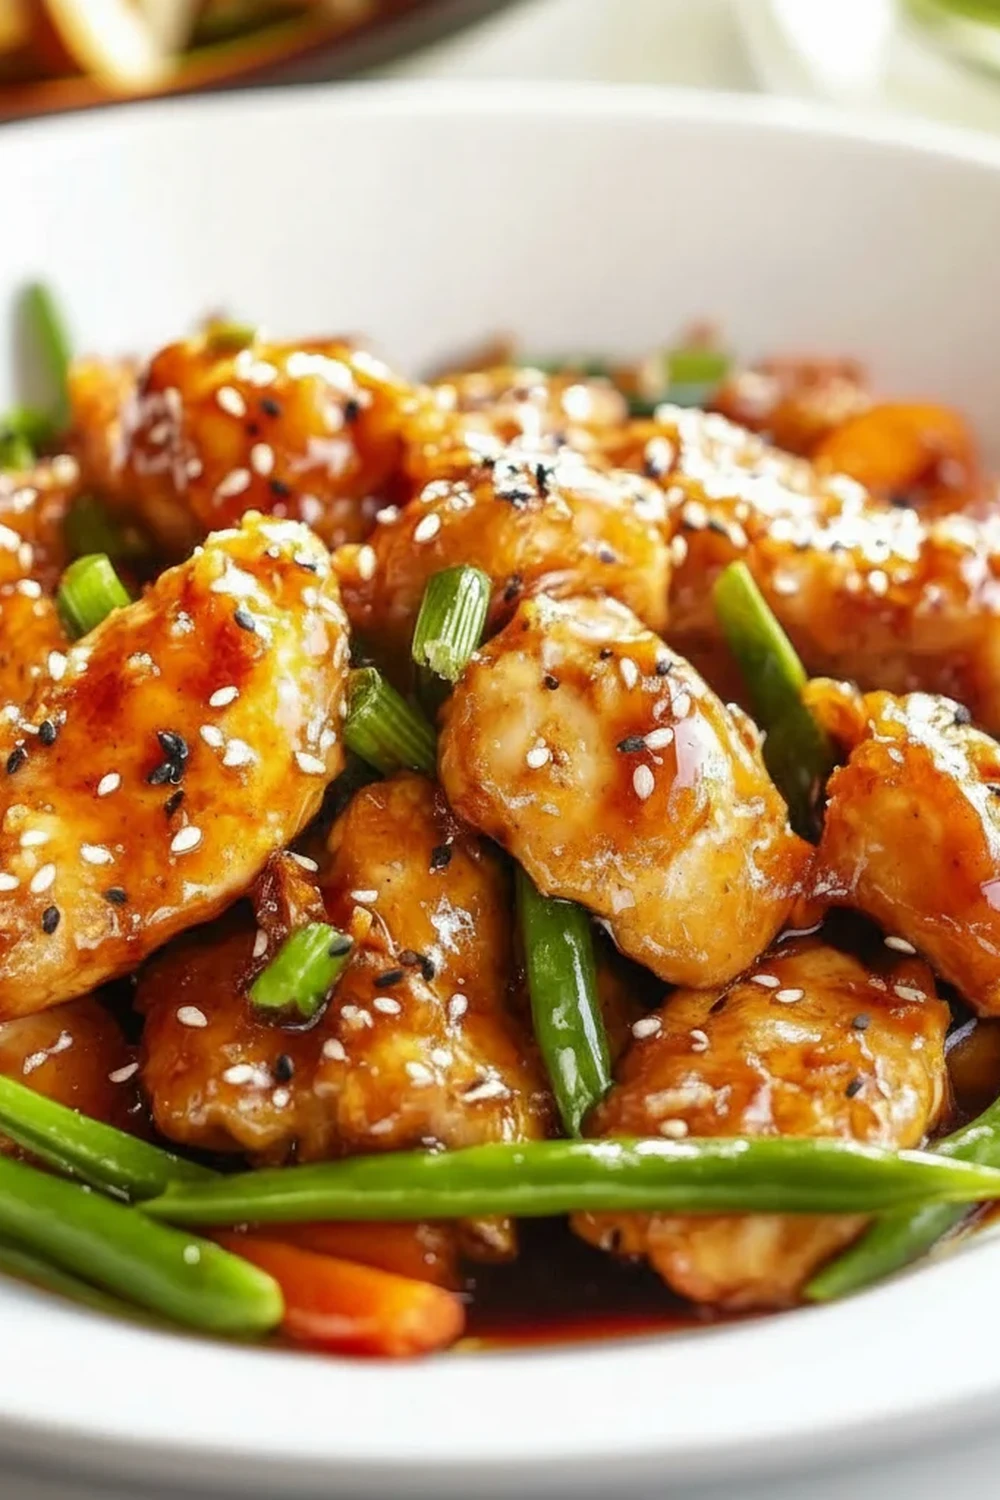
Honey Sesame Chicken Recipe Sweet and Sticky
There’s a special kind of satisfaction that comes from recreating a beloved takeaway dish at home, and getting it not just right, but even better. For me, that dish is Honey Sesame Chicken. It’s that perfect balance of sweet, savoury, and nutty, with tender chicken pieces coated in a gloriously sticky sauce. Forget the takeaway menu next Friday night; this recipe brings all that flavour to your table, and it comes together in about 30 minutes. This is my go-to recipe when I need something that feels a bit special without spending hours in the kitchen.
What sets this honey chicken recipe apart is the texture. We achieve a light, crispy coating on the chicken that stays crunchy even after being tossed in that luscious sauce. The sauce itself is the star – a simple but potent mix of golden honey, savoury soy sauce, aromatic sesame oil, and a little tang from rice vinegar. It clings to every piece of chicken, creating a dish that’s genuinely hard to stop eating. It’s a straightforward method, but the result is something truly memorable.
This is a dish for those evenings when you want a meal that feels indulgent but isn’t complicated. It works beautifully for a family dinner – my lot always go quiet when this hits the table, which is the highest praise I can get. It’s also great for a casual meal with friends, served with a big bowl of fluffy rice and some steamed greens. If you love Asian-inspired flavours, this sesame chicken recipe is one you’ll return to again and again.
Recipe Overview
This recipe guides you through creating crispy, tender pieces of chicken enveloped in a sticky, sweet, and savoury honey sesame sauce. The key is a two-part process: getting the chicken perfectly fried and then creating a sauce that thickens beautifully to coat it. After testing this many times, I found that letting the coated chicken rest for just five minutes before frying makes a huge difference to the crispiness of the final dish.
- Prep Time: 15 minutes
- Cook Time: 15 minutes
- Total Time: 30 minutes
- Servings: 4 people
- Difficulty: Easy
Why You’ll Love This Honey Sesame Chicken Recipe
- Incredible Flavour and Texture: We’re not just talking ‘tasty’. The sauce has a deep, savoury base from the soy sauce, a lovely sweetness from the honey, and a nutty aroma from the toasted sesame oil. Paired with the light, crispy coating on the chicken, every bite is a wonderful contrast.
- Ready in Under 30 Minutes: From dicing the chicken to serving, this entire meal is on the table in about half an hour, making it ideal for busy weeknights when you still want a proper home-cooked meal.
- A Adaptable Recipe: You can easily adjust the sauce to your liking. Prefer it a bit sweeter? Add another spoonful of honey. Want more of a savoury kick? A little more soy sauce will do the trick. You can also throw in some steamed broccoli or sliced peppers in the final step.
- Great for a “Fakeaway” Night: This is the ultimate recipe for a Friday night in. It has all the appeal of a takeaway favourite but is much fresher, and you know exactly what’s gone into it. It’s a brilliant alternative to ordering out.
- Family Tested and Approved: This is one of those rare dishes that my whole family agrees on. It always gets compliments and the pan is always scraped clean, which is a sure sign of a winning recipe in my house. It’s as popular as my Easy Ground Beef Tacos Recipe.
Ingredients You’ll Need
For this recipe, we’re using simple, accessible ingredients. I highly recommend using a good quality runny honey, as it will dissolve into the sauce much more smoothly. For the soy sauce, I often reach for Kikkoman or Lee Kum Kee for a reliable, well-balanced flavour.
- For the Chicken:
- 600g boneless, skinless chicken breasts, cut into 2-3cm cubes
- 1 large egg, lightly beaten
- 60g cornflour
- ½ tsp salt
- ¼ tsp black pepper
- 4 tbsp vegetable or sunflower oil, for frying
- For the Honey Sesame Sauce:
- 80ml honey (runny is best)
- 60ml light soy sauce
- 1 tbsp rice vinegar
- 1 tbsp toasted sesame oil
- 2 cloves garlic, minced
- 1 tsp fresh ginger, grated
- 1 tsp cornflour mixed with 2 tsp cold water (a cornflour slurry)
- For Garnish:
- 1 tbsp toasted sesame seeds
- 2 spring onions, finely sliced
Marcus’s Tip: Don’t be tempted to skip the toasted sesame oil. It has a much deeper, nuttier flavour than regular sesame oil and is fundamental to the dish’s signature aroma. It’s a finishing oil, so we add it at the end to preserve its delicate flavour.
How to Make Honey Sesame Chicken Recipe
The process is straightforward. We’ll start by preparing and frying the chicken until it’s golden and crisp. Then, we’ll whip up the sauce in the same pan and bring it all together. It moves quickly, so it’s a good idea to have all your sauce ingredients measured out and ready to go.
- Prepare the Chicken: Pat the chicken cubes dry with a paper towel – this is a crucial step for getting a crispy coating. Season them with salt and pepper.
- Create the Coating: In a medium bowl, whisk the egg. In a separate shallow dish, mix the 60g of cornflour with the salt and pepper.
- Coat the Chicken Pieces: Dip each piece of chicken first into the beaten egg, letting any excess drip off, and then dredge it thoroughly in the cornflour mixture. Place the coated chicken on a plate or wire rack. Let it sit for 5 minutes. This helps the coating adhere properly.
- Mix the Sauce: While the chicken is resting, combine all the sauce ingredients (honey, soy sauce, rice vinegar, sesame oil, minced garlic, and grated ginger) in a small bowl. Whisk until smooth. Keep the cornflour slurry separate for now.
- Fry the Chicken: Heat the vegetable oil in a large frying pan or wok over a medium-high heat. Once the oil is shimmering, carefully add the chicken in a single layer. It’s important not to overcrowd the pan, so do this in two batches if needed. Fry for 3-4 minutes per side, until golden brown and cooked through. I find that using a spider strainer or slotted spoon to remove the chicken is the best way to leave excess oil behind. Place the cooked chicken on a wire rack.
- Start the Sauce: Carefully wipe out any excess oil and cornflour bits from the pan. Return it to a medium heat. Pour in the prepared sauce mixture and bring it to a gentle simmer.
- Thicken the Sauce: Let the sauce bubble for about 1-2 minutes. Then, give your cornflour slurry a quick re-stir and pour it into the pan, whisking continuously. The sauce will thicken up almost immediately into a beautiful, glossy consistency.
- Combine and Serve: Turn off the heat. Return the crispy chicken to the pan and toss gently to coat every piece in the sticky sauce. Garnish with toasted sesame seeds and sliced spring onions before serving immediately.
Tips From My Kitchen
- Temperature Control is Key: For perfectly crispy, not greasy, chicken, your oil needs to be at the right temperature (around 180°C). If you don’t have a thermometer, test it by dropping a tiny piece of coating in; it should sizzle vigorously immediately. Too low and the chicken absorbs oil; too high and the coating burns before the chicken is cooked.
- The Secret to Crispy Chicken: I used to struggle with this dish until I discovered the power of a simple cornflour coating. I learned that the cornflour creates a light, almost brittle crust that holds up remarkably well against the sauce. Unlike flour, it doesn’t get heavy or soggy as quickly. You can read more about the science of crispy coatings on sites like this food science guide.
- Make-Ahead Suggestions: The sauce can be fully prepared and stored in an airtight container in the fridge for up to 3 days. When you’re ready to cook, all you need to do is fry the chicken and heat the sauce. This cuts the active cooking time down even further.
- Storage and Reheating: Leftovers can be stored in the fridge for up to 3 days. The chicken will lose its crispiness, but the flavour is still fantastic. For the best result, reheat it in an air fryer or a hot oven (200°C/180°C fan) for 5-7 minutes until hot and the edges have crisped up again. Avoid the microwave if you can.
Equipment You’ll Need
- Large non-stick frying pan or a wok
- Sharp knife and cutting board
- Two medium mixing bowls
- A small bowl or jug for the sauce
- Whisk and a wooden spoon or spatula
Common Mistakes to Avoid
- Overcrowding the Pan: This is the number one enemy of crispy chicken. Tipping all the chicken into the pan at once lowers the oil temperature drastically and causes the chicken to steam instead of fry. Always cook in batches, ensuring there’s space around each piece.
- Burning the Sauce: The honey in the sauce can catch and burn quite quickly. Keep the heat on medium and stir constantly once you add the cornflour slurry. The moment it thickens, turn off the heat before adding the chicken back in.
- Not Drying the Chicken: Before you coat the chicken, make sure it’s patted thoroughly dry with a paper towel. A dry surface helps the egg and cornflour coating stick properly, which is essential for that crispy finish.
Delicious Variations to Try
Once you’ve mastered the base recipe, it’s very easy to customise. Here are a few ideas that we enjoy at home:
- Spicy Honey Sesame Chicken: Add 1-2 teaspoons of sriracha or a pinch of red chilli flakes to the sauce mixture for a gentle, warming heat that complements the sweetness.
- Vegetarian/Vegan Option: This recipe works wonderfully with firm tofu. Press the tofu well to remove excess water, cube it, and coat and fry it exactly as you would the chicken. For a vegan sauce, simply swap the honey for maple syrup or agave nectar.
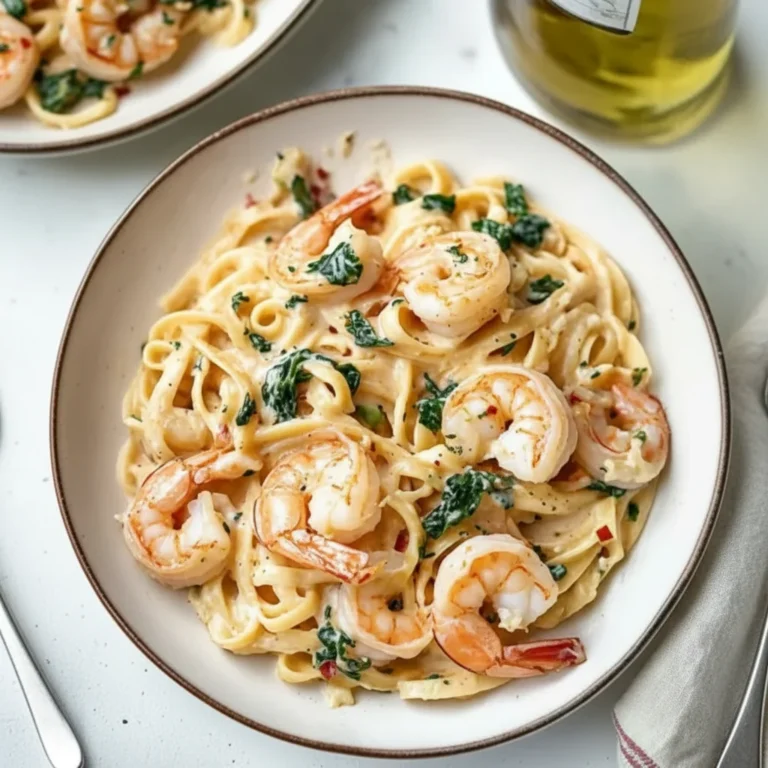
- Try it with Prawns: For a quicker version, use king prawns instead of chicken. They’ll only need 1-2 minutes of frying time per side. Toss them in the sauce right at the end for a fantastic alternative.
What to Serve With Honey Sesame Chicken
This dish is a star, so the accompaniments can be simple. The goal is to have something to soak up that incredible sauce.
- Steamed Jasmine Rice: The classic pairing. Its fluffy texture and subtle fragrance are the perfect canvas for the rich sauce.
- Steamed or Stir-fried Greens: Tenderstem broccoli, pak choi, or green beans add a fresh, vibrant element and a bit of crunch. Simply steam them or give them a quick stir-fry with a touch of garlic. This dish also works well alongside our Stuffed Bell Peppers With Turkey Recipe if you’re feeding a larger group.
- Drink Pairing: A cold, crisp lager cuts through the sweetness of the sauce beautifully. For wine lovers, an off-dry Riesling or a Pinot Gris would be an excellent match.
Frequently Asked Questions
Honey Sesame Chicken
Ingredients
Method
- Prepare the Chicken: Pat the chicken cubes dry with a paper towel – this is a crucial step for getting a crispy coating. Season them with salt and pepper.
- Create the Coating: In a medium bowl, whisk the egg. In a separate shallow dish, mix the 60g of cornflour with the salt and pepper.
- Coat the Chicken Pieces: Dip each piece of chicken first into the beaten egg, letting any excess drip off, and then dredge it thoroughly in the cornflour mixture. Place the coated chicken on a plate or wire rack. Let it sit for 5 minutes. This helps the coating adhere properly.
- Mix the Sauce: While the chicken is resting, combine all the sauce ingredients (honey, soy sauce, rice vinegar, sesame oil, minced garlic, and grated ginger) in a small bowl. Whisk until smooth. Keep the cornflour slurry separate for now.
- Fry the Chicken: Heat the vegetable oil in a large frying pan or wok over a medium-high heat. Once the oil is shimmering, carefully add the chicken in a single layer. It's important not to overcrowd the pan, so do this in two batches if needed. Fry for 3-4 minutes per side, until golden brown and cooked through. I find that using a spider strainer or slotted spoon to remove the chicken is the best way to leave excess oil behind. Place the cooked chicken on a wire rack.
- Start the Sauce: Carefully wipe out any excess oil and cornflour bits from the pan. Return it to a medium heat. Pour in the prepared sauce mixture and bring it to a gentle simmer.
- Thicken the Sauce: Let the sauce bubble for about 1-2 minutes. Then, give your cornflour slurry a quick re-stir and pour it into the pan, whisking continuously. The sauce will thicken up almost immediately into a beautiful, glossy consistency.
- Combine and Serve: Turn off the heat. Return the crispy chicken to the pan and toss gently to coat every piece in the sticky sauce. Garnish with toasted sesame seeds and sliced spring onions before serving immediately.
Notes
I really hope you enjoy making this Honey Sesame Chicken recipe. It’s one of those dishes that brings a lot of joy to my dinner table, and I hope it does the same for yours. It’s a definite keeper. If you try it, I’d love to hear how it went for you – please leave a comment and a rating below! And if you’re looking for a dessert to follow it up, why not try this incredible Giant Skillet Cookie Recipe? Enjoy!