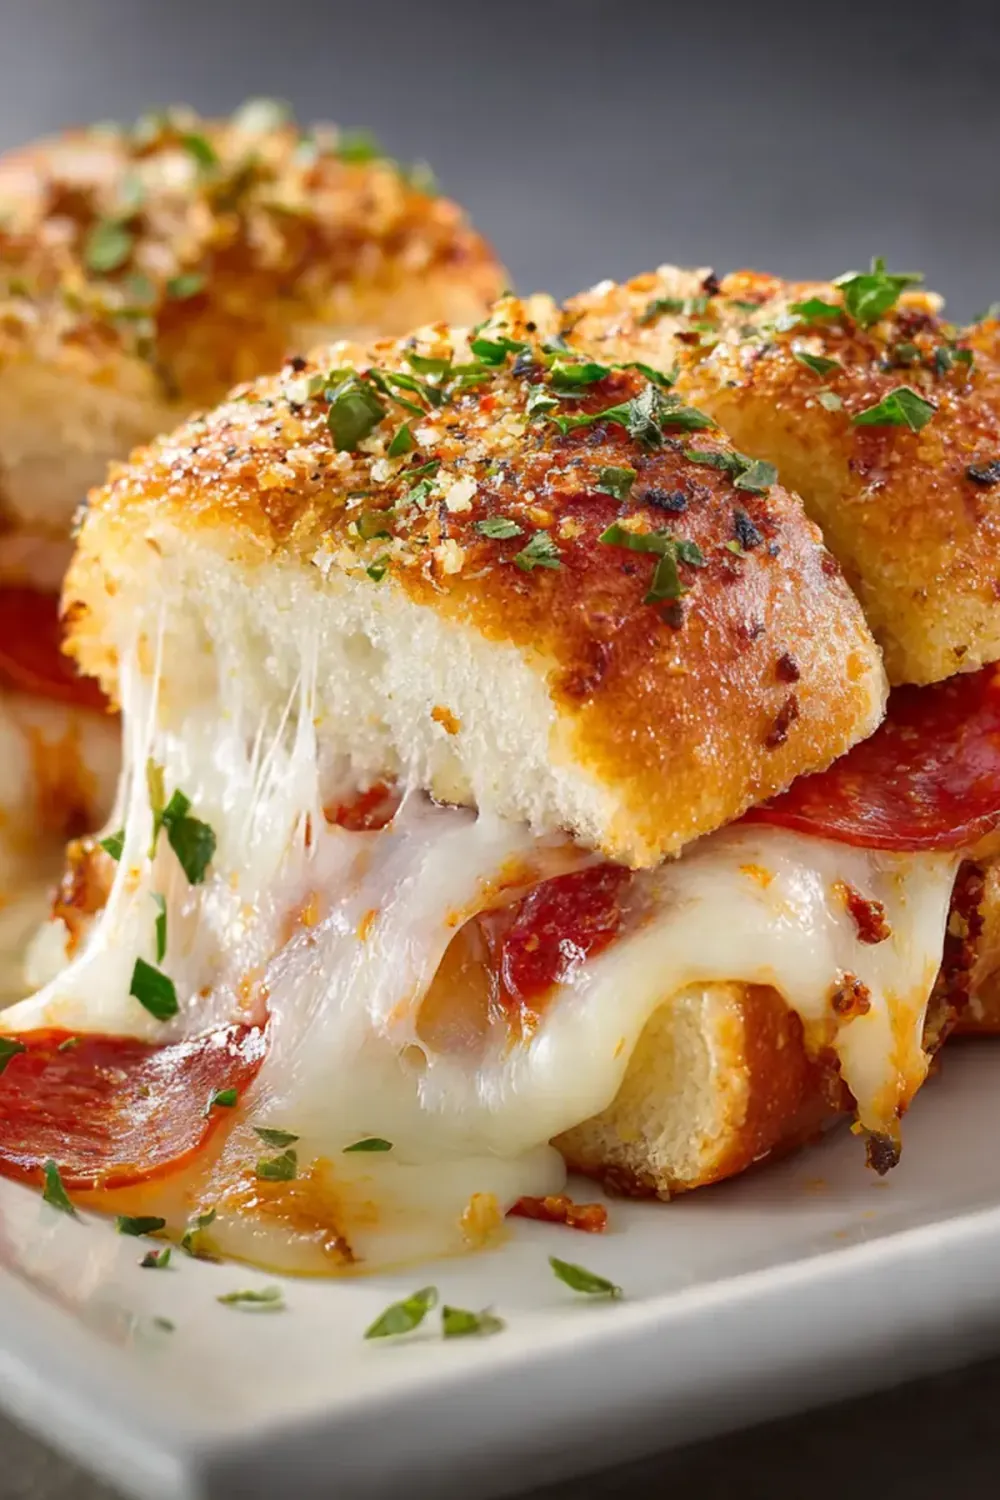
Pizza-Stuffed Garlic Bread Sliders

Welcome to my kitchen, lovely people! Today, we’re diving into a creation that merges two undeniable favourites: the comforting warmth of garlic bread and the vibrant flavours of pizza. Get ready to elevate your snack game or casual dinner spread with my Pizza-Stuffed Garlic Bread Sliders, a truly delightful and satisfying treat.
Recipe Overview
- Prep time: 25 minutes
- Cook time: 20-25 minutes
- Total time: 45-50 minutes
- Servings: 12 sliders
- Difficulty: Easy to Moderate
Why You’ll Love This Pizza-Stuffed Garlic Bread Sliders
- An Ingenious Combination: I’ve been making this for over 4 years, and it never disappoints. It ingeniously brings together the irresistible aroma of golden, buttery garlic bread with the delightful surprise of a cheesy, flavourful pizza filling. It’s a wonderful fusion that satisfies cravings for both, offering a comforting and exciting experience in every bite.
- Perfect for Sharing (or Not!): These sliders are ideal for gatherings, family meals, or even a treat for yourself after a long week. They’re portioned perfectly for easy handling, making them a fantastic addition to any social event. My husband, who’s usually picky, asked for seconds the first time I made these, and that’s when I knew I had a winner!
- Customisable Flavours: The beauty of this recipe lies in its adaptability. You can easily switch up the fillings to suit your family’s preferences or whatever ingredients you have on hand. Whether you prefer a simple cheese and tomato or something more adventurous with various vegetables and proteins, these sliders are a blank canvas for your culinary creativity.
- Beyond the Usual: Tired of the same old pizza night or garlic bread side? These sliders offer a refreshing and exciting alternative. They transform familiar flavours into something novel and engaging, making mealtime an adventure rather than a routine. It’s a dish that genuinely stands out from the usual fare.
- Effortlessly Impressive: While these sliders look and taste like they took hours to prepare, the process is surprisingly straightforward. With a few smart techniques and quality ingredients, you can create a dish that looks incredibly impressive and elicits “wows” from your diners, all without breaking a sweat in the kitchen.
Ingredients You’ll Need
- 1 large loaf (approximately 400g) of pre-baked white or sourdough bread, unsliced (a rustic artisan loaf works wonderfully)
- 115g unsalted butter, softened
- 4-5 cloves garlic, minced very finely
- 2 tablespoons fresh parsley, finely chopped
- ¼ teaspoon dried oregano
- Pinch of red chilli flakes (optional, for a subtle warmth)
- 200g passata or good quality pizza sauce
- 150g grated mozzarella cheese
- 50g grated mature cheddar cheese
- 100g cooked, shredded chicken breast (ensure it’s Halal-certified)
- 50g sliced button mushrooms
- 50g mixed bell peppers, finely diced
- Salt and freshly ground black pepper to taste
- A few fresh basil leaves for garnish (optional)
Tip: Using a good quality, sturdy loaf of bread is crucial here. It needs to hold up to the stuffing and baking without becoming soggy. Look for a loaf that feels substantial and has a decent crust.
How to Make Pizza-Stuffed Garlic Bread Sliders
- Prepare Your Loaf: Preheat your oven to 180°C (160°C fan/Gas Mark 4). Line a large baking tray with parchment paper. Take your unsliced loaf of bread and, using a serrated knife, make cuts crosswise along the top, approximately 2-2.5 cm apart, going almost all the way through to the base but leaving the bottom intact. Then, make similar cuts lengthwise, creating a grid pattern of squares or ‘sliders’. You should see the bread’s structure opening up, ready to welcome the fillings.
- Craft the Garlic Butter: In a small bowl, combine the softened unsalted butter with the finely minced garlic, chopped fresh parsley, dried oregano, and a pinch of red chilli flakes if using. Mix thoroughly until all the ingredients are well incorporated and the butter smells wonderfully aromatic with the fresh garlic and herbs. Season with a touch of salt and freshly ground black pepper.
- Butter Up Your Loaf: Carefully spread the garlic butter generously into all the cracks and crevices of your scored bread. Use a small knife or a pastry brush to ensure the butter reaches deep into every cut. The bread should look glistening and smell of fragrant garlic, ready for its transformation. Don’t be shy; the butter is key to that golden, crispy exterior.
- Layer the Pizza Filling: Gently spoon the passata or pizza sauce into the cuts, ensuring an even distribution. Follow this by nestling the shredded cooked chicken, diced bell peppers, and sliced mushrooms into the gaps. Finally, generously sprinkle the grated mozzarella and mature cheddar cheeses over the entire loaf, allowing some to fall into the crevices. The loaf should now look vibrant with colours and feel heavier with its delicious payload.
- Bake to Golden Perfection: Place the stuffed loaf onto your prepared baking tray. Bake for 20-25 minutes, or until the cheese is beautifully melted and bubbling, and the edges of the bread are golden brown and crispy. You’ll hear a gentle sizzle from the cheese and butter, and a rich, savoury aroma will fill your kitchen, signalling that it’s almost ready.
- Rest and Serve: Once out of the oven, transfer the baking tray to a wire cooling rack and let the sliders rest for about 5 minutes. This brief resting period allows the cheese to set slightly and prevents any accidental burns. Garnish with a few fresh basil leaves if desired. The bread will still be warm and tender, with the cheese slightly pulling apart as you gently separate the individual sliders. Serve immediately and watch them disappear!
Tips From My Kitchen
- Choose the Right Bread: The foundation of these sliders is the bread. A sturdy, rustic loaf like a sourdough or a good quality artisan white loaf is paramount. Avoid very soft or pre-sliced sandwich bread, as it won’t hold up to the moisture from the sauce and cheese, potentially becoming soggy. The crust should be firm enough to provide structure, and the interior dense enough to absorb the butter and fillings without collapsing. This ensures each slider maintains its shape and offers a satisfying bite.
- Don’t Skimp on the Garlic Butter: The garlic butter is what truly elevates this dish. Use good quality unsalted butter and fresh garlic for the best flavour. Soften the butter at room temperature so it’s easy to mix and spread. Spreading the garlic butter deep into the cuts ensures every bite has that essential garlicky, savoury flavour and helps the bread achieve a beautiful golden crispness. It’s the secret to that classic garlic bread allure.
- Packing the Fillings: When adding your pizza fillings, be generous but also mindful. Pack the ingredients into the cuts, but avoid overstuffing to the point where they overflow excessively before baking. The goal is to get a good amount of filling into each ‘slider’ segment, ensuring a balanced flavour in every bite. If you overstuff, the ingredients might spill out and burn on the tray, making for a messier bake and potentially dry fillings.
- The Cheese Blend is Key: While mozzarella is traditional for its melt, combining it with another cheese like mature cheddar or even a little Parmesan adds depth of flavour and a lovely golden crust. Mozzarella provides the stretch and creaminess, while cheddar offers a sharper, more complex taste. This blend creates a richer, more satisfying cheesy experience.
- Warm Oven for Best Results: Ensure your oven is fully preheated to the specified temperature before you put the sliders in. A hot oven helps the bread crisp up quickly, melts the cheese efficiently, and ensures the fillings heat through without the bread drying out. Baking at the correct temperature is vital for achieving that perfect balance of crispy exterior and gooey, warm interior.
- The Power of Resting: While it might be tempting to dive straight in, allowing the sliders to rest for 5 minutes after baking is a small but important step. This brief pause allows the molten cheese to set slightly, making the sliders easier to separate and handle without everything falling apart. It also helps redistribute the heat, preventing burnt mouths and ensuring a more enjoyable eating experience.
Equipment You’ll Need
- Stand mixer or hand mixer (optional, for creaming butter if needed)
- Baking tray
- Parchment paper
- Wire cooling rack
- Serrated knife
- Small bowl
- Pastry brush (optional)
Common Mistakes to Avoid
- Using the Wrong Bread: Opting for a soft, flimsy bread will lead to a soggy, falling-apart mess. The bread needs to be robust enough to withstand the moisture and weight of the fillings. Always choose a substantial, rustic loaf that can hold its structure during baking.
- Under-scoring the Loaf: Not cutting deeply enough into the bread means you won’t create enough pockets for the garlic butter and fillings. This results in uneven flavour distribution and less ‘stuffing’ in each slider. Ensure your cuts go almost all the way to the bottom, creating clear channels for the ingredients.
- Overcrowding the pan: While you’re only baking one loaf, ensure your baking tray is large enough to comfortably hold it without touching the sides too much. Overcrowding can lead to uneven baking and prevent the bread from crisping up properly. It’s also important not to overstuff the individual cuts so much that the cheese and fillings spill out excessively onto the tray and burn.
- Wrong temperature: Baking at too low a temperature will result in a chewy, pale bread and cheese that doesn’t melt properly. Too high, and the bread might burn before the fillings are heated through. Stick to the recommended 180°C (160°C fan/Gas Mark 4) for optimal results, ensuring a golden, crispy exterior and beautifully melted cheese.
- Skipping the rest time: Diving into freshly baked sliders immediately can lead to burnt fingers and a messy situation as the molten cheese and hot fillings haven’t had a chance to set. Resting for 5 minutes allows the internal temperature to stabilise and the cheese to firm up slightly, making the sliders much easier and safer to enjoy.
Delicious Variations to Try
- Spicy Version: For those who love a bit of a kick, generously add more red chilli flakes to your garlic butter, or sprinkle some finely chopped fresh green chillies directly into the filling. A drizzle of a Halal-friendly hot sauce over the top just before serving also adds a fantastic fiery note.
- Vegetarian/Vegan Option: This recipe is incredibly adaptable for plant-based diets. For a vegetarian version, simply omit the chicken and load up on extra vegetables like courgette, spinach, or sun-dried tomatoes. For a vegan option, swap the butter for a plant-based alternative, use a dairy-free cheese blend, and ensure your bread is vegan-friendly.
- Different Protein: Instead of shredded chicken, consider using seasoned minced beef, cooked turkey mince, or even small cubes of grilled Halloumi cheese for a different textural and flavour profile. Ensure any meat products adhere to Halal requirements. These alternatives offer a fantastic way to refresh the recipe while maintaining its hearty appeal. You could also try adding Korean Ground Beef Bowl Recipe inspired flavours for an exciting twist!
What to Serve With Pizza-Stuffed Garlic Bread Sliders
- A crisp green salad with a light vinaigrette
- A bowl of warm tomato soup for dipping
- A side of marinara sauce for extra dipping pleasure
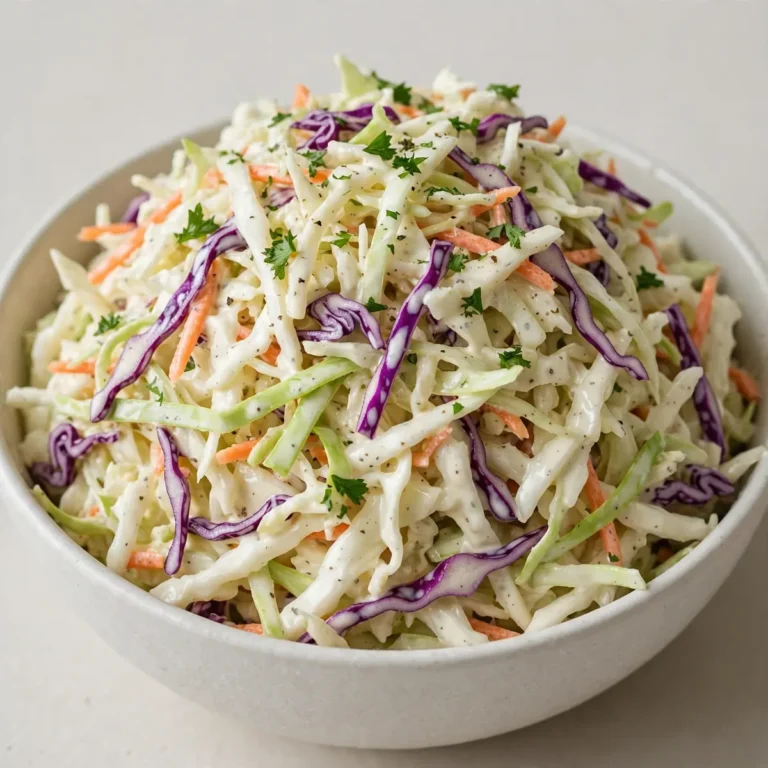
- Coleslaw or a simple cucumber salad
Frequently Asked Questions
Pizza-Stuffed Garlic Bread Sliders
Ingredients
Method
- Prepare Your Loaf: Preheat your oven to 180°C (160°C fan/Gas Mark 4). Line a large baking tray with parchment paper. Take your unsliced loaf of bread and, using a serrated knife, make cuts crosswise along the top, approximately 2-2.5 cm apart, going almost all the way through to the base but leaving the bottom intact. Then, make similar cuts lengthwise, creating a grid pattern of squares or 'sliders'. You should see the bread's structure opening up, ready to welcome the fillings.
- Craft the Garlic Butter: In a small bowl, combine the softened unsalted butter with the finely minced garlic, chopped fresh parsley, dried oregano, and a pinch of red chilli flakes if using. Mix thoroughly until all the ingredients are well incorporated and the butter smells wonderfully aromatic with the fresh garlic and herbs. Season with a touch of salt and freshly ground black pepper.
- Butter Up Your Loaf: Carefully spread the garlic butter generously into all the cracks and crevices of your scored bread. Use a small knife or a pastry brush to ensure the butter reaches deep into every cut. The bread should look glistening and smell of fragrant garlic, ready for its transformation. Don't be shy; the butter is key to that golden, crispy exterior.
- Layer the Pizza Filling: Gently spoon the passata or pizza sauce into the cuts, ensuring an even distribution. Follow this by nestling the shredded cooked chicken, diced bell peppers, and sliced mushrooms into the gaps. Finally, generously sprinkle the grated mozzarella and mature cheddar cheeses over the entire loaf, allowing some to fall into the crevices. The loaf should now look vibrant with colours and feel heavier with its delicious payload.
- Bake to Golden Perfection: Place the stuffed loaf onto your prepared baking tray. Bake for 20-25 minutes, or until the cheese is beautifully melted and bubbling, and the edges of the bread are golden brown and crispy. You'll hear a gentle sizzle from the cheese and butter, and a rich, savoury aroma will fill your kitchen, signalling that it's almost ready.
- Rest and Serve: Once out of the oven, transfer the baking tray to a wire cooling rack and let the sliders rest for about 5 minutes. This brief resting period allows the cheese to set slightly and prevents any accidental burns. Garnish with a few fresh basil leaves if desired. The bread will still be warm and tender, with the cheese slightly pulling apart as you gently separate the individual sliders. Serve immediately and watch them disappear!
Notes
There you have it – a recipe that’s sure to become a firm favourite in your home. These Pizza-Stuffed Garlic Bread Sliders are more than just a meal; they’re an experience, blending familiar comforts with exciting flavours. Give them a try, experiment with your favourite fillings, and don’t forget to share your creations and thoughts in the comments below. I’d love to hear how you make them your own!