Cheesy Breadsticks
There are some bakes that just feel like a warm hug, and these homemade cheesy breadsticks are exactly that. Imagine a soft, chewy bread base, slathered in fragrant garlic butter, and then blanketed with a generous layer of gloriously melty cheese that pulls away in long, satisfying strings. This isn’t just a side dish; it’s the part of the meal that everyone reaches for first. We’re not using any pre-made dough here; we’re creating something truly special from scratch that fills the whole house with an irresistible aroma. I make this at least once a week – it’s become a family favourite.
This recipe is my go-to for so many occasions. It works wonderfully for a relaxed family film night, served alongside a big bowl of tomato soup. It’s also a fantastic appetizer when friends come over, disappearing from the board in minutes. The process is straightforward, and the result is a bakery-quality treat that feels genuinely rewarding to make. Kids love getting involved in kneading the dough, and everyone loves watching the cheese bubble and turn golden in the oven. Let’s get our hands doughy and create some brilliant garlic cheese bread.
Recipe Overview
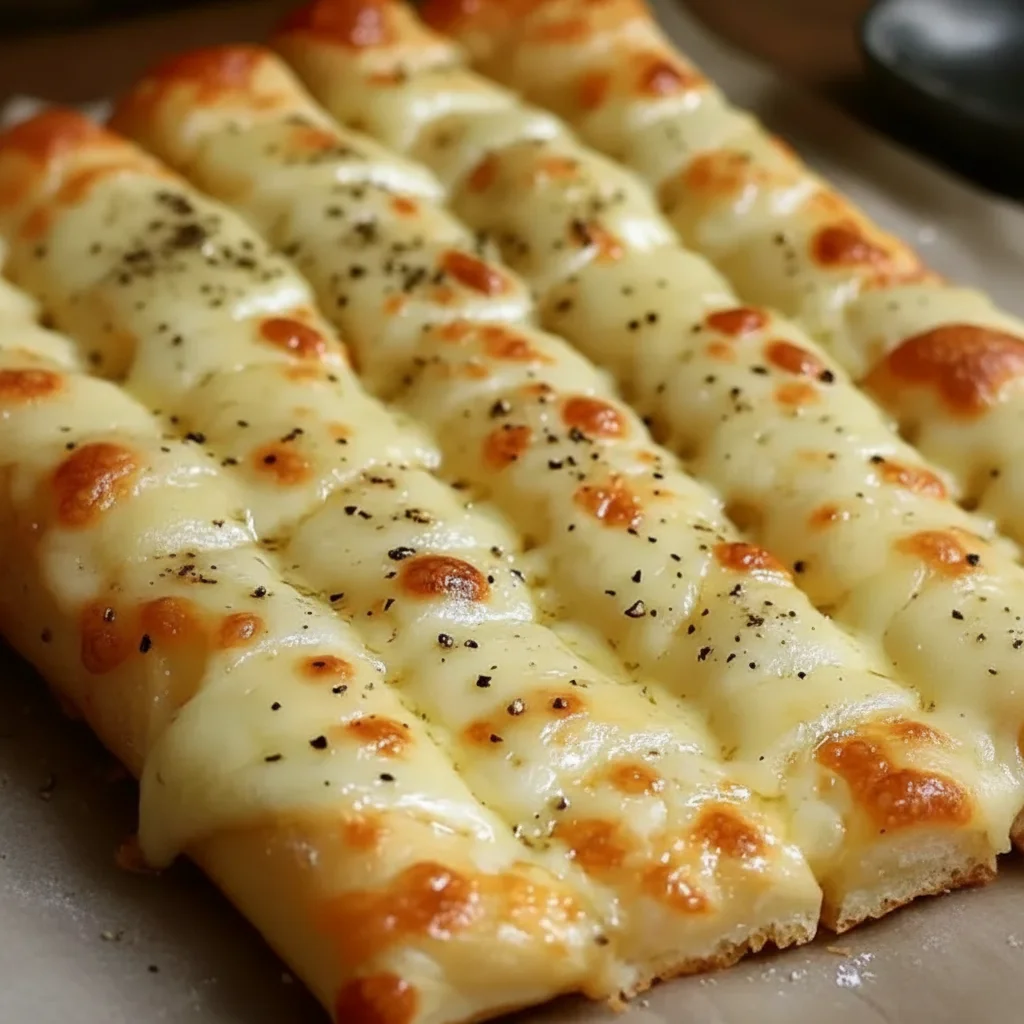
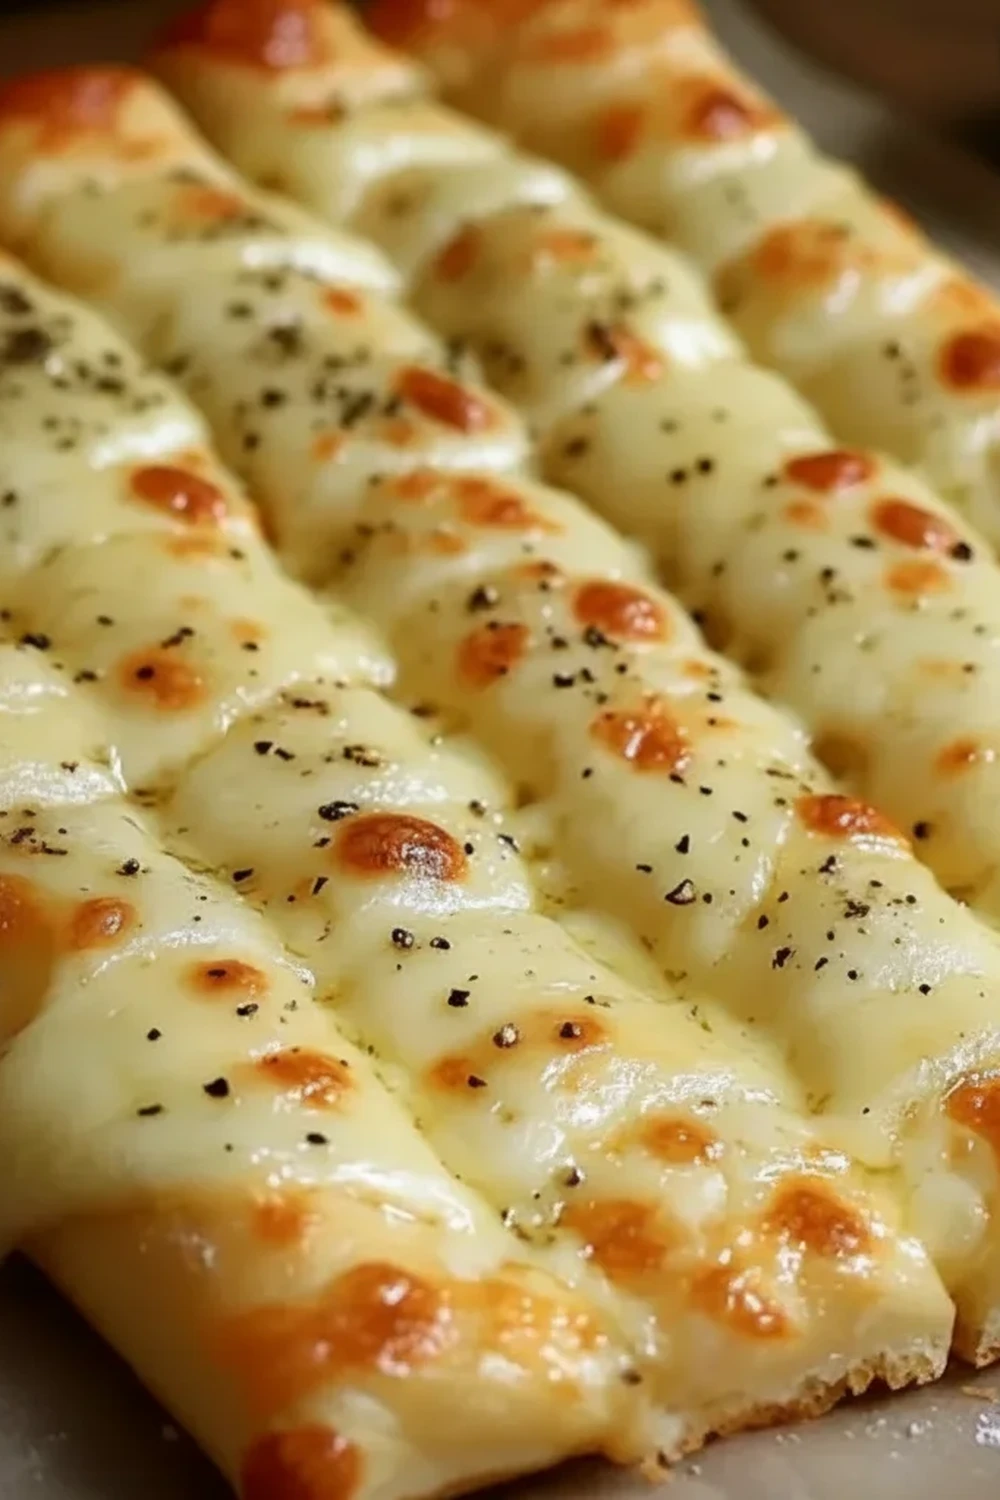
This recipe produces soft, pillowy breadsticks with a rich garlic butter flavour and a perfectly browned, gooey cheese topping. The dough is supple and easy to work with, resulting in a light texture that’s a brilliant contrast to the crisp, cheesy crust. I’ve tested various cheese combinations, and I find a mix of mozzarella and a mature cheddar gives you the best of both worlds: incredible meltiness and a deep, savoury flavour.
- Prep Time: 20 minutes (plus 60 minutes rising)
- Cook Time: 15 minutes
- Total Time: 1 hour 35 minutes
- Servings: 12 breadsticks (serves 6-8 people)
- Difficulty: Easy
Why You’ll Love This Cheesy Breadsticks Recipe
- Genuine Flavour: The combination of fresh garlic, real butter, and a blend of two cheeses creates a deep, savoury taste that you just don’t get from shop-bought versions. The sprinkle of dried oregano adds a lovely, herby warmth.
- Ready in Under 2 Hours: While the dough needs time to rise, the active kitchen time is minimal. From start to finish, you can have these golden beauties on the table in about an hour and a half, most of which is hands-off time.
- Flexible Recipe: You can easily adapt this to your tastes. Add some finely chopped jalapeños for a spicy kick, or mix in some cooked, crumbled bacon with the cheese for an extra layer of savoury goodness.
- Great for Sharing: These are ideal for gathering around a table. Serve them as a starter for a pasta night or alongside a main like our Creamy Chicken And Rice Recipe One Pot Meal. They’re designed to be pulled apart and enjoyed together.
- Family Tested: My children absolutely adore these, and they always get rave reviews from guests. It’s one of those recipes that everyone seems to love.
Ingredients You’ll Need
For the best results, use good quality ingredients. I always opt for full-fat block mozzarella and grate it myself; it melts so much better than the pre-grated kind which often contains anti-caking agents. For the yeast, make sure it’s fresh and active for the best rise.
- For the Dough:
- 500g strong white bread flour, plus extra for dusting
- 7g fast-action dried yeast (1 sachet)
- 1 tsp caster sugar
- 1 ½ tsp fine sea salt
- 300ml lukewarm water
- 2 tbsp olive oil
- For the Topping:
- 75g unsalted butter, melted
- 3 large cloves of garlic, minced or finely grated
- 1 tsp dried oregano
- ½ tsp sea salt flakes
- 150g mozzarella cheese, grated
- 100g mature cheddar cheese, grated
- Fresh parsley, finely chopped (for garnish)
Marcus’s Tip: Using lukewarm water is crucial. To test it, just put a drop on your wrist – it should feel comfortably warm, not hot. Too hot and you’ll risk harming the yeast, which is essential for a light, airy dough.
How to Make Cheesy Breadsticks
The process starts with a simple bread dough, which we’ll let rise before shaping and topping with that delicious garlic butter and cheese. Don’t rush the rising time; it’s what gives the breadsticks their wonderfully soft texture.
- Activate the Yeast: In a small bowl, combine the lukewarm water, caster sugar, and fast-action yeast. Give it a gentle stir and let it sit for 5-10 minutes. You’ll know it’s ready when it becomes frothy and bubbly on top. This step proves your yeast is active.
- Make the Dough: In the bowl of a stand mixer fitted with a dough hook, combine the bread flour and salt. With the mixer on a low speed, slowly pour in the yeast mixture and the olive oil. Mix until a shaggy dough forms.
- Knead the Dough: Increase the mixer speed to medium-low and knead for 8-10 minutes, or until the dough is smooth and elastic. If kneading by hand, turn the dough out onto a lightly floured surface and knead for about 10-12 minutes. The dough should spring back when you press it gently with a finger.
- First Rise: Lightly oil a large bowl. Shape the dough into a ball, place it in the bowl, and turn it over to coat it in the oil. Cover the bowl with a clean tea towel or cling film and leave it in a warm, draught-free place for about 1 hour, or until it has doubled in size.
- Shape the Breadsticks: Gently knock the air out of the risen dough. On a lightly floured surface, press and stretch the dough into a rectangle roughly 30cm x 25cm. Transfer it carefully to a large baking tray lined with parchment paper.
- Add the Topping: Preheat your oven to 200°C (180°C fan). In a small bowl, mix the melted butter, minced garlic, dried oregano, and salt flakes. Brush this mixture evenly over the surface of the dough, making sure to get right to the edges.
- Cheese It Up: Sprinkle the grated mozzarella and cheddar cheese evenly over the garlic butter. Now, using a sharp knife or a pizza cutter, slice the dough into 12 equal strips, but don’t cut all the way through the bottom – just score it deeply. This makes them easy to pull apart later. I find a pizza cutter gives the cleanest lines.
- Bake to Perfection: Bake for 12-15 minutes, or until the cheese is bubbling and golden brown and the edges are crisp. Let it cool on the tray for a few minutes before transferring to a wire rack. Garnish with fresh parsley before serving warm.
Tips From My Kitchen
- Temperature Control: The temperature of your water for the yeast is non-negotiable. If it’s too cold, the yeast won’t activate properly. If it’s too hot, it will kill it. The ideal range is between 40-46°C. You can find a more detailed explanation of how different types of yeast work and why temperature matters.
- The Secret Step: For extra flavour, I reserve about a tablespoon of the garlic butter mixture and brush it over the breadsticks as soon as they come out of the oven. This adds another layer of buttery garlic goodness. I learned that this little trick makes a huge difference to the final taste.
- Make-Ahead: You can prepare the dough up to 24 hours in advance. After the first rise, knock it back, wrap it tightly in cling film, and store it in the fridge. Let it come to room temperature for about 30 minutes before shaping and baking.
- Storage: These cheesy breadsticks are best enjoyed fresh on the day they’re made. However, if you have leftovers, store them in an airtight container at room temperature for up to 2 days. Reheat in the oven at 180°C for 5 minutes to restore their crispness.
Equipment You’ll Need
- Stand mixer with a dough hook (or a large bowl and your hands!)
- Large baking tray
- Parchment paper
- Wire cooling rack
- Pizza cutter or sharp knife
Common Mistakes to Avoid
- Overcrowding the pan: When you stretch your dough, make sure it fits comfortably on your baking tray. If it’s too cramped, the breadsticks will steam rather than bake, resulting in a soggy texture instead of a crisp crust.
- Wrong temperature: An oven that’s not hot enough will lead to pale, undercooked bread. Make sure your oven is fully preheated to 200°C (180°C fan) before the tray goes in. This initial blast of heat is key for a good bake.
- Skipping the rest time: The one-hour rise is crucial for developing both the flavour and the light, airy texture of the bread. Skipping this step will result in dense, heavy breadsticks. Be patient – it’s worth it!
Delicious Variations to Try
Once you’ve mastered the basic recipe, feel free to get creative. This dough is a fantastic canvas for other flavours. Why not try a sweet version with our Maple Pecan Sticky Buns Recipe?
- Spicy Version: Add 1 teaspoon of red chilli flakes to the garlic butter mixture. You could also mix finely chopped fresh chillies or jalapeños in with the cheese for an extra kick of heat.
- Herb Garden Breadsticks: Mix a tablespoon of finely chopped fresh herbs like rosemary, thyme, and chives into the dough during the kneading stage for a more complex, aromatic bread.
- Meat Lover’s Style: Sprinkle over some mini pepperoni slices or cooked, crumbled bacon along with the cheese before baking. This turns them into a more substantial appetizer, ideal for pairing with our Easy Ground Beef Tacos Recipe.
What to Serve With Cheesy Breadsticks
These are incredibly versatile. They stand alone as a fantastic appetizer or snack, but they also complement a wide range of meals.
- Marinara Dipping Sauce: A simple, warm marinara or tomato and basil sauce is the classic pairing. The acidity of the tomato cuts through the richness of the cheese beautifully.
- Hearty Soups and Stews: Use them to mop up a bowl of creamy tomato soup, a hearty minestrone, or a rich beef stew. They are much more interesting than a standard bread roll.
- Drink Pairing: A crisp, light lager or a chilled glass of Sauvignon Blanc works wonderfully here. For a non-alcoholic option, a sharp, sparkling lemonade provides a lovely contrast.
Frequently Asked Questions
Cheesy Breadsticks
Ingredients
Method
- Activate the Yeast: In a small bowl, combine the lukewarm water, caster sugar, and fast-action yeast. Give it a gentle stir and let it sit for 5-10 minutes. You'll know it's ready when it becomes frothy and bubbly on top. This step proves your yeast is active.
- Make the Dough: In the bowl of a stand mixer fitted with a dough hook, combine the bread flour and salt. With the mixer on a low speed, slowly pour in the yeast mixture and the olive oil. Mix until a shaggy dough forms.
- Knead the Dough: Increase the mixer speed to medium-low and knead for 8-10 minutes, or until the dough is smooth and elastic. If kneading by hand, turn the dough out onto a lightly floured surface and knead for about 10-12 minutes. The dough should spring back when you press it gently with a finger.
- First Rise: Lightly oil a large bowl. Shape the dough into a ball, place it in the bowl, and turn it over to coat it in the oil. Cover the bowl with a clean tea towel or cling film and leave it in a warm, draught-free place for about 1 hour, or until it has doubled in size.
- Shape the Breadsticks: Gently knock the air out of the risen dough. On a lightly floured surface, press and stretch the dough into a rectangle roughly 30cm x 25cm. Transfer it carefully to a large baking tray lined with parchment paper.
- Add the Topping: Preheat your oven to 200°C (180°C fan). In a small bowl, mix the melted butter, minced garlic, dried oregano, and salt flakes. Brush this mixture evenly over the surface of the dough, making sure to get right to the edges.
- Cheese It Up: Sprinkle the grated mozzarella and cheddar cheese evenly over the garlic butter. Now, using a sharp knife or a pizza cutter, slice the dough into 12 equal strips, but don't cut all the way through the bottom – just score it deeply. This makes them easy to pull apart later. I find a pizza cutter gives the cleanest lines.
- Bake to Perfection: Bake for 12-15 minutes, or until the cheese is bubbling and golden brown and the edges are crisp. Let it cool on the tray for a few minutes before transferring to a wire rack. Garnish with fresh parsley before serving warm.
Notes
There you have it – my tried-and-tested recipe for the ultimate homemade cheesy breadsticks. I really hope you give them a go. The smell alone is worth the effort, and the taste is something else entirely. They are a simple joy to make and an even greater joy to eat. If you try this recipe, please drop a comment below and let me know how they turned out for you. Happy baking!