Small-Batch Desserts for Two People
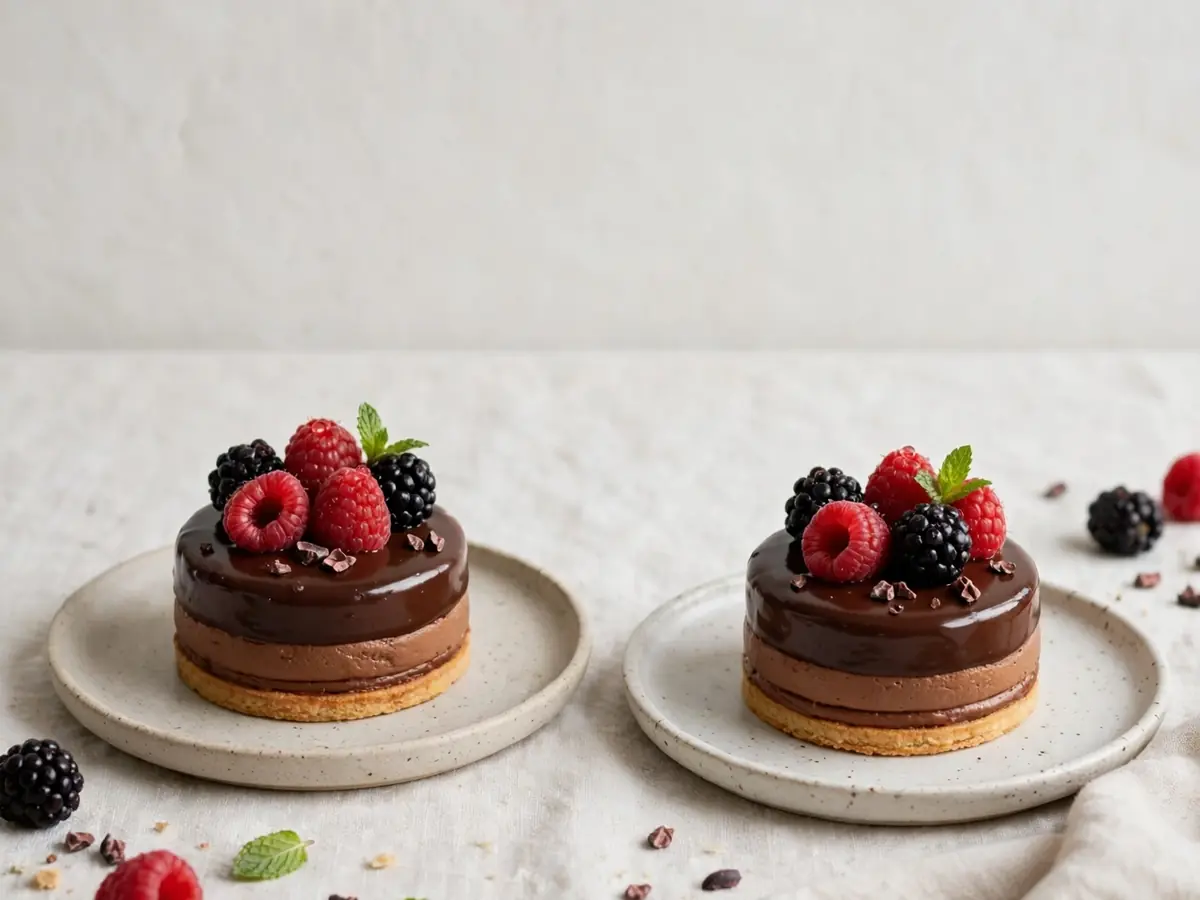
Most dessert recipes are written for a crowd: a 9×13-inch pan of brownies, a dozen cupcakes, a full cheesecake. That’s wonderful when you’re feeding a party, but it’s a problem when there are only two of you and a craving for something sweet. Baking a full batch means days of leftovers, temptation, and eventually stale treats in the trash. Small-batch desserts solve that problem elegantly. They’re scaled down to yield just two generous servings, they come together in minutes, and they use equipment you already own — no specialty pans required.
This guide covers everything you need to know about making small-batch desserts for two: the core principles, essential equipment, practical ingredient substitutions, and four complete, distinct recipes you can make tonight. Each recipe includes precise quantities, numbered steps, cooking times, and storage guidance. Whether you want a warm chocolate cake in 15 minutes or a bright lemon dessert that feels like a weekend project, there’s a recipe here for you.
Why Small-Batch Baking Works
Scaling a recipe down isn’t as simple as dividing everything by four. Eggs, leaveners, and pan sizes behave differently at small volumes. A single egg can be too much for a tiny batch, and a pinch of baking soda can be hard to distribute evenly. The recipes below are designed from the ground up for two servings rather than converted from larger batches, so the ratios actually work.
Small-batch baking also has practical advantages. You can use a toaster oven or a small oven-safe skillet, which preheats faster and uses less energy. Mixing bowls stay small, cleanup takes two minutes, and you can experiment with flavors without committing to a full pan. If you’re new to baking, small batches are forgiving: a mistake costs pennies, not a whole afternoon.
For more dessert inspiration beyond this article, browse the Cuisinebite blog, and if you’re someone who loves breakfast-style sweets, the easy sheet pan pancakes recipe for a crowd shows how batch size changes technique — useful perspective when you’re scaling down.
Essential Equipment for Two-Serving Desserts
You don’t need much. A few small pieces of equipment make the process smoother:
- Two 6-ounce ramekins (or one 8-ounce ramekin if you prefer a single larger cake) for molten cakes and custards.
- A small loaf pan (about 8×4 inches) for quick breads and small cakes.
- A 6-inch round cake pan or a small oven-safe skillet for single-layer cakes and crumbles.
- A mini muffin tin (6-cup) for tiny tarts and bites.
- A digital kitchen scale, ideally, for precise small quantities — a few grams matter more when the batch is small.
- Two small mixing bowls and a whisk or fork.
If you only own a standard muffin tin, you can bake two portions in two cups of the tin and fill the empty cups halfway with water to prevent warping. That trick works for nearly every recipe below.
Key Principles for Scaling Down Successfully
Three rules keep small batches reliable. First, weigh your flour if you can. A cup of flour can vary by 20 percent depending on how it’s scooped, and in a two-serving recipe that variance is significant. Second, beat eggs thoroughly before measuring when a recipe calls for half an egg: crack the egg into a small bowl, whisk it, then measure out half by volume (about 1½ tablespoons). Third, watch the oven closely. Small desserts bake fast, and the window between perfectly done and overbaked is narrow. Set a timer for the low end of the range and check early.
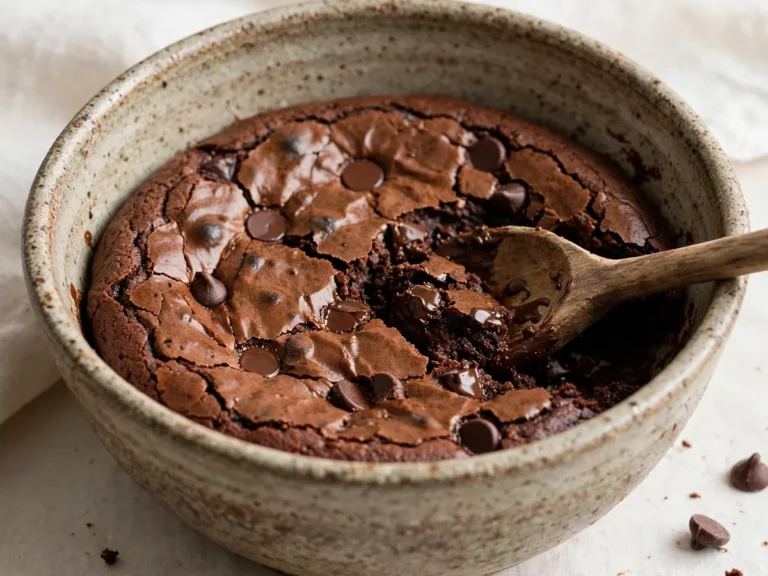
Recipe 1: Molten Chocolate Cakes for Two
Servings: 2 · Prep time: 10 minutes · Bake time: 12–14 minutes
These individual cakes have a warm, flowing center and take less time to make than preheating a full oven for a sheet cake. Use ramekins for the classic result.
Ingredients:
- 3 tablespoons (42 g) unsalted butter, plus extra for greasing
- 2 ounces (56 g) bittersweet chocolate, chopped (60–70% cacao)
- 1 large egg
- 1 large egg yolk
- 2 tablespoons (25 g) granulated sugar
- ¼ teaspoon vanilla extract
- 2 tablespoons (15 g) all-purpose flour
- Pinch of fine salt
- Cocoa powder, for dusting the ramekins
Instructions:
- Preheat the oven to 425°F (220°C). Generously butter two 6-ounce ramekins and dust them with cocoa powder, tapping out the excess.
- Melt the butter and chocolate together in a small heatproof bowl set over barely simmering water, or in the microwave in 20-second bursts, stirring until smooth. Let cool for 2 minutes.
- In a small bowl, whisk the egg, egg yolk, sugar, and vanilla until pale and slightly thickened, about 1 minute.
- Whisk the warm chocolate mixture into the egg mixture until fully combined.
- Fold in the flour and salt with a spatula just until no streaks remain. Divide evenly between the ramekins.
- Bake for 12–14 minutes, until the edges are set and the centers still jiggle slightly when nudged. Do not overbake.
- Cool for 1 minute, then run a knife around the edges and invert onto plates, or serve in the ramekins. Dust with cocoa or powdered sugar and serve immediately.
Substitutions: Milk chocolate works but reduces the contrast of the molten center; add a pinch more salt. For a gluten-free version, substitute the flour with 2 tablespoons of fine almond flour. No ramekins? Use two cups of a standard muffin tin, greased and floured, and bake 10–12 minutes.
Storage: Best eaten fresh. The batter can be made up to 24 hours ahead, poured into ramekins, covered, and refrigerated; add 2 minutes to the bake time.
Recipe 2: Small-Batch Lemon Crumb Bars
Servings: 2 generous bars (or 4 small squares) · Prep time: 15 minutes · Bake time: 28–32 minutes
Bright, buttery, and just sweet enough, these bars use a small loaf pan and a simple press-in crust. If you enjoy citrus desserts, the lemon crumb bars recipe on Cuisinebite is a larger-format version of the same idea — a good reference for technique, while this one is scaled for two.
Ingredients:
For the crust and crumb:
- ½ cup (60 g) all-purpose flour
- 3 tablespoons (37 g) granulated sugar
- ¼ teaspoon baking powder
- Pinch of salt
- 3 tablespoons (42 g) cold unsalted butter, cubed
- 1 teaspoon lemon zest
For the filling:
- 1 large egg yolk
- 2 tablespoons (25 g) granulated sugar
- 1½ tablespoons fresh lemon juice (about ½ lemon)
- 1 teaspoon lemon zest
- 1 teaspoon all-purpose flour
Instructions:
- Preheat the oven to 350°F (175°C). Line a small 8×4-inch loaf pan with parchment, leaving overhang on two sides.
- Make the crust: whisk the flour, sugar, baking powder, salt, and lemon zest in a bowl. Rub in the cold butter with your fingertips until the mixture resembles coarse crumbs with some pea-sized pieces.
- Press two-thirds of the crumb mixture firmly into the bottom of the prepared pan. Bake for 10 minutes, until lightly golden.
- Meanwhile, whisk the egg yolk, sugar, lemon juice, zest, and flour until smooth.
- Pour the filling over the warm crust, spreading evenly. Scatter the remaining crumb mixture over the top.
- Bake for 18–22 minutes, until the filling is set and the top is golden. Cool completely in the pan, about 30 minutes, then lift out using the parchment and cut into 2 large bars or 4 small squares.
Substitutions: Lime or orange work in place of lemon. For a whole-grain version, swap half the flour for white whole wheat. If you don’t have a loaf pan, use a 6-inch round cake pan and reduce the bake time by 2–3 minutes.
Storage: Store in an airtight container in the refrigerator for up to 4 days. Bring to room temperature before serving for the best texture.
Recipe 3: Two-Ingredient Chocolate Mousse
Servings: 2 · Prep time: 15 minutes · Chill time: 1 hour
This mousse relies on chocolate and water — no cream, no eggs — and produces a surprisingly rich, airy result. It’s the fastest dessert in this collection.
Ingredients:
- 3½ ounces (100 g) dark chocolate (60–70% cacao), finely chopped
- ½ cup (120 ml) water
- Pinch of fine salt
- 1 teaspoon sugar (optional, depending on chocolate sweetness)
- ¼ teaspoon vanilla extract
Instructions:
- Place the chopped chocolate in a medium heatproof bowl.
- Combine the water, salt, and sugar (if using) in a small saucepan and bring just to a simmer.
- Pour the hot water over the chocolate and let sit for 1 minute, then stir gently until completely smooth.
- Set the bowl over a larger bowl of ice water and whisk steadily until the mixture thickens and holds soft peaks, 5–8 minutes. Stir in the vanilla in the final minute.
- Divide between two small glasses and refrigerate for at least 1 hour before serving.
Substitutions: Milk chocolate works but needs no added sugar and will set softer; chill for 2 hours. A splash of espresso or a pinch of cinnamon can be added with the vanilla.
Storage: Cover and refrigerate for up to 2 days. The mousse may stiffen; whisk briefly before serving.
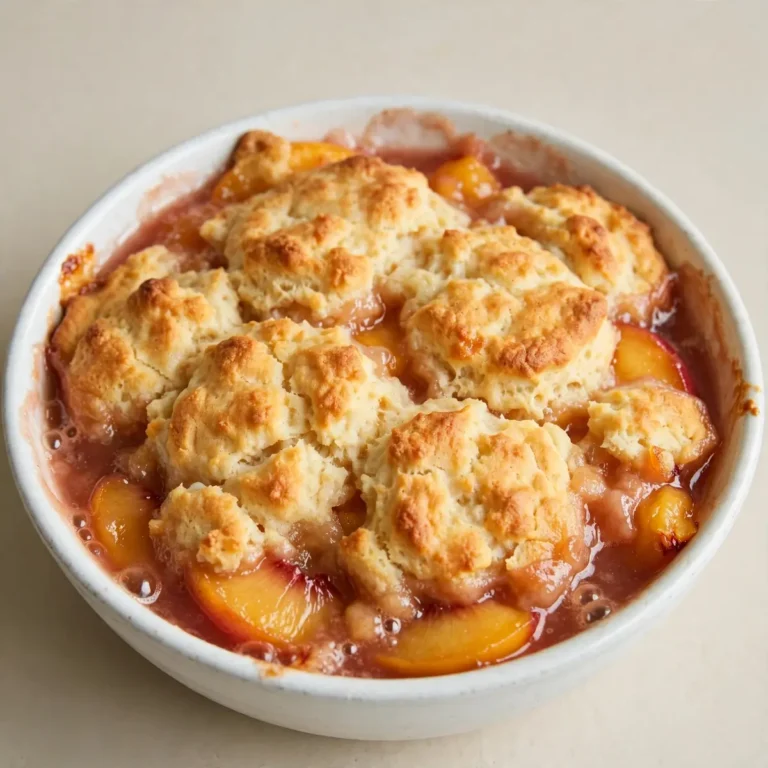
Recipe 4: Skillet Berry Crumble for Two
Servings: 2 · Prep time: 10 minutes · Bake time: 20–25 minutes
A warm fruit crumble is the most forgiving dessert you can make, and a small oven-safe skillet (6 inches) or a small baking dish keeps it to exactly two portions.
Ingredients:
For the filling:
- 1½ cups (about 200 g) mixed berries, fresh or frozen (no need to thaw)
- 1½ tablespoons granulated sugar
- 1 teaspoon cornstarch
- 1 teaspoon lemon juice
For the topping:
- ¼ cup (30 g) all-purpose flour
- 2 tablespoons (25 g) packed brown sugar
- ¼ teaspoon ground cinnamon
- Pinch of salt
- 2 tablespoons (28 g) cold unsalted butter, cubed
- 2 tablespoons (15 g) rolled oats
Instructions:
- Preheat the oven to 375°F (190°C).
- Toss the berries with the sugar, cornstarch, and lemon juice in a small bowl. Transfer to a 6-inch oven-safe skillet or small baking dish.
- In another bowl, combine the flour, brown sugar, cinnamon, and salt. Rub in the cold butter until the mixture forms coarse clumps, then stir in the oats.
- Scatter the topping evenly over the fruit.
- Bake for 20–25 minutes, until the fruit bubbles at the edges and the topping is golden brown.
- Cool for 5 minutes before serving. It’s excellent with a spoonful of vanilla ice cream or yogurt.
Substitutions: Any fruit works — sliced peaches, chopped apples, or a mix. For a gluten-free crumble, use oat flour and certified gluten-free oats. Frozen fruit may release more liquid; add an extra ½ teaspoon of cornstarch.
Storage: Cover and refrigerate for up to 3 days. Reheat in a 350°F (175°C) oven for 8–10 minutes to re-crisp the topping.
Practical Tips for Small-Batch Desserts
- Use a scale for small quantities. Measuring 3 tablespoons of butter by volume is fine, but a scale removes guesswork when you halve or double a mini-recipe.
- Keep a stash of half-egg techniques. Whisk an egg, measure 1½ tablespoons for half an egg, and save the rest for scrambling or freezing.
- Preheat properly, but briefly. Small ovens and toaster ovens heat fast; give them a full 10 minutes to stabilize.
- Chill dough when it’s warm. Small batches heat up quickly from your hands. A 10-minute chill in the refrigerator improves texture for crumb toppings and cookies.
- Scale flavors, not just quantities. When you shrink a recipe, strong flavors like vanilla, citrus zest, and spices don’t need to shrink as much — taste and adjust.
Frequently Asked Questions
Can I double a small-batch dessert recipe if guests arrive?
Yes, most of these recipes double cleanly. The molten cakes, mousse, and crumble can be doubled without any changes to technique — just use four ramekins or a larger skillet. The lemon crumb bars are the exception: doubling the filling in the same small pan makes the bars too thick to set evenly, so bake two separate batches or use an 8×8-inch pan and add 5–8 minutes to the bake time.
How do I measure half an egg accurately?
Crack the egg into a small bowl and whisk it until the yolk and white are fully combined. Measure out 1½ tablespoons (about 25 g) for half a large egg. The remaining half can be covered and refrigerated for up to 2 days, or frozen in a small container for up to 3 months and used in scrambles or omelets.
Can I make these desserts ahead of time?
Yes. The molten cake batter can be portioned into ramekins and refrigerated up to 24 hours before baking. The lemon bars and mousse are best made a day ahead and stored covered in the refrigerator. The crumble can be assembled, covered, and refrigerated for up to 12 hours before baking — add 3–5 minutes to the bake time if starting from cold.
What if I don’t have ramekins or a small skillet?
Standard muffin tins work well for the molten cakes: bake two portions in two greased cups and fill the empty cups halfway with water to protect the pan. For the crumble, any small oven-safe dish works, including a glass prep bowl or a mini loaf pan. The lemon bars can be baked in a 6-inch round cake pan with a 2–3 minute reduction in bake time.
Are small-batch desserts more expensive per serving?
They can be slightly more expensive per serving because you may buy a full bag of chocolate or flour for a small quantity, but the total cost per dessert is usually lower than a full batch that goes stale. The bigger savings are in waste: you bake exactly what you’ll eat, so nothing ends up in the trash.