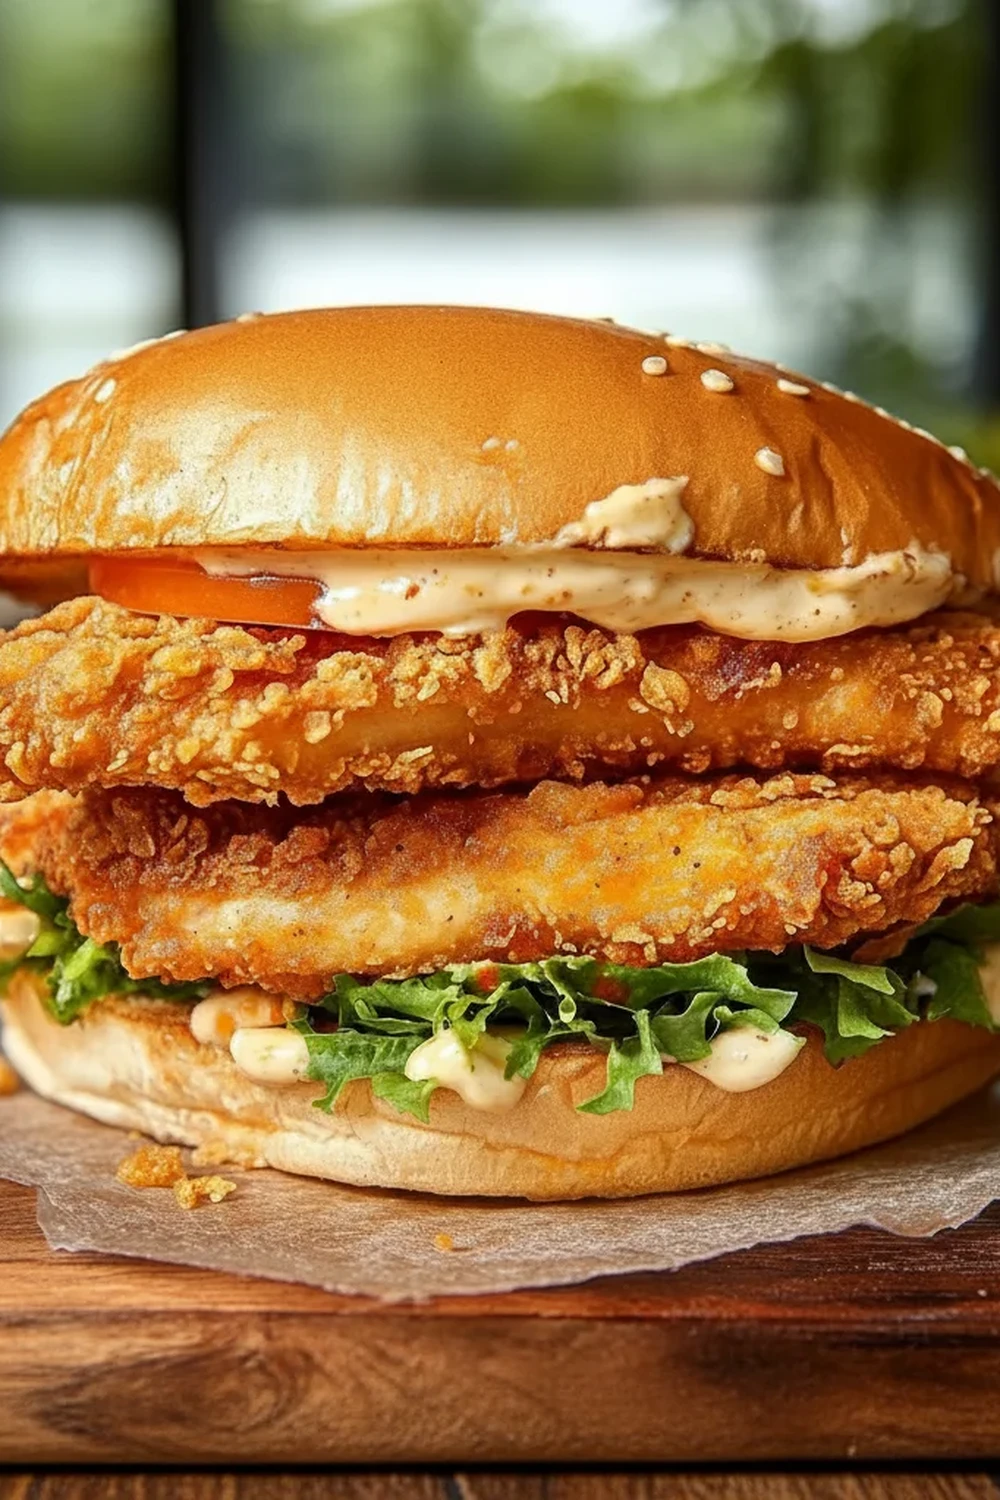
Crispy Spicy Chicken Sandwich Recipe Fried
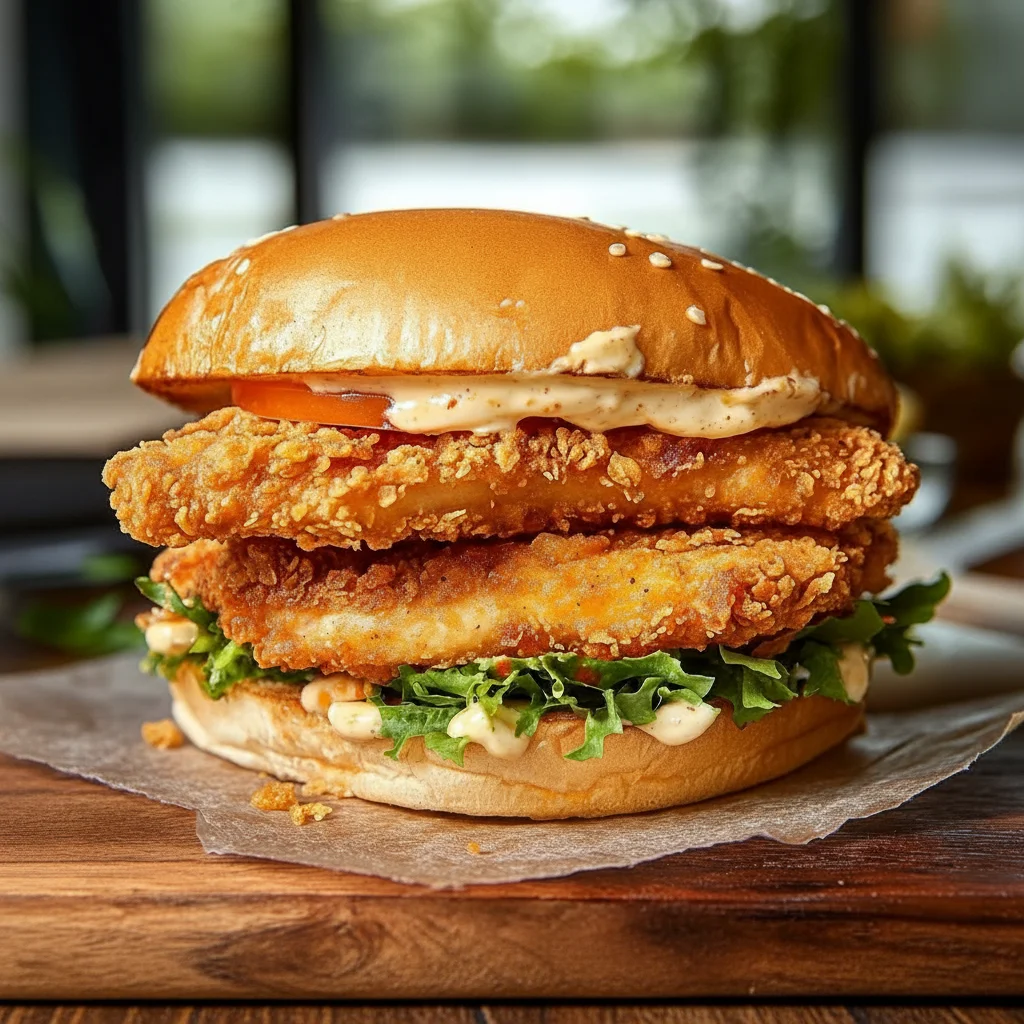
There’s a special kind of magic in a truly brilliant chicken sandwich. Not just any sandwich, but one where every single element has been considered. We’re talking about chicken that’s impossibly juicy on the inside with a craggy, shatteringly crisp coating, a genuine kick of spice that warms you up without overwhelming, and a tangy, creamy sauce that brings it all together. This is that sandwich. It’s the result of countless Sunday afternoons spent in my kitchen, tweaking the spice blend, perfecting the brine, and figuring out the secret to that ultimate crunch.
Friends always ask me for this recipe after trying it at our weekend get-togethers, and I’m finally sharing the full method here. This isn’t just about frying a piece of chicken and putting it in a bun; it’s a process that builds layers of flavour at every stage. From the buttermilk brine that tenderises the meat to the double-dredge that guarantees a substantial crust, every step has a purpose. The end result is a crispy spicy chicken sandwich that rivals, and I daresay surpasses, anything you can get from a takeaway.
This is the kind of meal that works wonderfully for a relaxed Friday night in, a satisfying weekend lunch, or whenever you feel the need for something truly substantial and delicious. It takes a little more effort than your average sandwich, but the payoff is immense. Let’s get our aprons on and make something spectacular.
Recipe Overview
This recipe guides you through creating the ultimate fried chicken sandwich, complete with a tenderising buttermilk brine, a deeply savoury and spicy coating, and a refreshing, tangy slaw. The flavour is a fantastic balance of smoky heat from paprika and cayenne, a gentle tang from the brine and slaw, and the rich taste of perfectly fried chicken. After testing different cuts, I found that slightly flattened chicken breasts give you the perfect meat-to-bun ratio, but thighs work beautifully too if you prefer darker meat.
- Prep Time: 20 minutes (+ 1-4 hours brining time)
- Cook Time: 15 minutes
- Total Time: 1 hour 35 minutes (including minimum brining)
- Servings: 4 sandwiches
- Difficulty: Medium
Why You’ll Love This Crispy Spicy Chicken Sandwich
- Incredible Texture and Flavour: We’re not aiming for just ‘crispy’; we’re aiming for a craggy, substantial crust that crackles when you bite into it. The spice blend, featuring smoked paprika, cayenne, garlic, and onion powder, creates a warmth that complements the juicy, buttermilk-tenderised chicken perfectly.
- Comes Together in Under an Hour of Active Time: While the chicken benefits from a good soak in the brine, the hands-on prep and cooking time is very manageable, making it an ideal project for a weekend afternoon.
- A Hugely Adaptable Recipe: You are in complete control of the spice level. Increase the cayenne for a fiery kick or reduce it for a milder warmth. You can also swap the brioche buns for potato rolls or even a sturdy sourdough. It’s your sandwich, after all!
- Great for a Casual Dinner: This is just the ticket for a relaxed meal with friends or family. It feels special and indulgent, like a gourmet version of a takeaway favourite. It’s a step up from our Smashed Burgers Recipe, but delivers that same satisfying feeling.
- Everyone Seems to Love It: I’ve served this to spice-lovers and spice-sceptics alike, and it always gets rave reviews. The tangy slaw provides a brilliant cooling contrast that makes the heat enjoyable for everyone.
Ingredients You’ll Need
The ingredients here are straightforward and available at any large supermarket. For the paprika, I really recommend using a good quality smoked variety like La Chinata; it adds a wonderful depth that regular paprika just can’t match. It’s the backbone of the flavour in the coating.
- For the Buttermilk Brine:
- 4 boneless, skinless chicken breasts (around 150-180g each)
- 300ml buttermilk
- 1 tbsp hot sauce (I use Frank’s RedHot)
- 1 tsp salt
- 1 tsp black pepper
- For the Spicy Coating:
- 250g plain flour
- 50g cornflour
- 2 tbsp smoked paprika
- 1 tbsp garlic powder
- 1 tbsp onion powder
- 1-2 tsp cayenne pepper (adjust to your heat preference)
- 2 tsp salt
- 1 tsp black pepper
- For the Tangy Slaw & Assembly:
- 150g mayonnaise
- 1 tbsp apple cider vinegar
- 1 tsp caster sugar
- 1/4 head of white cabbage, finely shredded
- 1 large carrot, grated
- 4 brioche buns
- Sliced gherkins or pickles, to serve
- 1 litre vegetable or rapeseed oil, for frying
Marcus’s Tip: For an extra craggy, textured crust, drizzle a tablespoon of the wet buttermilk brine into your dry flour mixture and toss it with your fingers to create little clumps. These will stick to the chicken and become ultra-crispy bits when fried.
How to Make a Crispy Spicy Chicken Sandwich
The process is broken down into four clear stages: brining the chicken, making the slaw, coating and frying the chicken, and finally, building your magnificent sandwich. Don’t rush the brining or the coating – they are key to the final result.
- Brine the Chicken: First, place the chicken breasts between two sheets of cling film and gently pound them with a rolling pin or meat mallet to an even thickness of about 2cm. This ensures they cook evenly. In a bowl, whisk together the buttermilk, hot sauce, 1 tsp salt, and 1 tsp pepper. Add the chicken breasts, ensuring they are fully submerged. Cover and refrigerate for at least 1 hour, but up to 4 hours for the most tender result.
- Make the Tangy Slaw: While the chicken is brining, prepare the slaw. In a medium bowl, whisk together the mayonnaise, apple cider vinegar, and caster sugar until smooth. Season with a pinch of salt and pepper. Add the shredded cabbage and grated carrot, and toss everything together until well combined. Cover and pop it in the fridge until you’re ready to serve.
- Prepare the Spicy Coating: In a large, shallow dish, combine the plain flour, cornflour, smoked paprika, garlic powder, onion powder, cayenne pepper, 2 tsp salt, and 1 tsp pepper. Whisk thoroughly to ensure all the spices are evenly distributed. This is where I like to use my tip from above and add a little of the brine to the flour for extra texture.
- Heat the Oil: Pour the oil into a large, heavy-bottomed saucepan or Dutch oven until it is about 5cm deep. Heat the oil over a medium-high heat until it reaches 175°C (350°F). Using a cooking thermometer is the best way to ensure accuracy. If you don’t have one, a small cube of bread should turn golden brown in about 30 seconds.
- Coat the Chicken: Set up your dredging station. Take a piece of chicken from the brine, allowing any excess to drip off. Press it firmly into the flour mixture, making sure it’s completely coated on all sides. For a thicker crust, you can dip it back into the buttermilk and then back into the flour for a second coating. Place the coated chicken on a wire rack while you coat the rest.
- Fry to Perfection: Carefully lower 2 pieces of chicken into the hot oil, being careful not to overcrowd the pan. Fry for 5-7 minutes on each side, until the coating is a deep golden brown and the chicken is cooked through. The internal temperature should read 74°C on a meat thermometer. What works best for me is using tongs to gently turn the chicken halfway through.
- Rest the Chicken: Once cooked, remove the chicken from the oil and place it on a clean wire rack to drain. This is crucial for maintaining that crispy bottom. Sprinkle with a tiny pinch of extra salt while it’s still hot. Repeat the frying process with the remaining chicken.
- Assemble Your Sandwich: Lightly toast the inside of your brioche buns in a dry pan or under the grill. Spread a little extra mayonnaise on the bottom bun if you like, then add a generous helping of sliced gherkins. Place a piece of crispy fried chicken on top, followed by a large spoonful of the tangy slaw. Place the top bun on and serve immediately.
Tips From My Kitchen
- Master Your Temperature Control: The oil temperature is arguably the most important factor in frying. Too hot, and the outside will burn before the chicken is cooked. Too cool, and you’ll end up with greasy, soggy chicken. I strongly recommend a digital thermometer. For more on the science of frying, this guide from Serious Eats is a fantastic resource.
- The Secret to a Clingy Coat: I learned that after coating the chicken in the flour mixture, letting it rest on the wire rack for 5-10 minutes before frying can help the coating ‘set’ and adhere much better during the cooking process.
- Making it Ahead: You can brine the chicken for up to 24 hours in the fridge, which is great for planning. The slaw can also be made up to a day in advance; just give it a good stir before serving. However, the chicken is always best fried just before you plan to eat.
- Storing and Reheating: Leftover fried chicken can be stored in an airtight container in the fridge for up to 3 days. To reheat and bring back some of the crispiness, place it on a rack in an oven preheated to 200°C (180°C fan) for 10-15 minutes until hot all the way through.
Common Mistakes to Avoid
- Overcrowding the Pan: It’s tempting to try and cook all the chicken at once, but this will cause the oil temperature to drop dramatically. This leads to the chicken absorbing more oil and results in a greasy, rather than crispy, finish. Always cook in batches.
- Frying at the Wrong Temperature: Guessing the oil temperature is a common pitfall. As mentioned, 175°C is the sweet spot. Maintain this temperature by adjusting your hob as you cook.
- Skipping the Rest: Don’t move the chicken straight from the fryer to the bun. Resting it on a wire rack allows excess oil to drain away and lets the juices inside the chicken redistribute, ensuring it stays moist and flavourful. It also prevents your bun from getting soggy immediately.
Delicious Variations to Try
Once you’ve mastered the basic recipe, feel free to get creative. This sandwich is a brilliant canvas for customisation.
- Extra-Spicy Version: For those who really love heat, add a finely chopped red chilli to your slaw, or increase the cayenne pepper in the coating to a full tablespoon. A drizzle of your favourite chilli oil over the chicken before serving also works wonders.
- Chicken Thigh Sandwich: Swap the chicken breasts for boneless, skinless chicken thighs. They are naturally juicier and have a richer flavour. You may need to adjust the cooking time slightly, so use a thermometer to be sure.
- Add Some Cheese: A slice of Monterey Jack or a sharp cheddar melted over the chicken for the last 30 seconds of resting is a glorious addition. For another cheesy and satisfying meal idea, check out our Creamy Chicken and Rice Recipe.
What to Serve With Your Crispy Spicy Chicken Sandwich
This is a hearty sandwich that can easily be a meal in itself, but a few well-chosen sides can elevate it even further.
- Skin-on Chips: A classic for a reason. The salty, fluffy-on-the-inside, crispy-on-the-outside chips are the perfect companion.
- Corn on the Cob: A grilled or boiled corn on the cob, slathered in butter and sprinkled with a little salt and chilli powder, provides a lovely sweet contrast.
- A Crisp Lager: The clean, refreshing taste of a good quality lager or pilsner cuts through the richness of the fried chicken and cools the palate from the spice.
Frequently Asked Questions
Crispy Spicy Chicken Sandwich
Ingredients
Method
- Brine the Chicken: First, place the chicken breasts between two sheets of cling film and gently pound them with a rolling pin or meat mallet to an even thickness of about 2cm. This ensures they cook evenly. In a bowl, whisk together the buttermilk, hot sauce, 1 tsp salt, and 1 tsp pepper. Add the chicken breasts, ensuring they are fully submerged. Cover and refrigerate for at least 1 hour, but up to 4 hours for the most tender result.
- Make the Tangy Slaw: While the chicken is brining, prepare the slaw. In a medium bowl, whisk together the mayonnaise, apple cider vinegar, and caster sugar until smooth. Season with a pinch of salt and pepper. Add the shredded cabbage and grated carrot, and toss everything together until well combined. Cover and pop it in the fridge until you're ready to serve.
- Prepare the Spicy Coating: In a large, shallow dish, combine the plain flour, cornflour, smoked paprika, garlic powder, onion powder, cayenne pepper, 2 tsp salt, and 1 tsp pepper. Whisk thoroughly to ensure all the spices are evenly distributed. This is where I like to use my tip from above and add a little of the brine to the flour for extra texture.
- Heat the Oil: Pour the oil into a large, heavy-bottomed saucepan or Dutch oven until it is about 5cm deep. Heat the oil over a medium-high heat until it reaches 175°C (350°F). Using a cooking thermometer is the best way to ensure accuracy. If you don't have one, a small cube of bread should turn golden brown in about 30 seconds.
- Coat the Chicken: Set up your dredging station. Take a piece of chicken from the brine, allowing any excess to drip off. Press it firmly into the flour mixture, making sure it’s completely coated on all sides. For a thicker crust, you can dip it back into the buttermilk and then back into the flour for a second coating. Place the coated chicken on a wire rack while you coat the rest.
- Fry to Perfection: Carefully lower 2 pieces of chicken into the hot oil, being careful not to overcrowd the pan. Fry for 5-7 minutes on each side, until the coating is a deep golden brown and the chicken is cooked through. The internal temperature should read 74°C on a meat thermometer. What works best for me is using tongs to gently turn the chicken halfway through.
- Rest the Chicken: Once cooked, remove the chicken from the oil and place it on a clean wire rack to drain. This is crucial for maintaining that crispy bottom. Sprinkle with a tiny pinch of extra salt while it's still hot. Repeat the frying process with the remaining chicken.
- Assemble Your Sandwich: Lightly toast the inside of your brioche buns in a dry pan or under the grill. Spread a little extra mayonnaise on the bottom bun if you like, then add a generous helping of sliced gherkins. Place a piece of crispy fried chicken on top, followed by a large spoonful of the tangy slaw. Place the top bun on and serve immediately.
Notes
There you have it – everything you need to create a truly memorable crispy spicy chicken sandwich at home. It’s a recipe I’m genuinely proud of, and one that never fails to impress. I hope you enjoy the process of making it as much as you enjoy eating it. I’d love to hear how you get on with this recipe, so please do leave a comment below and let me know how it turned out!
All the best,
Marcus