Espresso Chocolate Chunk Cookies
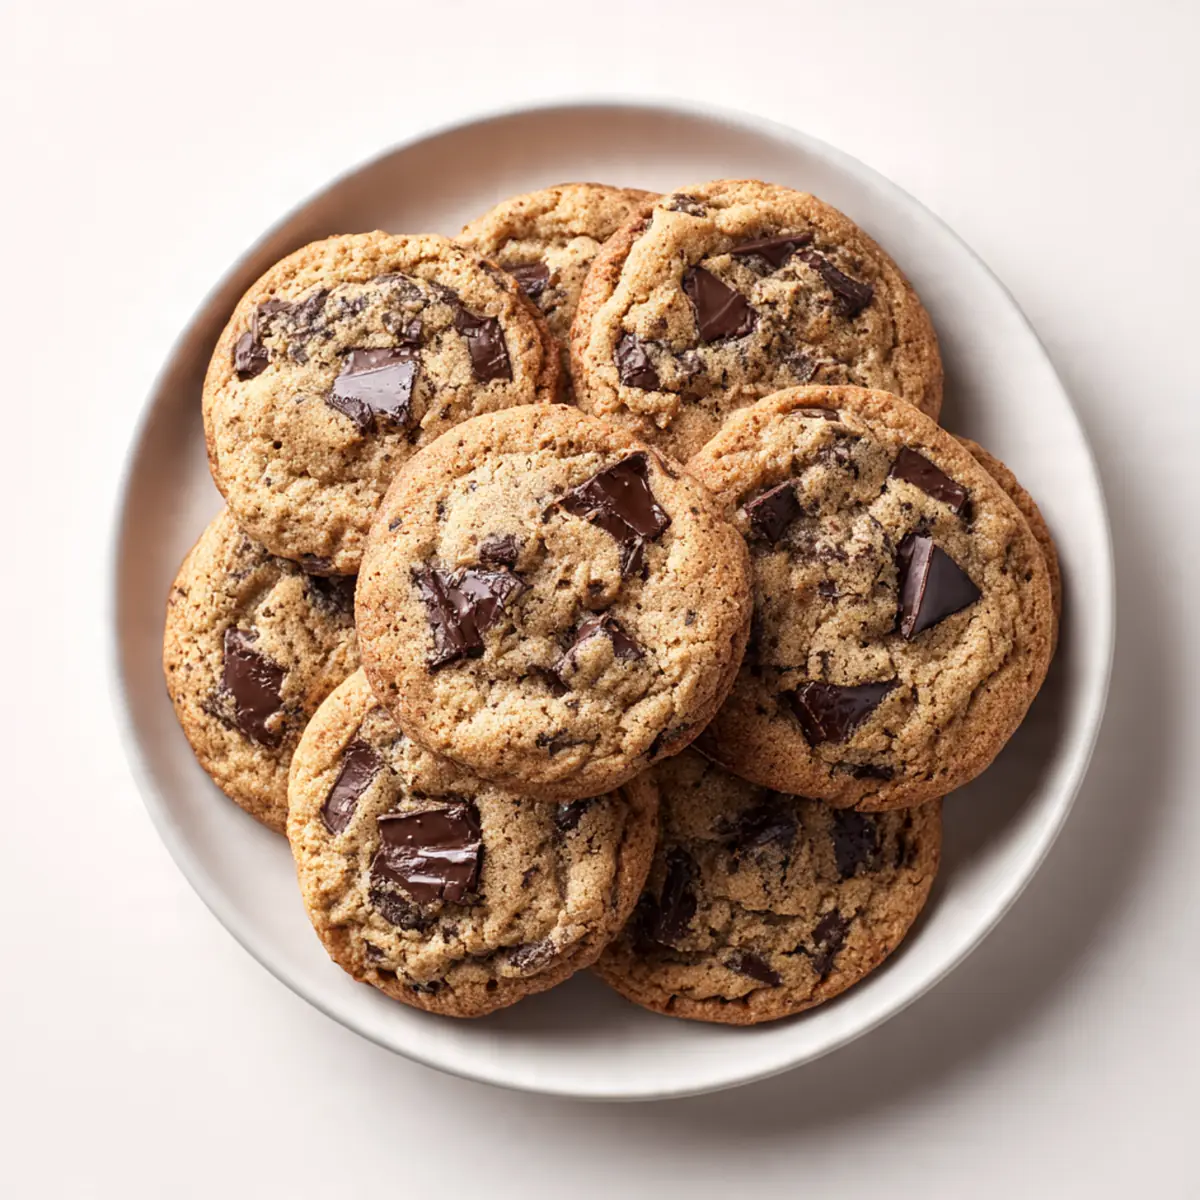
I still remember the afternoon I first baked these Espresso Chocolate Chunk Cookies. It was a rainy Tuesday, and I was desperate for something to cut through the gloom. A scoop of instant espresso granules and a rough block of dark chocolate later, the kitchen smelled like a high-end Milanese café. Four years on, this recipe is still the first thing I reach for when I need a proper, grown-up treat. Friends always ask me for this recipe after trying it at dinner parties, and I’ve been making it for over 4 years, and it never disappoints.
Recipe Overview
- Prep Time: 20 minutes
- Cook Time: 12-14 minutes
- Total Time: 1 hour 35 minutes (includes 1 hour chilling)
- Servings: 18-20 cookies
- Difficulty: Medium
Why You’ll Love This Espresso Chocolate Chunk Cookies
- Deep, nuanced flavour: The espresso doesn’t scream “coffee” — it whispers, deepening the chocolate and adding a subtle roasted complexity.
- Perfect texture contrast: A crisp, sugary edge gives way to a soft, almost fudgy centre that stays tender for days.
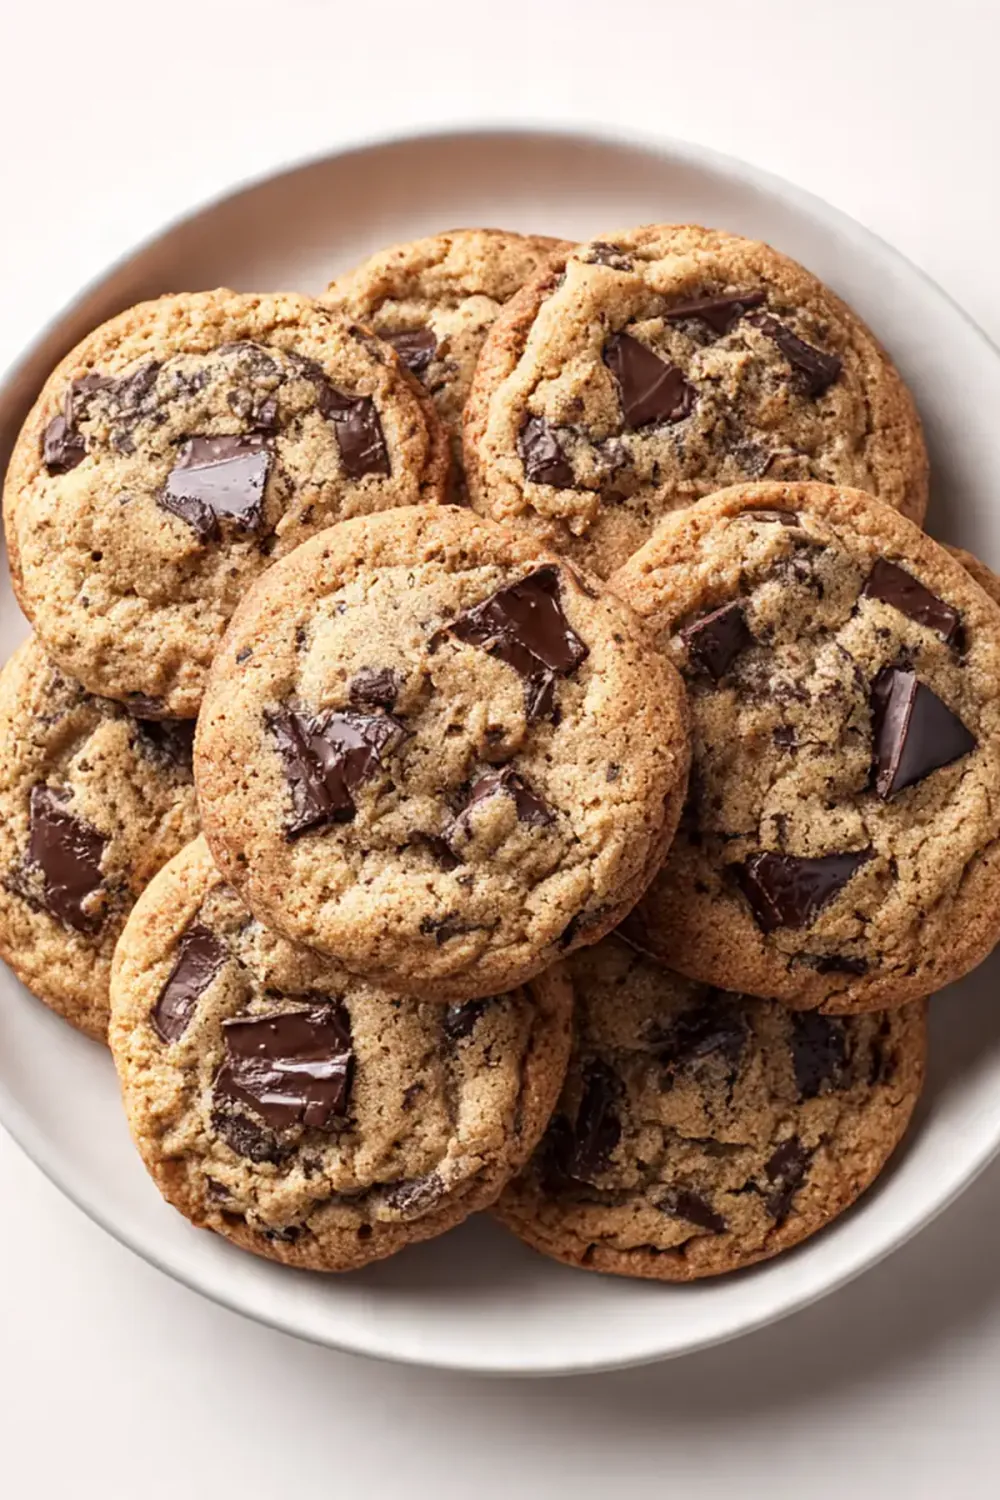
- Real chocolate chunks, not chips: Using a chopped bar creates irregular pockets of melted chocolate in every bite, far superior to uniform chips.
- Make-ahead friendly: The dough rests and freezes beautifully, meaning fresh cookies are never more than 15 minutes away.
- Bold enough for dessert, subtle enough for breakfast: Whether served with a afternoon cuppa or as an after-dinner finale, these cookies fit the moment.
Ingredients You’ll Need
- 250g plain flour (all-purpose)
- 1 tsp bicarbonate of soda
- ½ tsp fine sea salt
- 2 tbsp instant espresso powder (not granules — powder dissolves more evenly)
- 170g unsalted butter, softened to room temperature
- 150g light brown sugar, packed
- 100g granulated sugar
- 1 large egg, at room temperature
- 1 large egg yolk, at room temperature
- 2 tsp vanilla extract
- 200g dark chocolate (70% cocoa), roughly chopped into chunks
- Flaky sea salt, for finishing (optional but recommended)
Tip: Use a good-quality dark chocolate you’d happily eat on its own — it makes a real difference here. I tend to favour a single-origin bar with fruity notes, as it plays beautifully with the earthy espresso.
How to Make Espresso Chocolate Chunk Cookies
- Whisk the dry ingredients. In a medium bowl, whisk together the flour, bicarbonate of soda, salt, and espresso powder. The powder should be evenly distributed — you’ll see the mixture take on a faint, speckled tan colour. Set aside.
- Cream the butter and sugars. In a large bowl using a stand mixer fitted with the paddle attachment (or a hand mixer), beat the softened butter, brown sugar, and granulated sugar on medium speed for 3-4 minutes. You’re looking for a pale, fluffy mixture that feels light and looks almost like whipped frosting. The sound will shift from a heavy thud to a soft, airy swish as the air incorporates.
- Add the eggs and vanilla. Beat in the whole egg, then the egg yolk, and finally the vanilla. Stop to scrape down the bowl. The mixture will look glossy and slightly looser, with a silky sheen on the surface. It should smell sweet and buttery at this point.
- Fold in the dry ingredients. Add the flour mixture in two additions, mixing on low speed until just combined. You’ll see streaks of flour disappear into the dough. Stop when no dry flour remains — a few streaks are fine. The dough will be thick, soft, and slightly sticky.
- Add the chocolate chunks. Tip in the roughly chopped chocolate. Fold it in with a silicone spatula, pressing the chunks deep into the dough. You’ll feel the resistance of the chocolate pieces as you fold. The finished dough should be studded with irregular, dark shards.
- Chill the dough. Cover the bowl tightly with cling film and refrigerate for at least 1 hour, or up to 48 hours. This is non-negotiable — the dough will be too soft to scoop properly, and the flavours need time to meld. After chilling, the dough will feel firm and slightly stiff to the touch.
- Preheat and prepare. Preheat your oven to 180°C (160°C fan) / 350°F. Line two large baking trays with parchment paper. Scoop the dough into 2-tablespoon-sized balls (about 50g each). Place them 8cm apart on the trays — these cookies spread. The dough balls should look slightly craggy on top, not perfectly smooth.
- Bake. Bake one tray at a time for 12-14 minutes. At 10 minutes, the edges will be golden brown and set, while the centres will look puffed, pale, and slightly underdone. The kitchen will smell intensely of warm butter, toasted sugar, and roasted coffee. Remove from the oven when the edges are firm but the centre still looks soft.
- Finish and cool. Immediately sprinkle each cookie with a pinch of flaky sea salt. Let them rest on the hot tray for 5 minutes — they’ll continue to set as they cool. Transfer to a wire rack. The bottoms will be a deep golden brown, and the tops will crackle beautifully as they cool.
Tips From My Kitchen
- Chill the dough for at least an hour (and up to 48). This step does three things: it solidifies the butter so the cookies spread slowly and evenly rather than turning into flat puddles; it gives the flour time to hydrate, which creates a chewier texture; and it allows the espresso and vanilla to mingle with the butter and sugar, deepening the overall flavour. I’ve tested this recipe without chilling, and the results were significantly flatter and less flavourful.
- Use espresso powder, not instant coffee granules. Instant coffee granules are larger and less concentrated, meaning they don’t dissolve as evenly into the dough. Espresso powder is finer and more potent, providing that deep, roasted coffee flavour without any gritty residue. If you only have instant coffee, grind it to a fine powder in a spice grinder before using.
- Weigh your ingredients for consistency. Flour in particular is notoriously variable when measured by volume — a packed cup can hold up to 50g more than a lightly scooped one. Using a kitchen scale ensures your dough has the correct hydration every time. This is especially important for cookies, where the ratio of flour to fat determines whether they spread or stay puffy.
- Chop your own chocolate from a bar. Chocolate chips are designed to hold their shape during baking, which means you end up with discrete chips rather than luscious, melted pockets. Chopping a bar creates irregular shards and dust that melt into the dough, giving you both pools of chocolate and distinct chunks in every bite.
- Don’t overbake. These cookies are meant to be soft and slightly fudgy in the centre. The visual cue is key: pull them out when the edges are golden and set, but the centres still look puffed, pale, and soft. They will continue to cook from residual heat on the tray. Overbaked cookies lose their tender texture and become dry and crumbly.
Equipment You’ll Need
- Stand mixer or hand mixer
- Baking tray (two large ones, if possible)
- Parchment paper
- Wire cooling rack
- Medium mixing bowl
- Large mixing bowl
- Kitchen scale (recommended)
- Silicone spatula
- Sharp knife and chopping board (for chopping chocolate)
- Cling film
- Cookie scoop (2-tablespoon size, optional but helpful)
Common Mistakes to Avoid
- Overcrowding the pan: These cookies spread significantly during baking. Placing them too close together will cause them to merge into one giant, irregularly baked mass. Give each dough ball at least 8cm of space on all sides. Bake in batches if necessary, and let the tray cool completely between batches — a hot tray will cause the dough to start spreading before it even hits the oven.
- Wrong temperature: Baking at too low a temperature will cause the butter to melt and spread before the structure sets, resulting in flat, greasy cookies. Baking too high will give you burnt edges and raw centres. Stick to 180°C (160°C fan) / 350°F, and use an oven thermometer if your oven runs hot or cold — home ovens are notoriously inaccurate.
- Skipping the rest time: I know it’s tempting to skip the chilling step when you’re craving cookies, but it’s essential. Without resting, the butter is too soft, the flour isn’t hydrated, and the flavours haven’t developed. The result is a flat, one-dimensional cookie that spreads into a thin, crispy disc. Trust the process — the wait is worth it.
What to Serve With Espresso Chocolate Chunk Cookies
- A cold glass of milk — the classic pairing, and for good reason. The creaminess balances the bold coffee and dark chocolate.
- A dollop of lightly whipped cream on the side, perhaps with a hint of vanilla, for an indulgent dessert plate.
- Fresh berries, particularly raspberries or sliced strawberries, which cut through the richness with their bright acidity.
- A scoop of vanilla bean ice cream, sandwiched between two cookies for an impromptu ice cream sandwich.
- A simple espresso or flat white — if you’re a coffee lover, doubling down on the flavour is a wonderful thing.
Frequently Asked Questions
Espresso Chocolate Chunk Cookies
Ingredients
Method
- Whisk the dry ingredients. In a medium bowl, whisk together the flour, bicarbonate of soda, salt, and espresso powder. The powder should be evenly distributed — you’ll see the mixture take on a faint, speckled tan colour. Set aside.
- Cream the butter and sugars. In a large bowl using a stand mixer fitted with the paddle attachment (or a hand mixer), beat the softened butter, brown sugar, and granulated sugar on medium speed for 3-4 minutes. You’re looking for a pale, fluffy mixture that feels light and looks almost like whipped frosting. The sound will shift from a heavy thud to a soft, airy swish as the air incorporates.
- Add the eggs and vanilla. Beat in the whole egg, then the egg yolk, and finally the vanilla. Stop to scrape down the bowl. The mixture will look glossy and slightly looser, with a silky sheen on the surface. It should smell sweet and buttery at this point.
- Fold in the dry ingredients. Add the flour mixture in two additions, mixing on low speed until just combined. You’ll see streaks of flour disappear into the dough. Stop when no dry flour remains — a few streaks are fine. The dough will be thick, soft, and slightly sticky.
- Add the chocolate chunks. Tip in the roughly chopped chocolate. Fold it in with a silicone spatula, pressing the chunks deep into the dough. You’ll feel the resistance of the chocolate pieces as you fold. The finished dough should be studded with irregular, dark shards.
- Chill the dough. Cover the bowl tightly with cling film and refrigerate for at least 1 hour, or up to 48 hours. This is non-negotiable — the dough will be too soft to scoop properly, and the flavours need time to meld. After chilling, the dough will feel firm and slightly stiff to the touch.
- Preheat and prepare. Preheat your oven to 180°C (160°C fan) / 350°F. Line two large baking trays with parchment paper. Scoop the dough into 2-tablespoon-sized balls (about 50g each). Place them 8cm apart on the trays — these cookies spread. The dough balls should look slightly craggy on top, not perfectly smooth.
- Bake. Bake one tray at a time for 12-14 minutes. At 10 minutes, the edges will be golden brown and set, while the centres will look puffed, pale, and slightly underdone. The kitchen will smell intensely of warm butter, toasted sugar, and roasted coffee. Remove from the oven when the edges are firm but the centre still looks soft.
- Finish and cool. Immediately sprinkle each cookie with a pinch of flaky sea salt. Let them rest on the hot tray for 5 minutes — they’ll continue to set as they cool. Transfer to a wire rack. The bottoms will be a deep golden brown, and the tops will crackle beautifully as they cool.
Notes
I hope these Espresso Chocolate Chunk Cookies become as beloved in your kitchen as they are in mine. If you give them a try, I’d love to hear how they turned out — drop a comment below and let me know. And if you’re in the mood for another indulgent sweet treat, you might enjoy my Chocolate Hazelnut Mousse Recipe or the bright, tangy Lemon Crumb Bars for a change of pace. Happy baking!