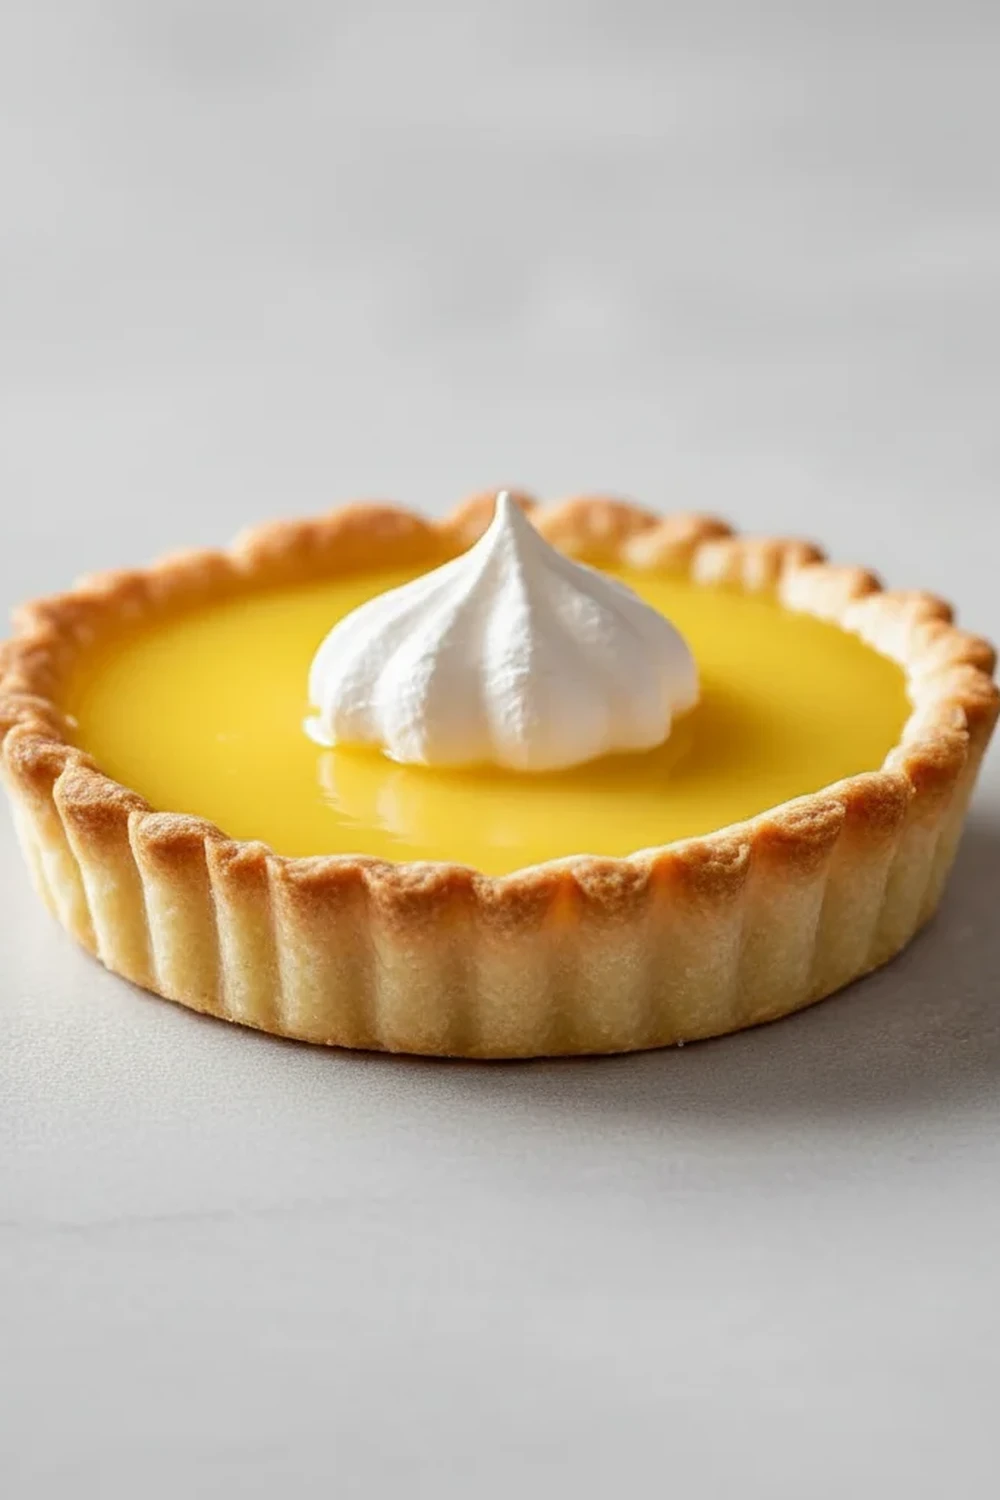
Lemon Curd Tartlets Recipe Mini Desserts
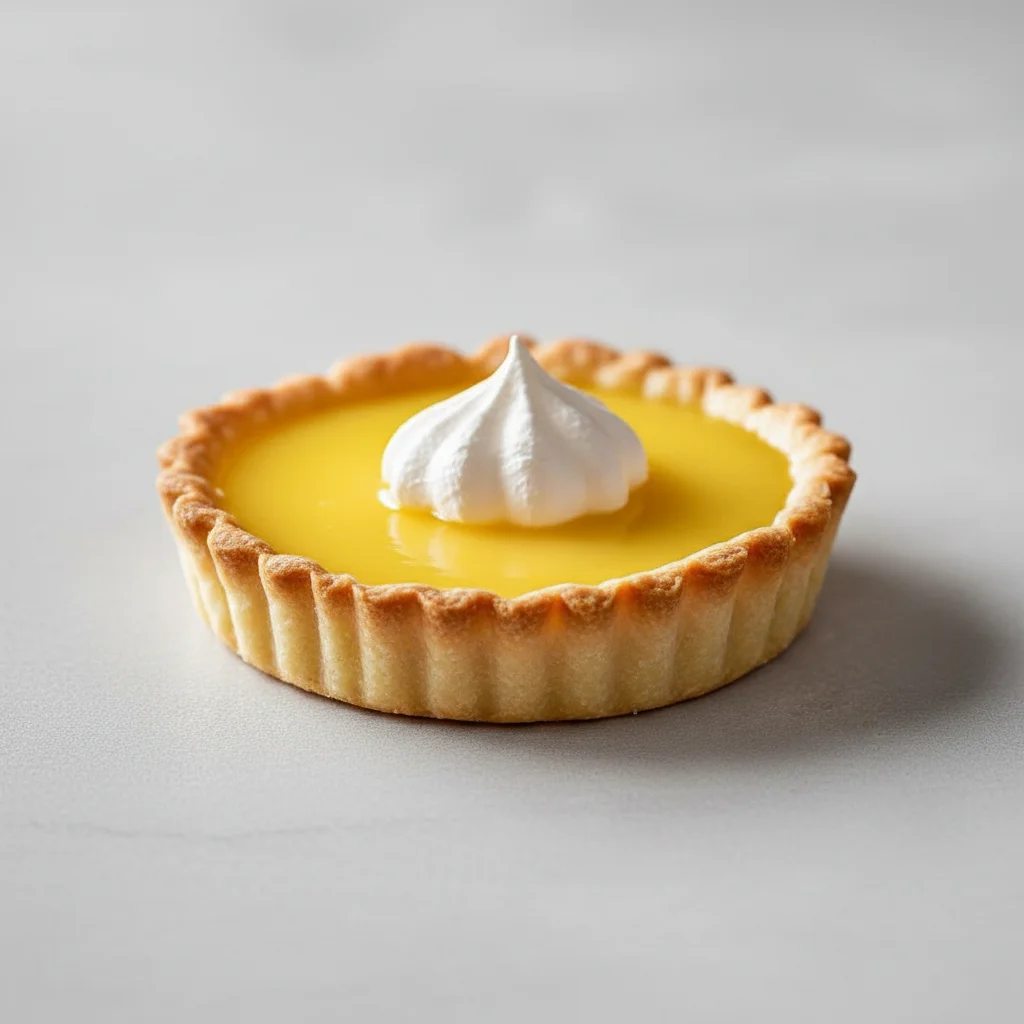
There’s something truly special about the contrast of buttery, crumbly pastry and a sharp, zesty filling. These lemon curd tartlets are the embodiment of that delicious balance. They are bright, elegant, and deliver a wonderful citrus punch that cuts through the richness of the pastry in the most delightful way. Friends always ask me for this recipe after trying it at dinner parties, and I’m always happy to share it. It’s one of those bakes that looks incredibly impressive but is built on classic, straightforward techniques that we can master together.
What sets these mini lemon tarts apart is the homemade curd. We’re not using anything from a jar here. We’ll be making a silky, vibrant lemon curd from scratch, using fresh lemons for a flavour that is worlds away from the shop-bought kind. The result is a sharp, tangy, and intensely lemony filling that is beautifully smooth. When cradled in a crisp, sweet pastry case, it’s a dessert that feels both rustic and refined.
This recipe is ideal when you want to serve individual desserts for an afternoon tea, a garden party, or as a light and refreshing end to a hearty meal. They are a fantastic way to celebrate seasonal citrus and bring a little sunshine to your table, no matter the time of year.
Recipe Overview
These lemon curd tartlets feature a crisp, sweet shortcrust pastry filled with a intensely zesty and smooth homemade lemon curd, baked until just set. The flavour is bright and tangy, balanced by the buttery sweetness of the pastry case. After testing this recipe multiple times, I’ve found that letting the curd cool slightly before pouring it into the baked cases prevents the pastry from becoming soggy.
- Prep Time: 45 minutes (plus 1 hour chilling)
- Cook Time: 25-30 minutes
- Total Time: 1 hour 15 minutes (plus 1 hour chilling)
- Servings: 12 tartlets
- Difficulty: Medium
Why You’ll Love This Lemon Curd Tartlets Recipe
- Genuine Flavour: The filling is packed with the zest and juice of three whole lemons, creating a curd that is genuinely sharp and fragrant. The butter adds richness, but the lemon is undeniably the star.
- A Manageable Bake: The active kitchen time is around an hour, with the rest of the time dedicated to chilling and baking, making it a very achievable project for a weekend afternoon.
- Flexible Recipe: You can easily adapt the citrus. Try using limes for a sharper kick, or even passionfruit for a more tropical note. The pastry cases also work wonderfully with other fillings, like chocolate ganache.
- Great for Gatherings: These individual lemon tartlets are wonderful for serving at parties or special lunches. They look elegant and are easy for guests to eat without needing much cutlery.
- Family Tested: My whole family adores these, but they are a particular favourite of my son, who loves the zesty filling. He says they’re even better than the ones from our local bakery!
Ingredients You’ll Need
For the best results, use good quality butter and fresh, unwaxed lemons. The flavour of the zest from an unwaxed lemon is so much brighter and more aromatic. I always opt for Stork baking spread for my pastry, as I find it gives a reliably crisp and short texture.
- For the Sweet Pastry:
- 250g plain flour, plus extra for dusting
- 50g icing sugar
- 125g cold unsalted butter, cubed (or baking spread)
- 1 large egg, beaten
- 1-2 tbsp cold water
- For the Lemon Curd Filling:
- 3 large, unwaxed lemons (zest and juice)
- 175g caster sugar
- 100g unsalted butter, softened and cubed
- 3 large eggs, plus 1 extra egg yolk
- A little icing sugar for dusting (optional)
Marcus’s Tip: Ensure your eggs and butter for the curd are at room temperature. This helps them emulsify into a smooth, glossy curd without any risk of splitting.
How to Make Lemon Curd Tartlets
We’ll start by making and blind-baking the pastry cases to ensure they are crisp. While they cool, we’ll whip up the zesty lemon curd filling on the hob before a final, short bake to set everything perfectly.
- Make the Pastry: In a large bowl, sift the plain flour and icing sugar together. Add the cold, cubed butter. Using your fingertips, rub the butter into the flour until the mixture resembles fine breadcrumbs. Stir in the beaten egg with a knife, then add 1-2 tablespoons of cold water, mixing until the dough just comes together. Don’t overwork it!
- Chill the Dough: Tip the dough onto a lightly floured surface, gently shape it into a flat disc, wrap it in cling film, and chill in the fridge for at least 1 hour. This resting period is crucial for preventing shrinkage during baking.
- Roll and Line the Tins: Preheat your oven to 180°C (160°C Fan). Lightly grease a 12-hole tartlet or muffin tin. On a floured surface, roll the chilled pastry out to about 3mm thick. Use a round cutter (around 10cm) to cut out 12 discs. Gently press the pastry discs into the tin, trimming any excess from the top.
- Blind Bake the Cases: Prick the base of each pastry case with a fork. Line each one with a small piece of baking parchment and fill with baking beans or uncooked rice. Bake for 15 minutes. Carefully remove the parchment and beans, then return the cases to the oven for another 5-7 minutes, or until they are pale golden and look dry. Set aside to cool slightly.
- Prepare the Lemon Curd: While the pastry bakes, make the filling. Put the lemon zest, lemon juice, caster sugar, and cubed butter into a heatproof bowl. Set the bowl over a saucepan of gently simmering water, creating a bain-marie. Stir until the butter has melted and the sugar has dissolved completely.
- Cook the Curd: In a separate bowl, lightly whisk the 3 eggs and 1 egg yolk. Gradually pour the warm lemon mixture into the eggs, whisking constantly to prevent scrambling. Pour the entire mixture back into the heatproof bowl.
- Thicken the Curd: Return the bowl to the pan over a gentle heat and cook, stirring continuously with a wooden spoon or spatula for about 8-10 minutes. What works best for me is to keep stirring until the curd is thick enough to coat the back of the spoon. Don’t let it boil!
- Fill and Final Bake: Strain the curd through a fine-mesh sieve into a jug for a perfectly smooth texture. Carefully pour the warm lemon curd into the pre-baked pastry cases. Bake for a final 5-8 minutes, just until the filling is set but still has a slight wobble in the centre.
- Cool and Serve: Let the lemon tartlets cool completely in the tin before carefully removing them. They are delicate, so take your time. Dust with a little icing sugar before serving, if you like.
Tips From My Kitchen
- Temperature Control: The secret to a perfect, smooth lemon curd is gentle, indirect heat. A bain-marie is essential here. If the heat is too high, the eggs will scramble, and the curd will be grainy. Keep the water at a bare simmer.
- The Secret Step: I learned that straining the curd before filling the tarts is a non-negotiable step. No matter how careful you are, you can sometimes get tiny bits of cooked egg or zest that are best removed. This guarantees a silky-smooth finish every time.
- Make-Ahead: You can bake the pastry cases up to a day in advance. Store them in an airtight container at room temperature once fully cooled. The lemon curd itself can be made up to 3 days ahead and kept in a sealed container in the fridge. Simply warm it gently before pouring into the cases for the final bake.
- Storage: Once assembled, these mini lemon tarts are best enjoyed on the day they are made for the crispest pastry. However, they will keep in an airtight container in the fridge for up to 2 days.
Common Mistakes to Avoid
- Underbaking the Pastry: A pale, anaemic pastry case will quickly turn soggy once filled. Bake the cases until they are a confident, light golden-brown colour. This ensures they have the structure and crispness to hold the curd.
- Rushing the Curd: Patience is key when making the lemon curd. If you are tempted to turn up the heat to speed things up, you risk curdling the eggs. Slow and steady stirring over a low heat is the only way.
- Skipping the Chilling Time: Chilling the pastry is vital. It allows the gluten to relax and the fat to firm up, which prevents the pastry from shrinking down the sides of the tin during baking. Don’t cut this step short.
Delicious Variations to Try
Once you’ve mastered the classic recipe, it’s fun to experiment. These lemon tartlets provide a fantastic base for a few simple twists.
- Meringue Topping: Turn them into beautiful mini lemon meringue tarts. Once the tartlets are cool, top with a swirl of Italian meringue and toast it gently with a kitchen blowtorch until golden.
- Citrus Swap: For a different flavour profile, swap the lemons for limes to make mini lime tarts, or even use the juice and zest of two large oranges for a sweeter, less tangy filling.
- Berry Garnish: A simple garnish can completely change the look and taste. Top the finished tartlets with fresh raspberries, blueberries, or a tiny slice of candied lemon peel. If you love lemon desserts, my Lemon Crumb Bars Recipe is another one you should definitely try.
What to Serve With Lemon Curd Tartlets
These little tarts are wonderful on their own, but a simple accompaniment can elevate them further. Here are a few of my favourite pairings:
- Crème Fraîche or Clotted Cream: A small dollop of crème fraîche offers a tangy counterpoint that complements the lemon beautifully. Alternatively, a spoonful of rich clotted cream adds a lovely, luxurious touch.
- Fresh Berries: A handful of fresh raspberries or blueberries alongside the tartlet adds a burst of colour and a different kind of fruity sharpness that works so well with the lemon.
- A Pot of Tea: For a classic afternoon tea experience, serve these with a pot of Earl Grey. The bergamot notes in the tea are a perfect match for the bright citrus flavour.
Frequently Asked Questions
Lemon Curd Tartlets
Ingredients
Method
- Make the Pastry: In a large bowl, sift the plain flour and icing sugar together. Add the cold, cubed butter. Using your fingertips, rub the butter into the flour until the mixture resembles fine breadcrumbs. Stir in the beaten egg with a knife, then add 1-2 tablespoons of cold water, mixing until the dough just comes together. Don't overwork it!
- Chill the Dough: Tip the dough onto a lightly floured surface, gently shape it into a flat disc, wrap it in cling film, and chill in the fridge for at least 1 hour. This resting period is crucial for preventing shrinkage during baking.
- Roll and Line the Tins: Preheat your oven to 180°C (160°C Fan). Lightly grease a 12-hole tartlet or muffin tin. On a floured surface, roll the chilled pastry out to about 3mm thick. Use a round cutter (around 10cm) to cut out 12 discs. Gently press the pastry discs into the tin, trimming any excess from the top.
- Blind Bake the Cases: Prick the base of each pastry case with a fork. Line each one with a small piece of baking parchment and fill with baking beans or uncooked rice. Bake for 15 minutes. Carefully remove the parchment and beans, then return the cases to the oven for another 5-7 minutes, or until they are pale golden and look dry. Set aside to cool slightly.
- Prepare the Lemon Curd: While the pastry bakes, make the filling. Put the lemon zest, lemon juice, caster sugar, and cubed butter into a heatproof bowl. Set the bowl over a saucepan of gently simmering water, creating a bain-marie. Stir until the butter has melted and the sugar has dissolved completely.
- Cook the Curd: In a separate bowl, lightly whisk the 3 eggs and 1 egg yolk. Gradually pour the warm lemon mixture into the eggs, whisking constantly to prevent scrambling. Pour the entire mixture back into the heatproof bowl.
- Thicken the Curd: Return the bowl to the pan over a gentle heat and cook, stirring continuously with a wooden spoon or spatula for about 8-10 minutes. What works best for me is to keep stirring until the curd is thick enough to coat the back of the spoon. Don't let it boil!
- Fill and Final Bake: Strain the curd through a fine-mesh sieve into a jug for a perfectly smooth texture. Carefully pour the warm lemon curd into the pre-baked pastry cases. Bake for a final 5-8 minutes, just until the filling is set but still has a slight wobble in the centre.
- Cool and Serve: Let the lemon tartlets cool completely in the tin before carefully removing them. They are delicate, so take your time. Dust with a little icing sugar before serving, if you like.
Notes
I really hope you enjoy making these lemon curd tartlets. There’s something so satisfying about creating every element from scratch and seeing them come together. They are a true celebration of citrus and a bake I return to time and time again. I’d love to hear how you get on, so please leave a comment below to share your experience! Happy baking, Marcus.