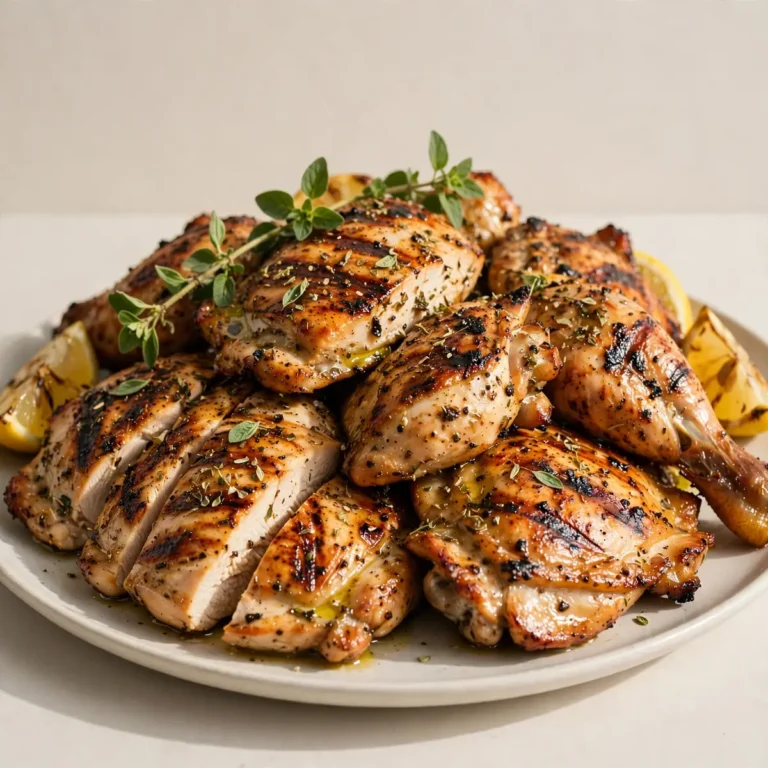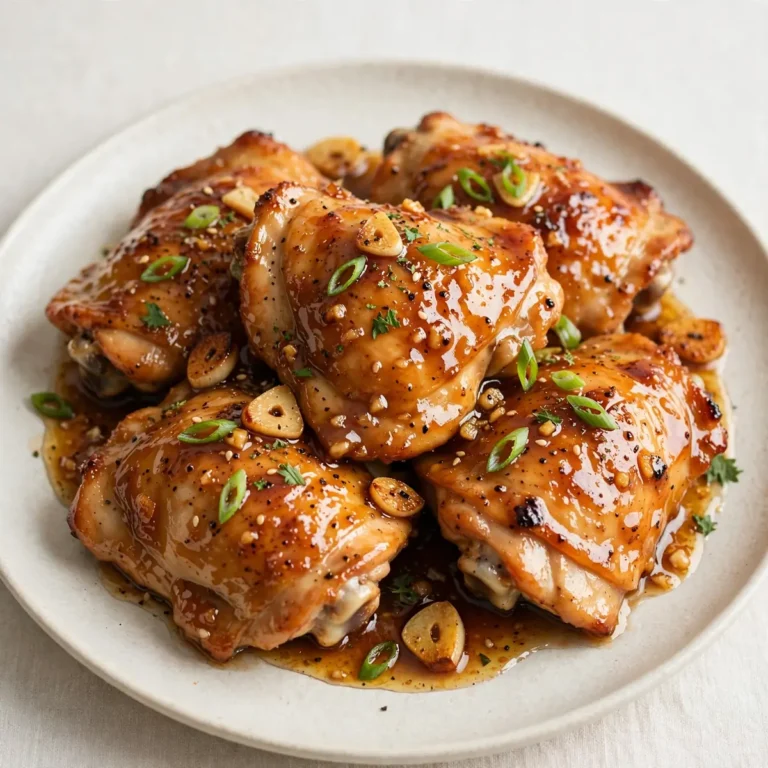
Lemon Garlic Butter Chicken Thighs
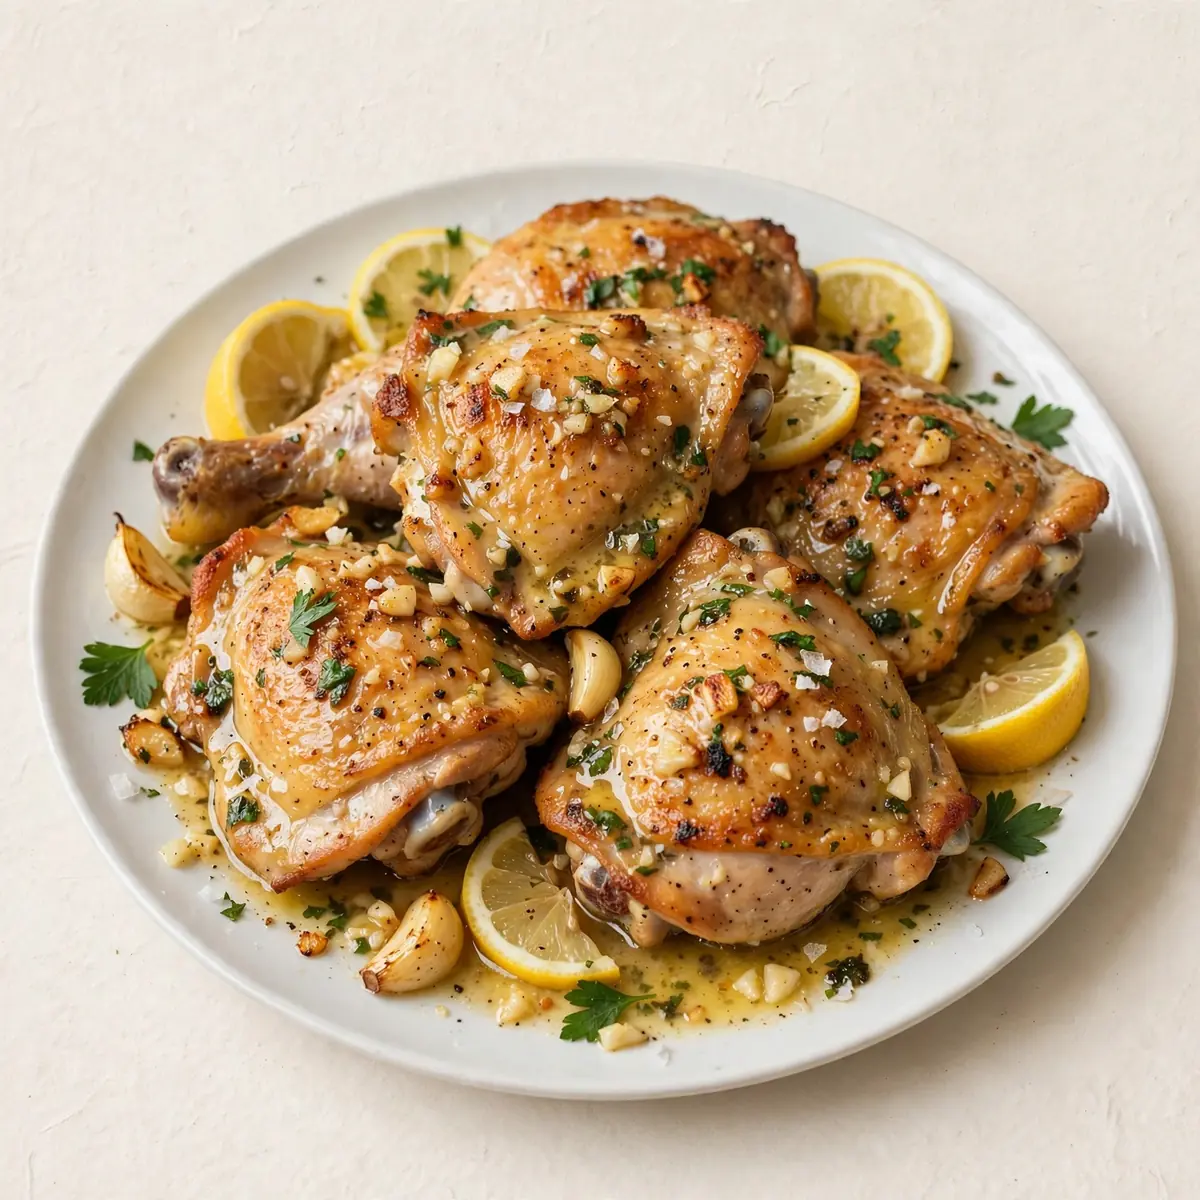
I don’t know about your house, but in mine, the witching hour between school pick-up and bedtime is a blur of homework, packed lunches, and the inevitable question: “What’s for dinner?” After a long day, the last thing I need is a recipe with a mile-long ingredient list and a sink full of washing-up. That’s why I created this Lemon Garlic Butter Chicken Thighs recipe — it’s my secret weapon for getting a genuinely delicious, family-friendly dinner on the table in under thirty minutes, with barely any mess to clear away afterwards.
Recipe Overview
- Prep Time: 5 minutes
- Cook Time: 20 minutes
- Total Time: 25 minutes
- Servings: 4
- Difficulty: Easy
Why You’ll Love This Lemon Garlic Butter Chicken Thighs
- One-pan wonder: Everything cooks in a single skillet, meaning less washing up and more time to relax. My husband, who’s usually picky, asked for seconds!
- Weeknight speed: From fridge to table in under half an hour, this recipe is built for busy evenings when you need dinner fast.
- Juicy, not dry: Chicken thighs are naturally more forgiving than breasts, but this method guarantees they stay tender and succulent every single time.
- Pantry-friendly ingredients: You likely already have the key components — butter, garlic, lemon, and chicken thighs — meaning no last-minute dashes to the shops.
- Make-ahead magic: The marinade can be prepped the night before, and the cooked chicken reheats beautifully for lunch the next day.
Ingredients You’ll Need
- 8 bone-in, skin-on chicken thighs (about 1kg)
- 1 teaspoon salt
- ½ teaspoon black pepper
- 1 teaspoon smoked paprika
- 60g unsalted butter
- 4 cloves garlic, minced
- 1 tablespoon olive oil
- Juice of 1 large lemon (about 3 tablespoons)
- 1 teaspoon lemon zest
- 120ml chicken stock (from a cube is fine)
- 2 tablespoons fresh parsley, chopped (optional, for garnish)
Tip: For the best flavour, always use fresh garlic rather than the pre-chopped stuff from a jar — it makes a noticeable difference in the final dish.
How to Make Lemon Garlic Butter Chicken Thighs
- Pat the chicken dry and season. Use kitchen paper to thoroughly dry each thigh — this is the secret to getting that golden, crispy skin. Season both sides with the salt, pepper, and smoked paprika, rubbing the spices in gently. The flesh should look evenly coated in a warm, reddish hue.
- Sear the chicken, skin-side down. Heat the olive oil in a large frying pan or skillet over a medium-high heat. Once the oil shimmers and you see the first wisp of smoke, carefully place the thighs skin-side down. You should hear a satisfying sizzle immediately. Cook for 5-7 minutes without moving them, until the skin is a deep, burnished gold and feels crisp to the touch.
- Flip and brown the other side. Turn the thighs over and cook for a further 3-4 minutes. The second side won’t get as dark, but it should develop a light brown crust. Transfer the chicken to a plate; it won’t be cooked through yet, and that’s perfectly fine.
- Create the garlic butter base. Reduce the heat to medium-low. Add the butter to the pan, letting it melt and foam gently. The aroma as it bubbles will be nutty and rich. Add the minced garlic and stir constantly for about 30 seconds, until it becomes fragrant and just begins to turn a pale straw colour — be careful not to let it burn, as burnt garlic turns bitter.
- Build the pan sauce. Pour in the chicken stock, lemon juice, and lemon zest, scraping the bottom of the pan with a wooden spoon to lift all those delicious browned bits (the fond) into the liquid. The sauce will look thin and slightly cloudy at this stage, but it will reduce beautifully.
- Return the chicken to the pan. Nestle the thighs back in, skin-side up, so the skin stays crisp. The liquid should come about a quarter of the way up the sides of the chicken. Bring the sauce to a gentle simmer — you want small, lazy bubbles, not a vigorous boil.
- Finish cooking through. Cover the pan with a lid and let it cook for 10-12 minutes. The steam will finish cooking the chicken gently. To check for doneness, insert a meat thermometer into the thickest part of a thigh; it should read 74°C. If you don’t have a thermometer, pierce the meat with a knife — the juices should run clear, and the flesh should feel firm but not tough.
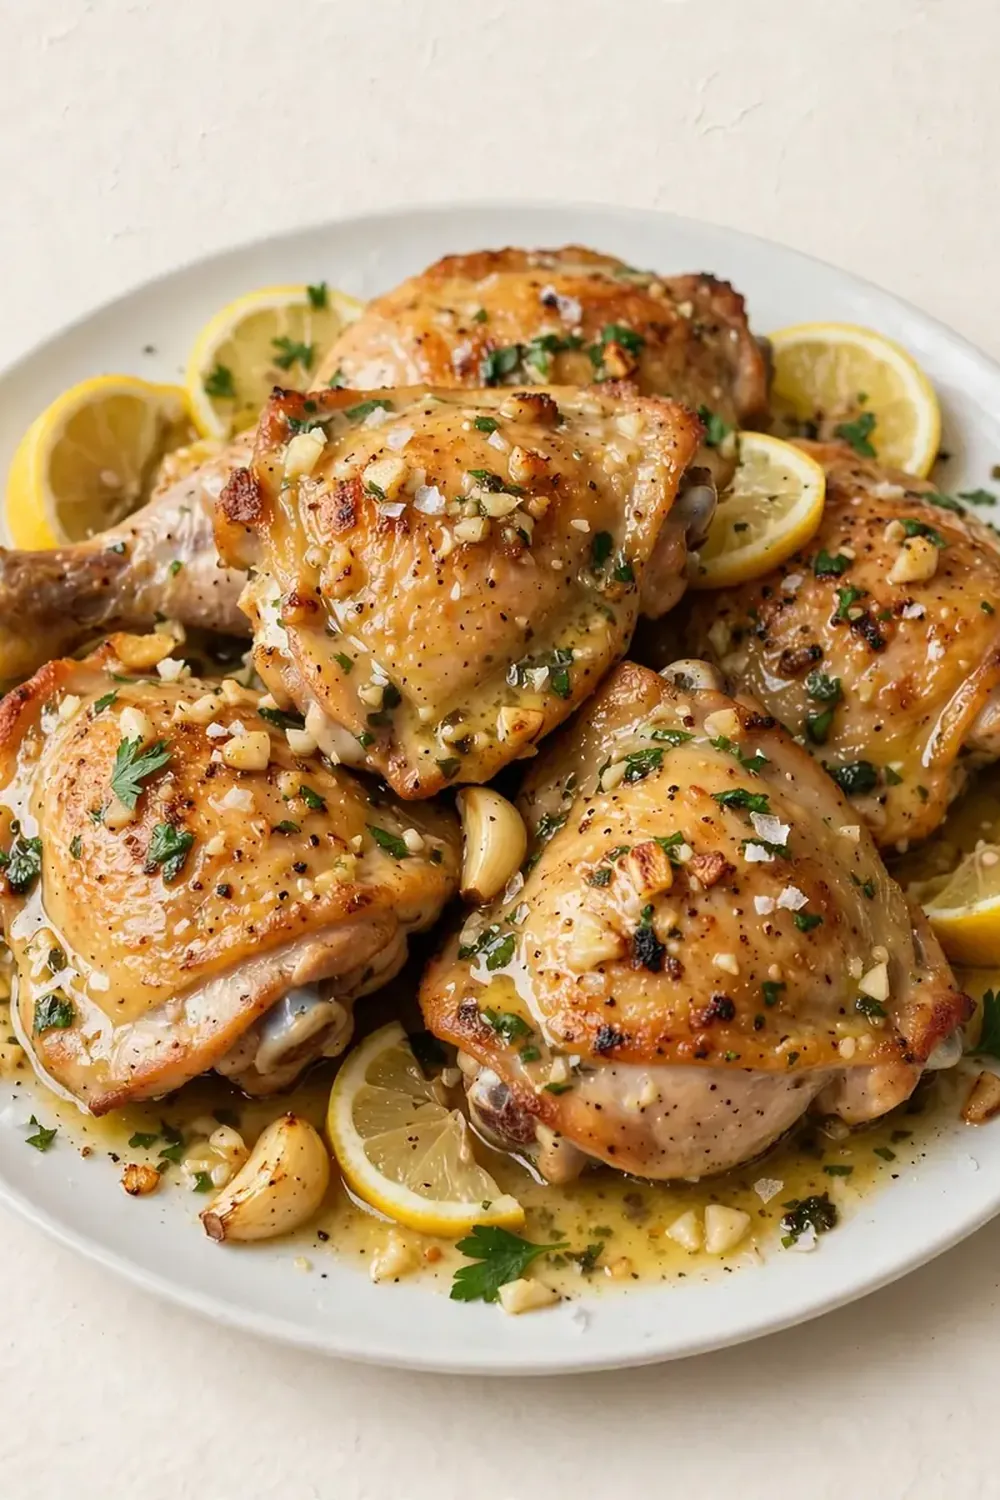
- Rest and serve. Remove the pan from the heat and let the chicken rest for 5 minutes. This allows the juices to redistribute throughout the meat. Spoon the glossy, fragrant sauce over the top and garnish with fresh parsley, if using.
Tips From My Kitchen
- Don’t skimp on drying the chicken: Moisture is the enemy of crispy skin. After testing this recipe five times, I finally got it just right by being obsessively thorough with the kitchen paper. Any residual moisture will cause the chicken to steam rather than sear, giving you pale, rubbery skin.
- Resist the urge to move the chicken while searing: This is the hardest thing for a busy cook to do! Once the chicken hits the pan, leave it alone. The skin needs uninterrupted contact with the hot surface to develop that deep golden crust. If you try to peek or shift it too early, you’ll tear the skin and lose the crispiness.
- Use a heavy-bottomed pan: A cheap, thin pan will create hot spots and burn the butter or garlic before the chicken is properly seared. A heavy cast-iron skillet or a good-quality stainless steel pan distributes heat evenly, giving you consistent results every time.
- Make it a meal prep hero: Double the recipe and store the cooked thighs in the fridge for up to three days. They’re fantastic cold in a salad, shredded into wraps, or simply reheated with steamed rice for a quick lunch. The sauce can be stored separately and spooned over when reheating to keep everything moist.
- Scale the garlic to your taste: Four cloves gives a lovely, mellow garlic flavour that doesn’t overpower the lemon. If your family loves garlic, feel free to add an extra clove or two — but remember that raw garlic is much more pungent than cooked, so you’re always safe adding more at the cooking stage rather than before.
Equipment You’ll Need
- Large frying pan or skillet (preferably cast-iron or heavy-bottomed)
- Sharp knife and cutting board
- Mixing bowls (for seasoning)
- Wooden spoon or spatula
- Kitchen paper
- Meat thermometer (recommended, not essential)
Common Mistakes to Avoid
- Overcrowding the pan: If you cram all the thighs into the pan at once, the temperature drops dramatically, and the chicken will steam instead of sear. Cook in batches if necessary, or use two pans. The chicken needs space around each piece for the heat to circulate and create that golden crust.
- Wrong temperature: A medium-high heat is crucial for the initial sear, but once you add the garlic and stock, you must reduce it to a gentle simmer. High heat at this stage will burn the garlic and cause the butter to separate, leaving you with a greasy sauce instead of a silky one.
- Skipping the rest time: I know it’s tempting to serve immediately, especially when everyone is hungry, but resting the chicken is essential. If you cut into it straight away, all the juices will run out onto the plate, leaving the meat dry. Five minutes is all it takes to lock in that moisture.
Delicious Variations to Try
- Spicy Version: Add ½ teaspoon of red chilli flakes along with the paprika, or throw in a finely chopped red chilli when you add the garlic. For extra heat, drizzle with a little hot honey just before serving.
- Vegetarian/Vegan Option: Swap the chicken thighs for large portobello mushrooms or thick slices of firm tofu. Use a plant-based butter and vegetable stock instead of chicken stock. The cooking time will be shorter — about 8-10 minutes for mushrooms, and 6-8 minutes for tofu, seared until golden.
- Different Protein: This sauce works wonderfully with other meats. Try boneless, skinless chicken breasts (reduce cooking time to 8-10 minutes), pork chops, or even turkey steaks. Adjust the cooking time based on the thickness of the protein, and always check the internal temperature.
What to Serve With Lemon Garlic Butter Chicken Thighs
- Steamed jasmine rice or fluffy basmati rice to soak up all that buttery sauce
- Crusty bread for dipping — a baguette or sourdough works beautifully
- A simple green salad with a light vinaigrette to cut through the richness
- Roasted broccoli or green beans tossed with a squeeze of lemon
- Buttered new potatoes or mashed potatoes for a comforting, hearty meal
Still hungry for ideas? You might also love Lemon Garlic Chicken, Garlic Butter Chicken Rigatoni from our sister kitchens.
Frequently Asked Questions
Lemon Garlic Butter Chicken Thighs
Ingredients
Method
- Pat the chicken dry and season. Use kitchen paper to thoroughly dry each thigh — this is the secret to getting that golden, crispy skin. Season both sides with the salt, pepper, and smoked paprika, rubbing the spices in gently. The flesh should look evenly coated in a warm, reddish hue.
- Sear the chicken, skin-side down. Heat the olive oil in a large frying pan or skillet over a medium-high heat. Once the oil shimmers and you see the first wisp of smoke, carefully place the thighs skin-side down. You should hear a satisfying sizzle immediately. Cook for 5-7 minutes without moving them, until the skin is a deep, burnished gold and feels crisp to the touch.
- Flip and brown the other side. Turn the thighs over and cook for a further 3-4 minutes. The second side won't get as dark, but it should develop a light brown crust. Transfer the chicken to a plate; it won't be cooked through yet, and that's perfectly fine.
- Create the garlic butter base. Reduce the heat to medium-low. Add the butter to the pan, letting it melt and foam gently. The aroma as it bubbles will be nutty and rich. Add the minced garlic and stir constantly for about 30 seconds, until it becomes fragrant and just begins to turn a pale straw colour — be careful not to let it burn, as burnt garlic turns bitter.
- Build the pan sauce. Pour in the chicken stock, lemon juice, and lemon zest, scraping the bottom of the pan with a wooden spoon to lift all those delicious browned bits (the fond) into the liquid. The sauce will look thin and slightly cloudy at this stage, but it will reduce beautifully.
- Return the chicken to the pan. Nestle the thighs back in, skin-side up, so the skin stays crisp. The liquid should come about a quarter of the way up the sides of the chicken. Bring the sauce to a gentle simmer — you want small, lazy bubbles, not a vigorous boil.
- Finish cooking through. Cover the pan with a lid and let it cook for 10-12 minutes. The steam will finish cooking the chicken gently. To check for doneness, insert a meat thermometer into the thickest part of a thigh; it should read 74°C. If you don't have a thermometer, pierce the meat with a knife — the juices should run clear, and the flesh should feel firm but not tough.
- Rest and serve. Remove the pan from the heat and let the chicken rest for 5 minutes. This allows the juices to redistribute throughout the meat. Spoon the glossy, fragrant sauce over the top and garnish with fresh parsley, if using.
Notes
I hope this Lemon Garlic Butter Chicken Thighs becomes a regular in your weeknight rotation, just as it has in mine. It’s proof that you don’t need complicated techniques or exotic ingredients to create something that feels special. If you give it a go, I’d love to hear how it turned out — drop a comment below and let me know if your family loved it as much as mine did.