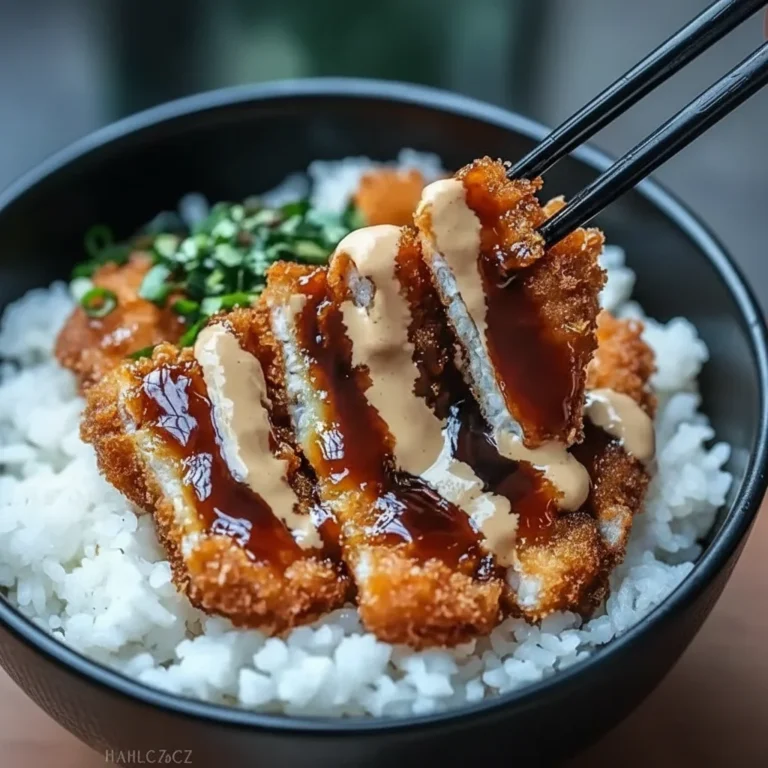
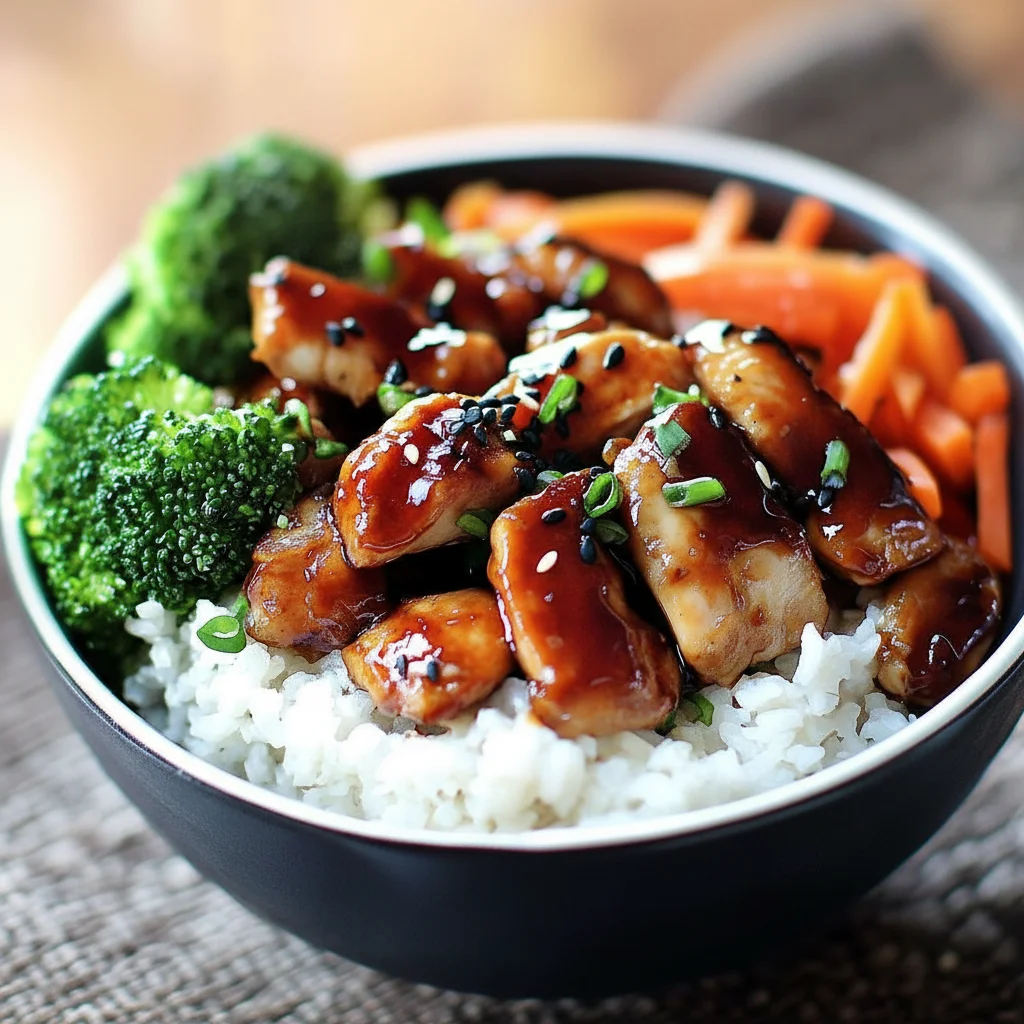
Teriyaki Chicken Bowl Recipe with Rice
There’s a special kind of satisfaction that comes from recreating a takeaway favourite at home, and getting it spot on. This Teriyaki Chicken Bowl recipe is the result of my quest to do just that. It’s all about tender, juicy chicken thighs coated in a gloriously sticky, sweet, and savoury sauce that you’ll want to bottle and put on everything. Forget those overly sweet, one-note sauces from a jar; our homemade version is balanced, packed with the warmth of fresh ginger and garlic, and has a genuine depth of flavour.
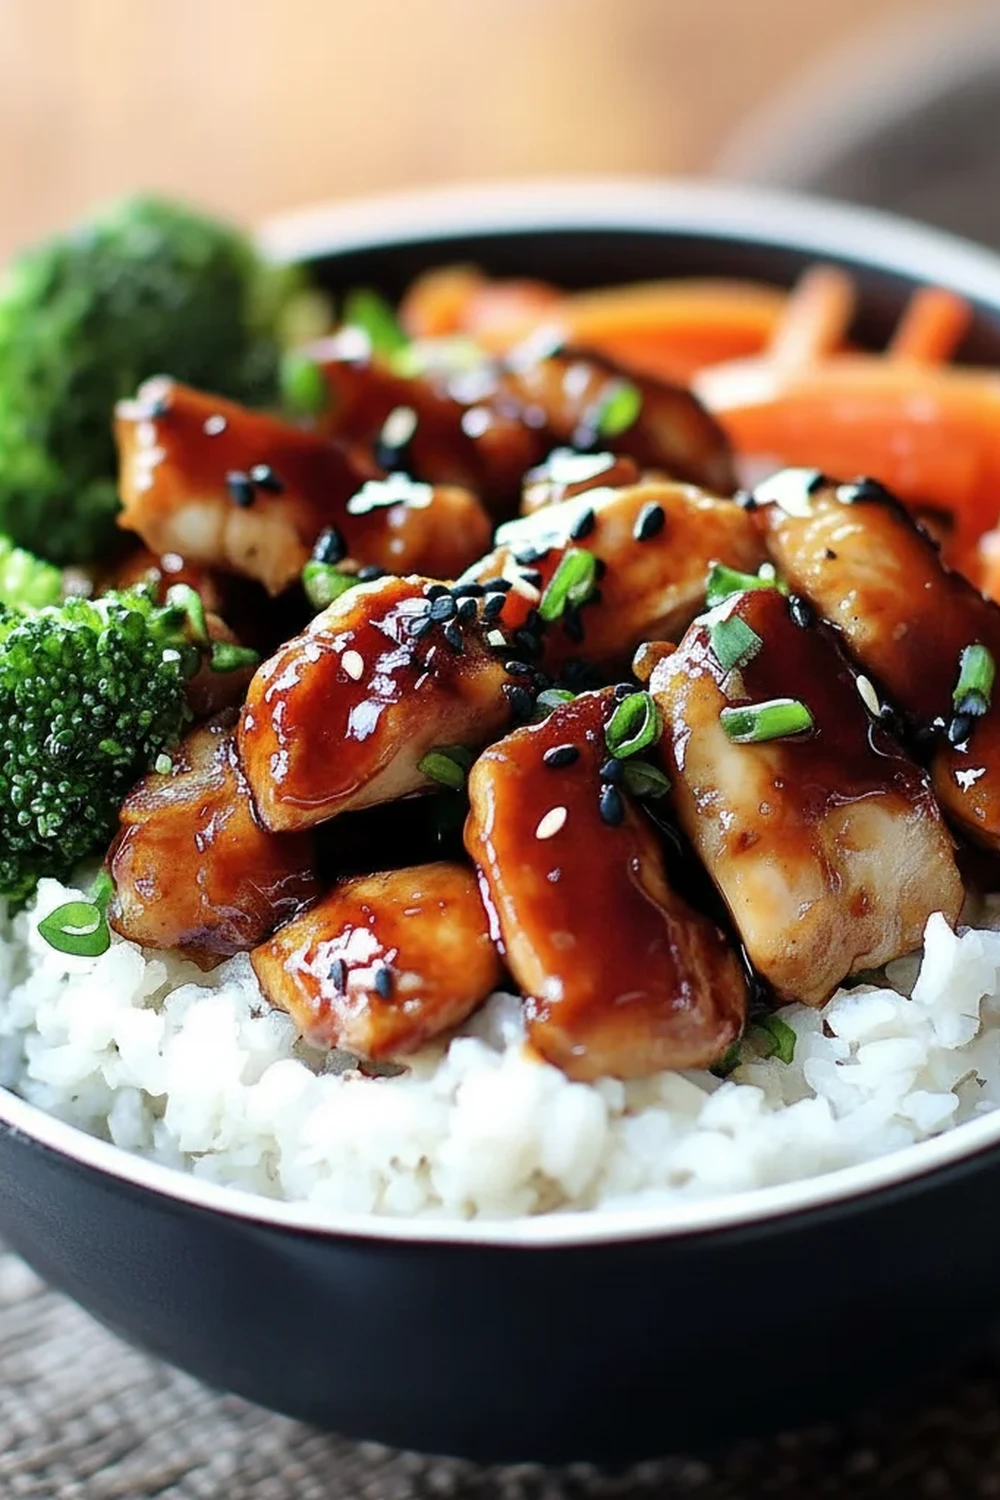
I make this at least once a week – it’s become a non-negotiable family favourite. It’s one of those brilliant meals that feels like a treat but comes together in the time it takes to cook a pot of rice. We pile fluffy jasmine rice into bowls and top it with the glossy teriyaki chicken, some vibrant green veg, and a final flourish of spring onions and sesame seeds. The contrast of the rich, umami-packed chicken against the fresh, crisp vegetables is just fantastic.
This chicken teriyaki bowl is ideal for those busy weeknights when you crave something deeply satisfying without spending hours in the kitchen. It’s a complete, nourishing meal in one bowl that always gets compliments. If you’re looking for another dependable weeknight meal, our Creamy Chicken And Rice Recipe One Pot Meal is also a brilliant choice.
Recipe Overview
This recipe guides you through creating a Japanese-inspired chicken bowl with a homemade teriyaki sauce that truly shines. The key is in the balance of the sauce – salty, sweet, and aromatic – which thickens into a perfect glaze for the chicken. After testing this a few times, I found that using chicken thighs is non-negotiable for the most tender, flavourful result. They simply don’t dry out like breast meat can.
- Prep Time: 15 minutes
- Cook Time: 15 minutes
- Total Time: 30 minutes
- Servings: 4 people
- Difficulty: Easy
Why You’ll Love This Teriyaki Chicken Bowl Recipe
- Genuine Flavour: The homemade sauce is the star. It has a beautiful umami depth from good quality soy sauce, a gentle sweetness from honey, a tang from rice vinegar, and a lovely warmth from freshly grated ginger and garlic. It’s worlds away from store-bought.
- Ready in Under 30 Minutes: From start to finish, this entire meal can be on the table in about half an hour, making it a fantastic option for a mid-week dinner.
- Flexible Recipe: This recipe works as a great template. You can add different vegetables like steamed broccoli, edamame, or thinly sliced peppers. Don’t have chicken? It works beautifully with salmon or firm tofu, too.
- Great for Meal Prep: The components can be prepared in advance. Cook a batch of rice, make the sauce, and chop your veg. When you’re ready to eat, all you need to do is cook the chicken and assemble.
- Family Tested: My kids absolutely love this, and everyone seems to enjoy customising their own bowl with different toppings. It’s a meal that brings everyone to the table without any fuss.
Ingredients You’ll Need
For the best teriyaki, the quality of your ingredients really matters, especially the soy sauce. I always use Kikkoman’s Naturally Brewed Soy Sauce as it has a clean, balanced flavour that isn’t overly salty. You’ll find everything else in a standard supermarket.
- 600g boneless, skinless chicken thighs, cut into 2-3cm pieces
- 1 tbsp vegetable or rapeseed oil
- 300g jasmine rice, rinsed
- 1 large head of broccoli, cut into small florets
- 150g frozen edamame beans
- For the Teriyaki Sauce:
- 120ml light soy sauce (or tamari for gluten-free)
- 60ml mirin (Japanese sweet rice wine)
- 2 tbsp honey (or maple syrup)
- 1 tbsp rice vinegar
- 2 cloves garlic, finely minced or grated
- 2cm piece of fresh ginger, peeled and finely grated
- 1 tsp toasted sesame oil
- For the Slurry & Garnish:
- 1 tbsp cornflour
- 2 tbsp cold water
- 2 spring onions, finely sliced
- 1 tbsp toasted sesame seeds
Sara’s Tip: Using a microplane grater for the ginger and garlic is a brilliant little trick. It creates a fine paste that melts into the sauce, giving you all the flavour without any chunky bits.
How to Make This Teriyaki Chicken Bowl Recipe
The process for this chicken bowl is straightforward. We’ll cook the rice and vegetables, sear the chicken until it’s beautifully browned, and then bring it all together with that irresistible glossy sauce.
- Cook the Rice: First, get your rice on. Rinse the jasmine rice under cold water until the water runs clear. Add it to a saucepan with 600ml of cold water. Bring to a boil, then immediately reduce the heat to your lowest setting, cover with a tight-fitting lid, and let it simmer for 12 minutes. Once done, turn off the heat and leave it covered to steam for another 10 minutes.
- Prepare the Sauce: While the rice is cooking, make the star of the show. In a medium bowl or jug, whisk together the soy sauce, mirin, honey, rice vinegar, grated garlic, grated ginger, and toasted sesame oil. Set aside.
- Sear the Chicken: Pat your chicken pieces dry with a paper towel; this is crucial for getting a good sear. Heat the vegetable oil in a large frying pan or skillet over a medium-high heat. Once hot, add the chicken pieces in a single layer. Be careful not to overcrowd the pan (work in batches if you need to). Cook for 3-4 minutes per side, until golden brown and cooked through.
- Steam the Vegetables: While the chicken is searing, steam your greens. You can do this in a steamer over a pot of boiling water or in the microwave. Cook the broccoli florets and edamame beans for 3-4 minutes until tender-crisp. You want them to retain a bit of bite.
- Make the Glaze: Once the chicken is cooked, remove it from the pan and set it aside on a plate. Reduce the heat to medium and pour the prepared teriyaki sauce into the same pan. Let it bubble and reduce for 2-3 minutes.
- Thicken the Sauce: In a small bowl, mix the cornflour with 2 tablespoons of cold water to create a smooth slurry. Pour this into the simmering sauce, whisking constantly. I find that whisking as you pour prevents any lumps from forming. Continue to simmer for another 1-2 minutes until the sauce has thickened and turned glossy. This is the secret to that perfect glaze.
- Combine and Coat: Return the cooked chicken to the pan and stir everything together, ensuring every piece of chicken is thoroughly coated in the beautiful, thick teriyaki glaze.
- Assemble Your Bowls: Fluff the cooked rice with a fork and divide it among four bowls. Top with the glazed teriyaki chicken, a generous portion of the steamed broccoli and edamame, and finish with a sprinkle of sliced spring onions and toasted sesame seeds. Serve immediately.
Tips From My Kitchen
- Temperature Control: Keep your pan on a medium-high heat for searing the chicken, but drop it to medium when you add the sauce. The honey in the sauce can burn quickly if the heat is too high, so this prevents it from catching while it thickens.
- The Secret Step: I learned that letting the sauce bubble and reduce on its own for a couple of minutes *before* adding the cornflour slurry really concentrates the flavours. It makes the final glaze richer and more complex.
- Make-Ahead: The teriyaki sauce can be made up to 5 days in advance and kept in an airtight jar in the fridge. You can also chop the broccoli and spring onions a day ahead to save on prep time.
- Storage: Leftovers are fantastic for lunch the next day. Store the chicken, rice, and vegetables in separate airtight containers in the fridge for up to 3 days. Reheat the chicken gently in a pan or microwave.
Equipment You’ll Need
You don’t need any special gadgets for this recipe, just some basic kitchen essentials. If you’re looking for other recipes that use simple equipment, our Easy Ground Beef Tacos Recipe is another family favourite.
- Large frying pan or skillet (non-stick is great for the glaze)
- Medium saucepan with a lid (for the rice)
- Sharp knife and cutting board
- Mixing bowls and a whisk
- Spatula or wooden spoon
Common Mistakes to Avoid
- Overcrowding the pan: Tipping all the chicken in at once will lower the pan’s temperature, causing the chicken to steam rather than sear. For that lovely golden-brown crust, cook it in batches if necessary, ensuring there’s space around each piece. You can find a great explanation of the science behind this at Serious Eats.
- Wrong temperature for the sauce: Adding the sauce to a screaming-hot pan can cause the sugars to burn instantly, resulting in a bitter taste. Lower the heat to medium before you pour it in.
- Skipping the cornflour slurry: Don’t be tempted to just sprinkle the cornflour into the pan. It will clump immediately. Always mix it with cold water first to create a smooth slurry, which will then incorporate seamlessly into the sauce.
Delicious Variations to Try
Once you’ve mastered the basic recipe, it’s fun to mix things up. This chicken bowl is wonderfully adaptable.
- Spicy Teriyaki Chicken: Add 1-2 teaspoons of sriracha or a pinch of red pepper flakes to the sauce when you whisk it together. It adds a lovely background heat.
- Vegetarian/Vegan Option: Swap the chicken for a block of firm tofu. Press it well to remove excess water, cube it, and pan-fry until golden before adding it to the sauce. You can also use large portobello or shiitake mushrooms. For a vegan sauce, use maple syrup instead of honey.
- Different Protein: This teriyaki sauce works beautifully with other proteins. Try it with salmon fillets (pan-sear and glaze at the end), prawns, or even thinly sliced beef sirloin.
What to Serve With Your Teriyaki Chicken Bowl
While this is a complete meal in a bowl, a few little extras can elevate it even further.
- Quick Pickled Cucumber: Thinly slice a cucumber and toss it with a splash of rice vinegar, a pinch of sugar, and a pinch of salt. It provides a sharp, refreshing crunch that cuts through the richness of the sauce.
- A Miso Soup Starter: Serving a small bowl of simple miso soup before the main dish makes the meal feel even more special and authentically Japanese-inspired.
- Drink Pairing: A crisp, dry Japanese lager like Asahi or Sapporo is a classic match. For a non-alcoholic option, a cold-brewed iced green tea is wonderfully refreshing.
Frequently Asked Questions
Teriyaki Chicken Bowl
Ingredients
Method
- Cook the Rice: First, get your rice on. Rinse the jasmine rice under cold water until the water runs clear. Add it to a saucepan with 600ml of cold water. Bring to a boil, then immediately reduce the heat to your lowest setting, cover with a tight-fitting lid, and let it simmer for 12 minutes. Once done, turn off the heat and leave it covered to steam for another 10 minutes.
- Prepare the Sauce: While the rice is cooking, make the star of the show. In a medium bowl or jug, whisk together the soy sauce, mirin, honey, rice vinegar, grated garlic, grated ginger, and toasted sesame oil. Set aside.
- Sear the Chicken: Pat your chicken pieces dry with a paper towel; this is crucial for getting a good sear. Heat the vegetable oil in a large frying pan or skillet over a medium-high heat. Once hot, add the chicken pieces in a single layer. Be careful not to overcrowd the pan (work in batches if you need to). Cook for 3-4 minutes per side, until golden brown and cooked through.
- Steam the Vegetables: While the chicken is searing, steam your greens. You can do this in a steamer over a pot of boiling water or in the microwave. Cook the broccoli florets and edamame beans for 3-4 minutes until tender-crisp. You want them to retain a bit of bite.
- Make the Glaze: Once the chicken is cooked, remove it from the pan and set it aside on a plate. Reduce the heat to medium and pour the prepared teriyaki sauce into the same pan. Let it bubble and reduce for 2-3 minutes.
- Thicken the Sauce: In a small bowl, mix the cornflour with 2 tablespoons of cold water to create a smooth slurry. Pour this into the simmering sauce, whisking constantly. I find that whisking as you pour prevents any lumps from forming. Continue to simmer for another 1-2 minutes until the sauce has thickened and turned glossy. This is the secret to that perfect glaze.
- Combine and Coat: Return the cooked chicken to the pan and stir everything together, ensuring every piece of chicken is thoroughly coated in the beautiful, thick teriyaki glaze.
- Assemble Your Bowls: Fluff the cooked rice with a fork and divide it among four bowls. Top with the glazed teriyaki chicken, a generous portion of the steamed broccoli and edamame, and finish with a sprinkle of sliced spring onions and toasted sesame seeds. Serve immediately.
Notes
I really hope you enjoy making this Teriyaki Chicken Bowl. It’s a recipe that has brought a lot of joy to my own dinner table, and it’s proof that a fantastic, flavour-packed meal doesn’t need to be complicated. If you’re looking for a sweet treat to follow it up, why not try my Stuffed Cookies Recipe? Let me know how you get on in the comments below – I love hearing about your kitchen adventures!
Happy cooking,
Marcus