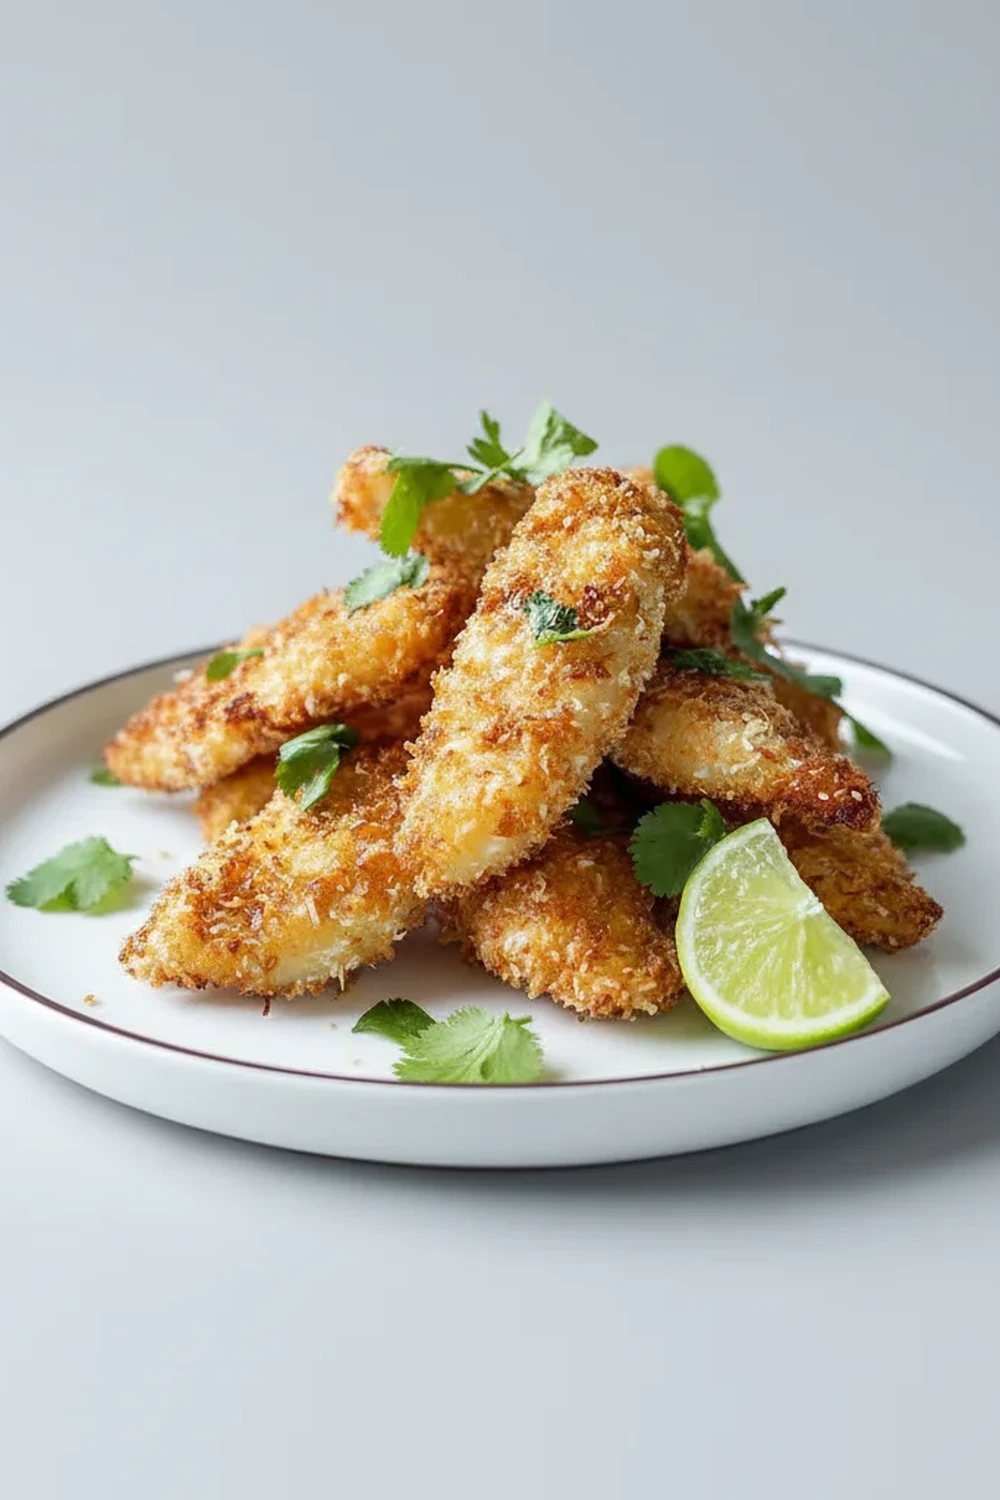
Coconut Chicken Tenders Recipe Crispy Baked
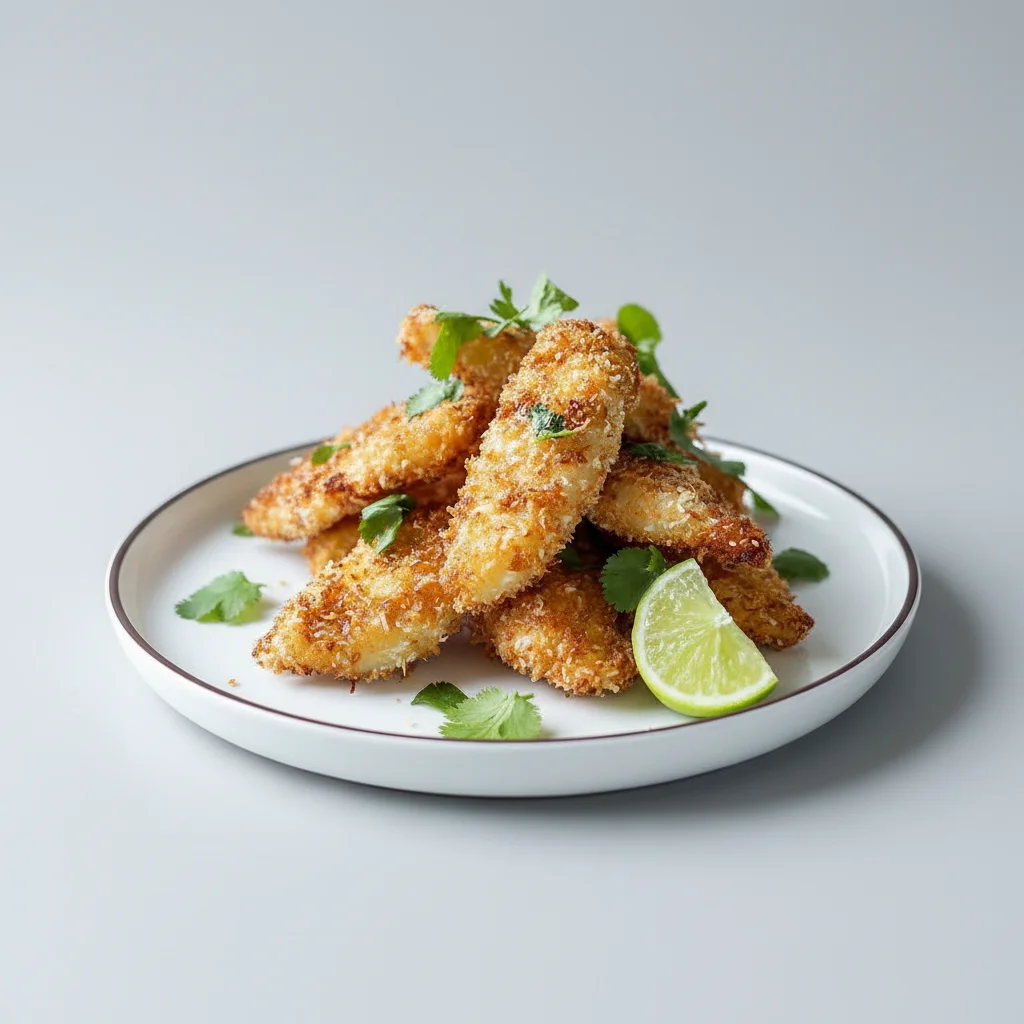
There’s a wonderful moment when you bite into one of these tenders. First, you get the incredible crunch from the golden coconut and panko crust, which gives way to perfectly juicy, tender chicken inside. This isn’t your average breaded chicken; it’s something truly special, with a subtle sweetness and nutty flavour that elevates it from a simple meal into a memorable one. I make this recipe whenever I want a meal that feels a little bit indulgent but comes together in about 30 minutes. It’s that perfect balance of impressive flavour and straightforward preparation.
These Coconut Chicken Tenders have become a signature dish in my home. Friends always ask me for this recipe after trying it at dinner parties, and they’re always surprised at how achievable it is. The secret lies in a simple three-step coating process that guarantees a crispy, flavourful crust that actually sticks to the chicken. It’s a brilliant recipe for a Friday night fakeaway, a light lunch served with a zesty salad, or even as part of a larger spread for a casual get-together with friends.
Whether you’re cooking for picky eaters or discerning foodies, this recipe always gets compliments. The tropical hint of coconut is fragrant and appealing, making it a fantastic alternative to the usual chicken recipes. It pairs beautifully with a sweet chilli dip, but we’ll explore some other serving ideas further down. For now, let’s get into what makes these coconut chicken tenders so good.
Recipe Overview
This recipe guides you through creating exceptionally crispy and juicy chicken tenders with a fragrant coconut and panko breadcrumb coating. The flavour profile is a delightful mix of savoury chicken, sweet and nutty coconut, and a gentle warmth from smoked paprika and garlic. During testing, I found that letting the coated chicken rest for just five minutes before frying is the key to ensuring the crust doesn’t fall off in the pan – a small step that makes a huge difference.
- Prep Time: 15 minutes
- Cook Time: 15 minutes
- Total Time: 30 minutes
- Servings: 4 people
- Difficulty: Easy
Why You’ll Love These Coconut Chicken Tenders
- Genuine Flavour: The combination of unsweetened desiccated coconut with savoury Japanese panko breadcrumbs creates a coating that’s genuinely addictive. The paprika adds a subtle smokiness that stops the coconut from being overly sweet.
- Ready in 30 Minutes: From slicing the chicken to serving the golden tenders, this entire meal is on the table in about half an hour, making it ideal for busy weeknights.
- Flexible Recipe: You can easily adjust the spices. Add a pinch of cayenne pepper to the flour for a bit of a kick, or some dried herbs like thyme for a different flavour dimension. These also work beautifully in an air fryer or baked in the oven.
- Great for Family Dinners: This is a wonderful meal for the whole family. If you’re looking for more family-friendly ideas, our Easy Ground Beef Tacos Recipe is another one that always goes down well.
- Family Tested: My kids absolutely adore these – they say the crispy coating is the best part. The slight sweetness from the coconut makes them a real winner with younger eaters who might normally turn their noses up at more adventurous flavours.
Ingredients You’ll Need
The magic of this dish comes from a few simple, quality ingredients. Using good chicken breast is important, but the star is the coating. I always use unsweetened desiccated coconut, as the sweetened variety can burn easily and make the final dish too sugary. I find that KTC is a reliable brand that’s easy to find in most supermarkets.
- 600g skinless, boneless chicken breasts, cut into even-sized tenders
- 75g plain flour
- 1 tsp fine sea salt
- 1 tsp smoked paprika
- 1 tsp garlic powder
- ½ tsp freshly ground black pepper
- 2 large free-range eggs
- 100g panko breadcrumbs
- 80g unsweetened desiccated coconut
- Approx. 250ml vegetable or sunflower oil, for shallow frying
Marcus’s Tip: For an extra layer of flavour and an even crispier texture, try toasting the panko breadcrumbs in a dry, non-stick frying pan over a medium heat for 2-3 minutes. Stir them constantly until they’re a pale golden colour before mixing with the coconut. It’s a small step that adds a lovely toasty, nutty depth.
How to Make Coconut Chicken Tenders
The process involves a standard three-bowl setup for dredging, which is a straightforward technique for getting a great coating on meat or fish. We’ll get the chicken coated, let it rest for a moment, and then fry it in batches until it’s perfectly golden and cooked through.
- Prepare the Chicken: Slice the chicken breasts into tenders, about 2cm thick. Pat them completely dry with a paper towel – this is crucial for helping the flour stick properly.
- Set Up Your Dredging Stations: You’ll need three shallow dishes or bowls. In the first, whisk together the plain flour, salt, smoked paprika, garlic powder, and black pepper. In the second, lightly beat the two eggs with a fork. In the third, mix the panko breadcrumbs and the desiccated coconut until evenly combined.
- Coat the Chicken: Working with one tender at a time, first dredge it in the seasoned flour mixture, shaking off any excess. Next, dip it into the beaten egg, allowing any extra to drip off. Finally, press it firmly into the coconut and panko mixture, ensuring it’s completely and generously coated on all sides.
- Let Them Rest: Place the coated chicken tenders onto a wire rack or a parchment-lined baking sheet. Let them sit for at least 5 minutes. What works best for me is using this time to get the oil heated and my serving plates ready. This brief rest helps the coating adhere firmly to the chicken.
- Heat the Oil: Pour the oil into a large, heavy-bottomed frying pan so it comes about 1-2cm up the sides. Heat it over a medium-high heat until it reaches around 180°C (170°C fan). If you don’t have a thermometer, you can test it by dropping a small piece of the breadcrumb coating into the oil – it should sizzle vigorously straight away.
- Fry in Batches: Carefully place a few tenders into the hot oil, making sure not to overcrowd the pan. Frying in batches is key for a crispy result. Cook for 3-4 minutes on each side, until the coating is a deep golden brown and the chicken is cooked through.
- Drain and Serve: Once cooked, use tongs to remove the chicken tenders from the pan and place them back on the wire rack to drain any excess oil. This keeps the underside crispy. Serve them hot with your favourite dipping sauce.
Tips From My Kitchen
- Temperature Control: The right oil temperature is vital. Too low, and the tenders will absorb oil and become greasy. Too high, and the coconut will burn before the chicken cooks. An instant-read thermometer is a huge help, but the sizzle test works well too. You can learn more about the principles of shallow and deep frying from guides like this one.
- The Secret Step: I learned that the difference between a good coating and a great one is pressure. When you press the chicken into the panko-coconut mix, use your fingertips to really push the coating on. This mechanical bond helps create that thick, crunchy crust we’re aiming for.
- Make-Ahead: You can fully prepare the tenders up to the coating stage. Lay them in a single layer on a parchment-lined tray, cover tightly with cling film, and refrigerate for up to 4 hours before you plan to cook them.
- Storage: Allow any leftover chicken tenders to cool completely before storing. They’ll keep in an airtight container in the refrigerator for up to 3 days. To reheat and bring back the crispiness, place them in an oven or air fryer at 190°C for 5-7 minutes.
Common Mistakes to Avoid
- Overcrowding the pan: It’s tempting to cook them all at once, but this will cause the oil temperature to drop dramatically. The result is a pale, soggy coating instead of a crisp, golden one. Always cook in batches, leaving plenty of space around each tender.
- Wrong temperature: Frying in oil that isn’t hot enough is the main cause of greasy food. Ensure your oil is shimmering and sizzles immediately when you add the chicken. Conversely, if it’s smoking, it’s too hot and the delicate coconut will scorch.
- Skipping the rest time: That 5-10 minute rest after coating is more important than it seems. It allows the moisture from the egg to hydrate the flour and breadcrumbs, creating a sort of ‘glue’ that holds everything together during the vigorous frying process.
What to Serve With Coconut Chicken Tenders
These tenders are incredibly versatile. A simple sweet chilli sauce is a classic for a reason, but here are a few other ideas that work beautifully.
- Mango and Avocado Salsa: The fresh, sweet, and creamy salsa provides a fantastic contrast to the rich, crispy chicken. The lime juice in the salsa cuts through the fat beautifully.
- Spicy Mayo: Mix mayonnaise with a little sriracha and a squeeze of lime juice for a creamy, spicy dip that complements the sweetness of the coconut.
- Drink Pairing: A cold, crisp lager or a chilled glass of Pinot Grigio is an excellent match. For a non-alcoholic option, a sparkling elderflower pressé with a slice of lime is wonderfully refreshing.
Frequently Asked Questions
Coconut Chicken Tenders
Ingredients
Method
- Prepare the Chicken: Slice the chicken breasts into tenders, about 2cm thick. Pat them completely dry with a paper towel – this is crucial for helping the flour stick properly.
- Set Up Your Dredging Stations: You’ll need three shallow dishes or bowls. In the first, whisk together the plain flour, salt, smoked paprika, garlic powder, and black pepper. In the second, lightly beat the two eggs with a fork. In the third, mix the panko breadcrumbs and the desiccated coconut until evenly combined.
- Coat the Chicken: Working with one tender at a time, first dredge it in the seasoned flour mixture, shaking off any excess. Next, dip it into the beaten egg, allowing any extra to drip off. Finally, press it firmly into the coconut and panko mixture, ensuring it’s completely and generously coated on all sides.
- Let Them Rest: Place the coated chicken tenders onto a wire rack or a parchment-lined baking sheet. Let them sit for at least 5 minutes. What works best for me is using this time to get the oil heated and my serving plates ready. This brief rest helps the coating adhere firmly to the chicken.
- Heat the Oil: Pour the oil into a large, heavy-bottomed frying pan so it comes about 1-2cm up the sides. Heat it over a medium-high heat until it reaches around 180°C (170°C fan). If you don't have a thermometer, you can test it by dropping a small piece of the breadcrumb coating into the oil – it should sizzle vigorously straight away.
- Fry in Batches: Carefully place a few tenders into the hot oil, making sure not to overcrowd the pan. Frying in batches is key for a crispy result. Cook for 3-4 minutes on each side, until the coating is a deep golden brown and the chicken is cooked through.
- Drain and Serve: Once cooked, use tongs to remove the chicken tenders from the pan and place them back on the wire rack to drain any excess oil. This keeps the underside crispy. Serve them hot with your favourite dipping sauce.
Notes
I really hope you give these Coconut Chicken Tenders a go. They’ve become a staple in our house for a reason, and they never fail to impress. The aroma alone as they’re frying is enough to get everyone excited for dinner. Let me know how you get on in the comments below – I’d love to hear what you think!
– Marcus