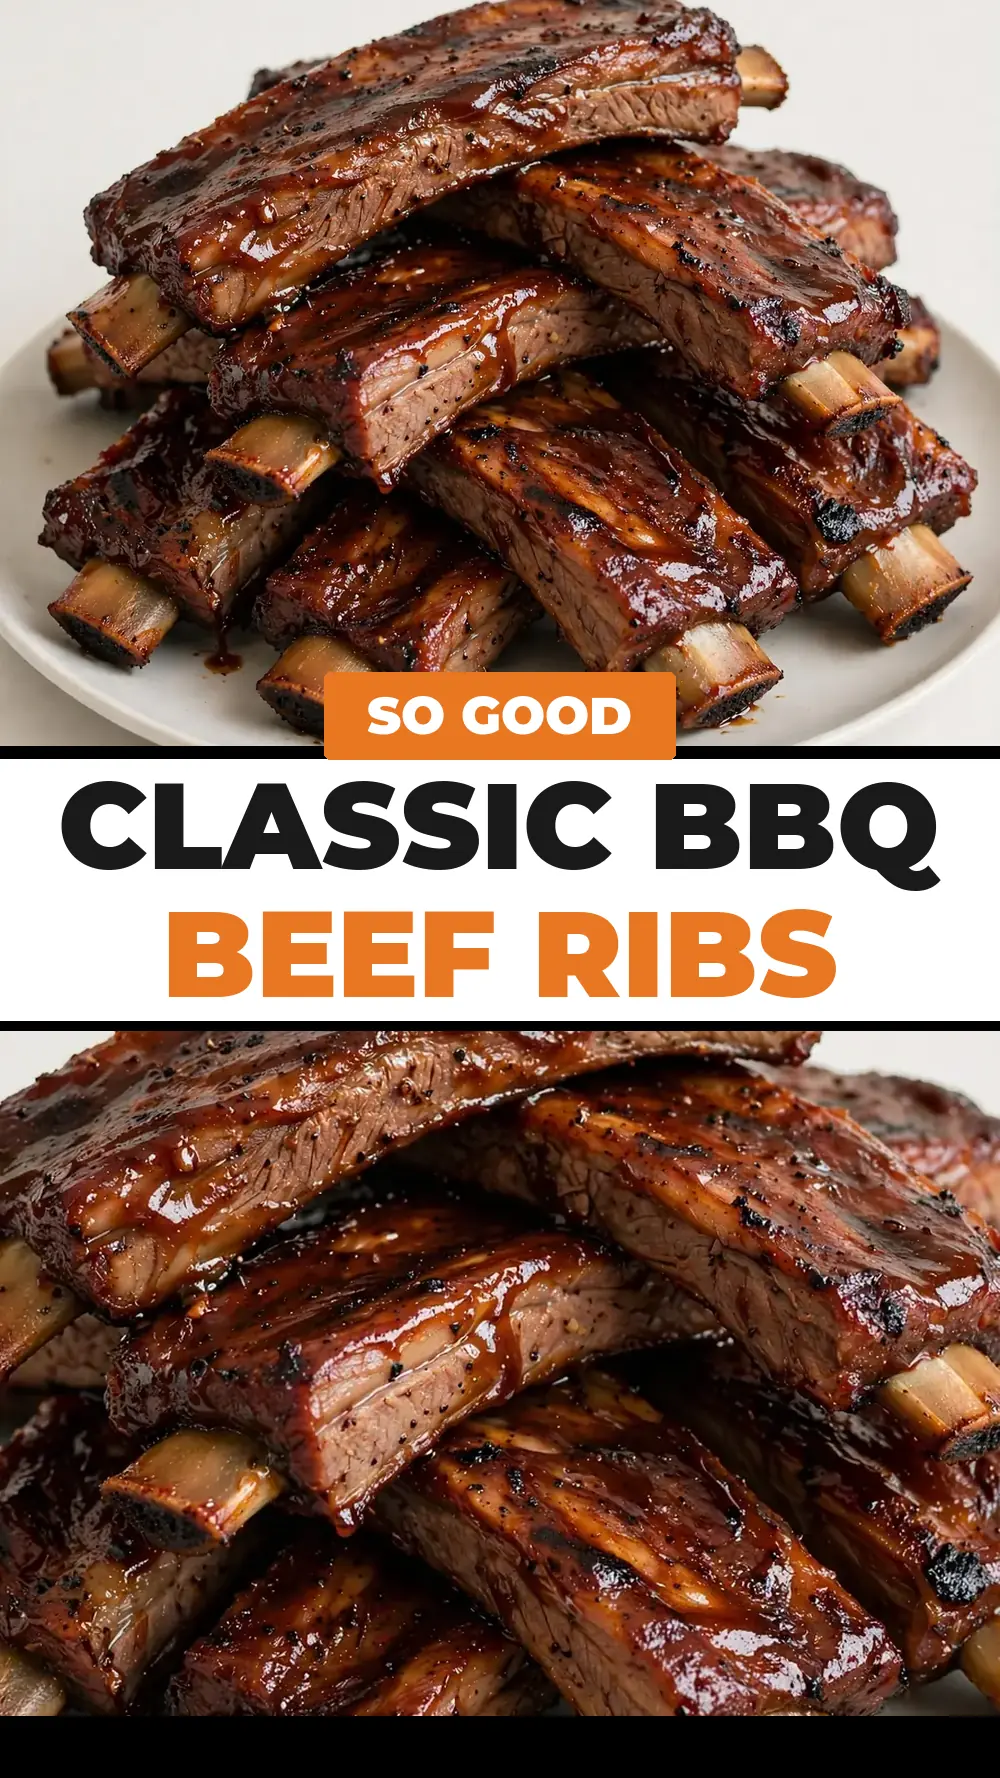
Classic Bbq Beef Ribs
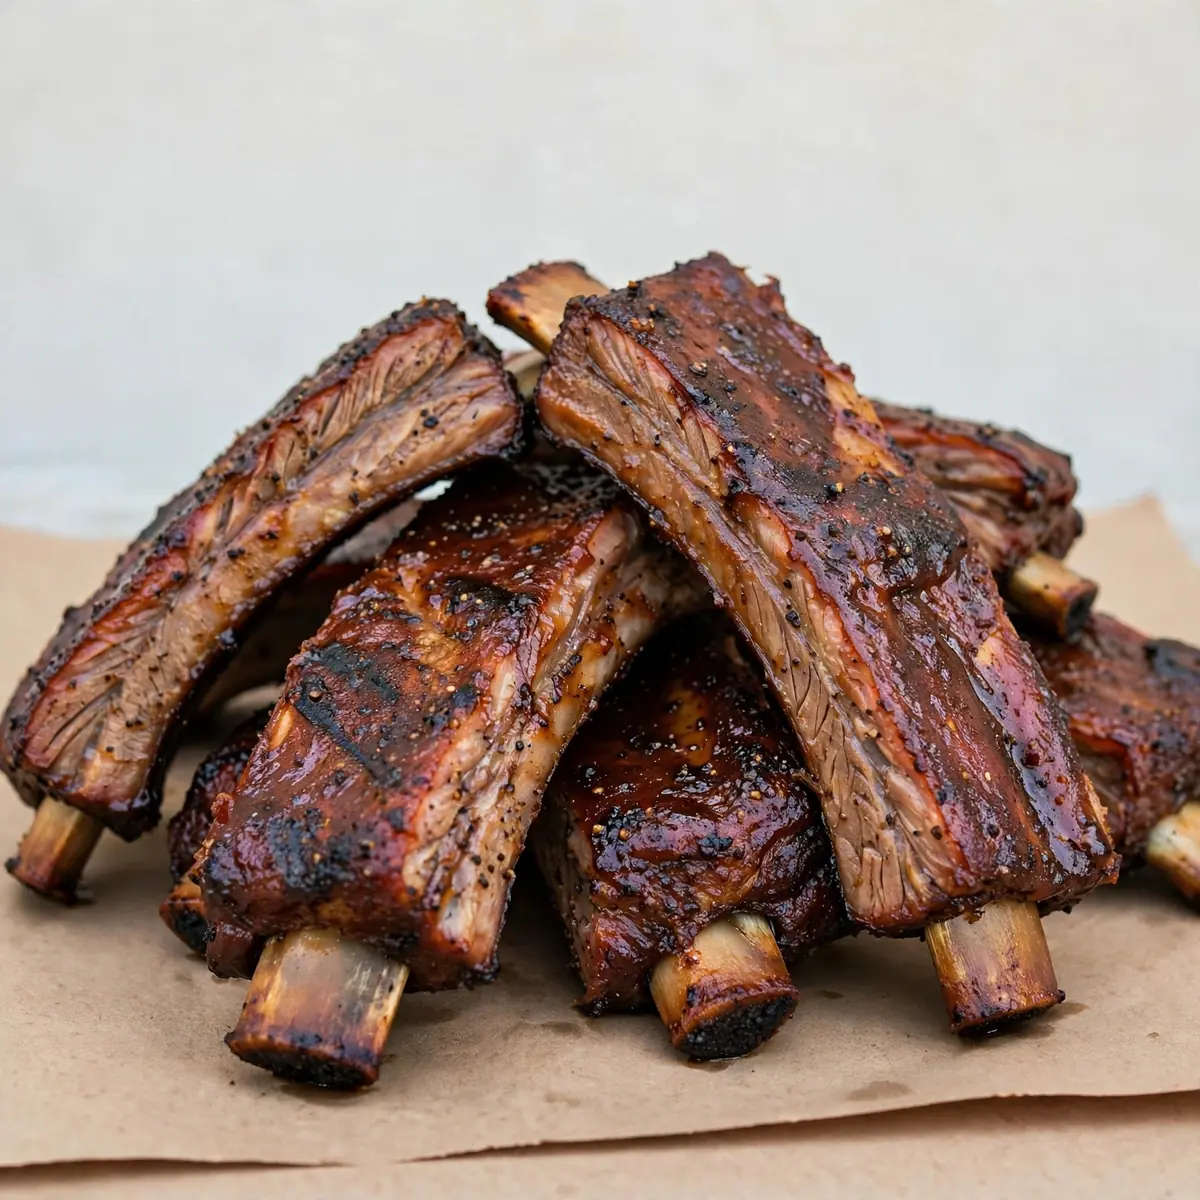
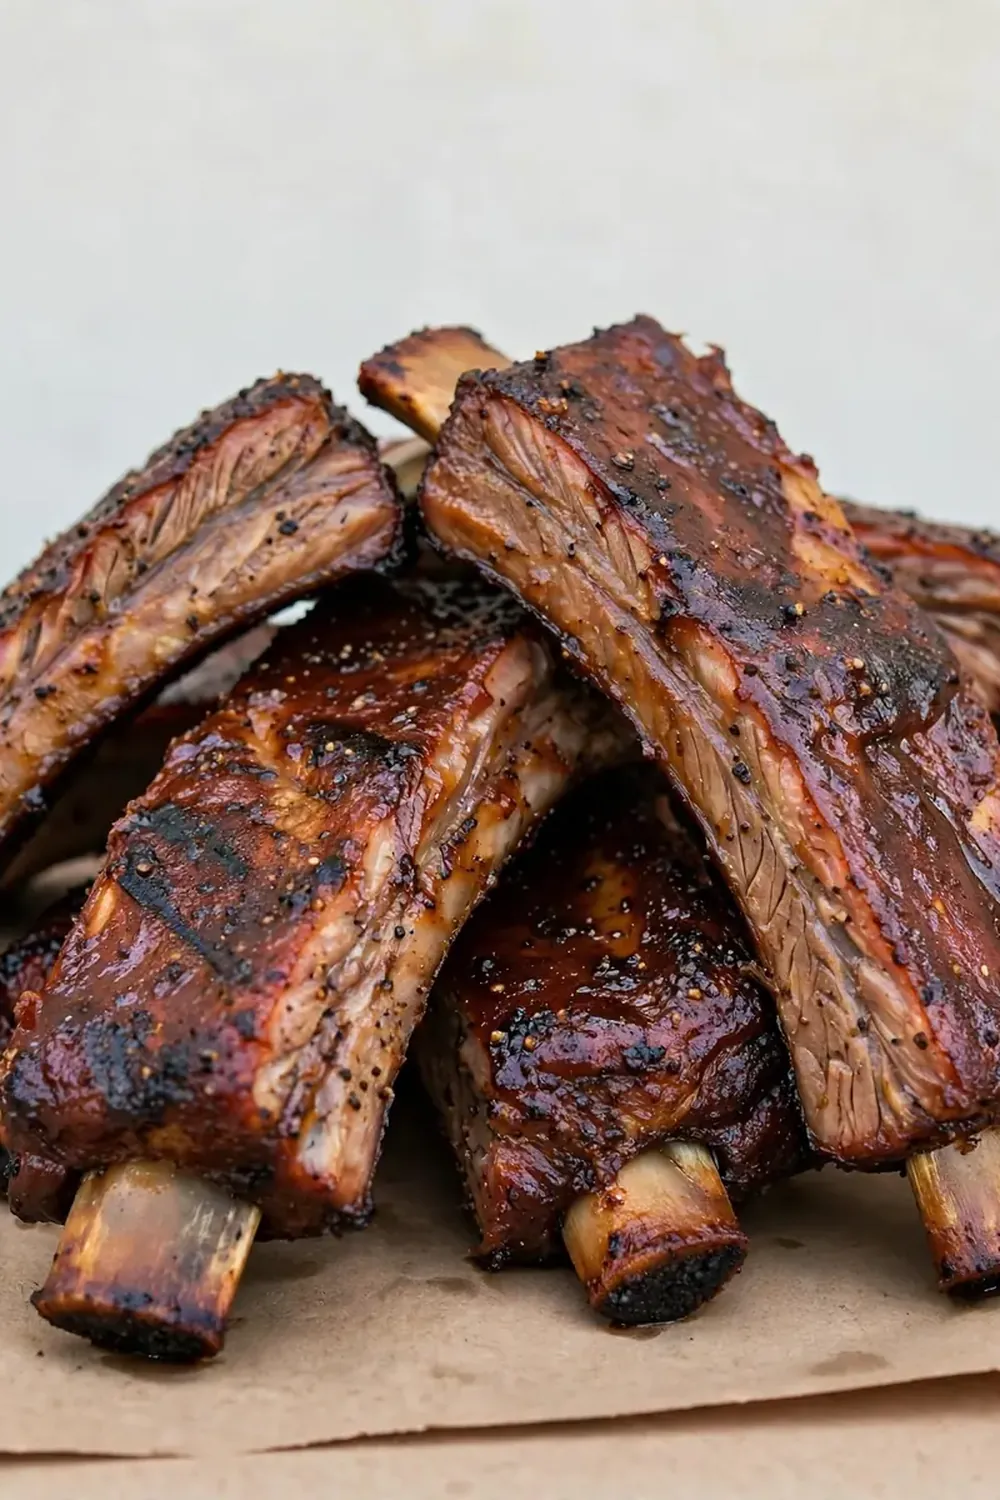
Forget everything you think you know about barbecue being a weekend-long project. I’ve cracked the code for getting that deep, smoky, fall-apart flavour on the table in under an hour, with a mess so small you’ll barely believe you cooked. This is my go-to for Tuesday nights when the kids have homework and I’ve got zero energy left – Classic BBQ Beef Ribs that taste like I’ve been tending a smoker all day, but actually come together in a flash.
Recipe Overview
- Prep Time: 10 minutes
- Cook Time: 40-45 minutes
- Total Time: 55 minutes
- Servings: 4
- Difficulty: Easy
Why You’ll Love This Classic BBQ Beef Ribs
- Weeknight Fast: From fridge to table in under an hour, making it a realistic option for even the busiest schedules.
- Minimal Cleanup: We use a single grill pan or baking sheet lined with foil, so washing up is practically non-existent.
- Make-Ahead Friendly: The sauce and even the par-cooked ribs can be prepped a day or two in advance, cutting your evening workload in half.
- Deep, Satisfying Flavour: A clever spice rub and a sticky, tangy sauce deliver that classic barbecue taste without hours of smoking.
- Family-Approved: I make this at least once a week – it’s become a family favourite, and friends always ask me for this recipe after trying it at dinner parties.
Ingredients You’ll Need
- 1.5 kg beef ribs (short ribs or back ribs), separated into individual bones — for a truly tender, slow-braised result, try our Classic Braised Beef Short Ribs recipe instead.
- 2 tablespoons olive oil
- 2 teaspoons smoked paprika
- 1 teaspoon garlic powder
- 1 teaspoon onion powder
- 1 teaspoon ground black pepper
- 1 teaspoon salt
- ½ teaspoon cayenne pepper (optional, for heat)
- 200 ml tomato ketchup
- 100 ml beef stock
- 3 tablespoons apple cider vinegar
- 2 tablespoons dark brown sugar
- 1 tablespoon Worcestershire sauce
- 1 teaspoon mustard powder
Tip: For the best texture, ask your butcher for ‘flanken’ cut short ribs – they’re thinner and cook much faster than the big, chunky ones often used for braising. If you can only get thick-cut ribs, you’ll need to increase the cooking time by about 15-20 minutes.
How to Make Classic BBQ Beef Ribs
- Preheat and Prep: Preheat your grill or a large grill pan over medium-high heat. While it’s heating, pat the beef ribs dry with kitchen paper. In a small bowl, mix together the smoked paprika, garlic powder, onion powder, black pepper, salt, and cayenne if using. Rub the olive oil all over the ribs, then sprinkle the spice mixture evenly over every surface. You’ll know it’s ready when the spices form a fragrant, dark red crust on the meat.
- Sear the Ribs: Place the ribs on the hot grill. Sear for 3-4 minutes per side, without moving them, until a deep, mahogany-brown crust forms. The sizzle should be loud and vigorous, and the smell of toasted spices and charring meat will fill your kitchen. You’re looking for a dark, almost blackened colour in spots, not a pale grey.
- Make the Quick BBQ Sauce: While the ribs are searing, whisk together the ketchup, beef stock, apple cider vinegar, brown sugar, Worcestershire sauce, and mustard powder in a small saucepan. Bring it to a gentle simmer over medium heat. The sauce will smell sharp and tangy at first, then mellow and sweeten as it cooks. Let it bubble away for 5 minutes until it thickens to a glossy, coat-the-back-of-a-spoon consistency.
- Glaze and Finish: Once the ribs are seared, reduce the grill heat to medium-low. Using a basting brush, generously coat each rib with the prepared BBQ sauce. Close the grill lid (or loosely tent with foil if using a grill pan on the hob) and cook for a further 15-20 minutes. The sauce will become sticky and caramelised, and the meat will start to pull back from the bone ends – that’s your cue that it’s nearly done.
- Check for Doneness: The most reliable way to tell is with a meat thermometer. Insert it into the thickest part of a rib, away from the bone. You’re aiming for an internal temperature of 90-95°C (195-205°F). If you don’t have a thermometer, a skewer should slide into the meat with very little resistance, and the meat should feel tender when squeezed with tongs – it should give easily, not feel springy.
- Rest and Serve: Transfer the glazed ribs to a clean plate and let them rest, loosely covered with foil, for 5-10 minutes. This allows the juices to redistribute evenly throughout the meat. You’ll see the sticky sauce set slightly, and the aroma will be intensely sweet, smoky, and savoury. Serve immediately with any remaining sauce on the side for dipping.
Tips From My Kitchen
- Pat Dry for a Better Sear: Moisture is the enemy of browning. If the ribs are wet, they’ll steam instead of sear, and you’ll miss out on that deep, caramelised crust. Take an extra 30 seconds to really dry them with kitchen paper – it makes a world of difference to the final flavour.
- Don’t Skip the Sear: That initial high-heat blast isn’t just for colour; it’s creating complex, savoury compounds called Maillard reaction products. This is where the ‘tastes-like-it-cooked-all-day’ magic happens. If you skip this step, the ribs will be pale and the flavour will be one-dimensional.
- Use a Meat Thermometer: Ribs are notoriously tricky to judge by look alone. An inexpensive instant-read thermometer takes the guesswork out completely. It’s the single best tool for guaranteeing tender, not tough, ribs every single time. I never cook ribs without mine.
- Make the Sauce Ahead: The BBQ sauce can be made up to a week in advance and stored in a sealed jar in the fridge. This turns a 45-minute dinner into a 20-minute one. Just give it a good stir before using, as the spices can settle at the bottom.
- Batch Cook for the Week: Double the recipe and cook the full batch of ribs. Serve half for dinner, then shred the remaining meat from the bones and store it in the fridge. It’s brilliant tossed into a Chicken Fajita Bowl Recipe Deconstructed Tacos (just swap the chicken for the beef) or piled onto a jacket potato for a next-day lunch.
- Low and Slow on a Weeknight? If you have a bit more time (say 90 minutes), you can cook these at a lower temperature, around 160°C (320°F) in the oven, wrapped in foil for the first hour. The result is even more tender, but the quicker grill method is my go-to for speed.
Equipment You’ll Need
- Grill or grill pan
- Meat thermometer
- Tongs
- Basting brush
- Small saucepan
- Kitchen paper
What to Serve With Classic BBQ Beef Ribs
- Coleslaw with a tangy vinegar dressing to cut through the richness.
- Grilled corn on the cob, brushed with a little butter and chilli flakes.
- Simple steamed green beans or a crisp garden salad.
- Soft white rolls to soak up any leftover sauce.
- A side of Buttery Biscuits And Gravy Recipe Country Style for a truly hearty meal.
Still hungry for ideas? You might also love Slow Cooker Bbq Beef, Garlic Butter Honey Bbq Beef Tacos from our sister kitchens.
Frequently Asked Questions
Classic BBQ Beef Ribs
Ingredients
Method
-
Preheat and Prep: Preheat your grill or a large grill pan over medium-high heat. While it’s heating, pat the beef ribs dry with kitchen paper. In a small bowl, mix together the smoked paprika, garlic powder, onion powder, black pepper, salt, and cayenne if using. Rub the olive oil all over the ribs, then sprinkle the spice mixture evenly over every surface. You’ll know it’s ready when the spices form a fragrant, dark red crust on the meat.
-
Sear the Ribs: Place the ribs on the hot grill. Sear for 3-4 minutes per side, without moving them, until a deep, mahogany-brown crust forms. The sizzle should be loud and vigorous, and the smell of toasted spices and charring meat will fill your kitchen. You’re looking for a dark, almost blackened colour in spots, not a pale grey.
-
Make the Quick BBQ Sauce: While the ribs are searing, whisk together the ketchup, beef stock, apple cider vinegar, brown sugar, Worcestershire sauce, and mustard powder in a small saucepan. Bring it to a gentle simmer over medium heat. The sauce will smell sharp and tangy at first, then mellow and sweeten as it cooks. Let it bubble away for 5 minutes until it thickens to a glossy, coat-the-back-of-a-spoon consistency.
-
Glaze and Finish: Once the ribs are seared, reduce the grill heat to medium-low. Using a basting brush, generously coat each rib with the prepared BBQ sauce. Close the grill lid (or loosely tent with foil if using a grill pan on the hob) and cook for a further 15-20 minutes. The sauce will become sticky and caramelised, and the meat will start to pull back from the bone ends – that’s your cue that it’s nearly done.
-
Check for Doneness: The most reliable way to tell is with a meat thermometer. Insert it into the thickest part of a rib, away from the bone. You’re aiming for an internal temperature of 90-95°C (195-205°F). If you don’t have a thermometer, a skewer should slide into the meat with very little resistance, and the meat should feel tender when squeezed with tongs – it should give easily, not feel springy.
-
Rest and Serve: Transfer the glazed ribs to a clean plate and let them rest, loosely covered with foil, for 5-10 minutes. This allows the juices to redistribute evenly throughout the meat. You’ll see the sticky sauce set slightly, and the aroma will be intensely sweet, smoky, and savoury. Serve immediately with any remaining sauce on the side for dipping.
Notes
I truly believe that a proper, sticky, satisfying plate of ribs doesn’t have to be a weekend-only affair. This method proves it, giving you all the deep flavour and tender meat with a fraction of the time and effort. I’d love to hear how you get on – drop a comment below and let me know if this recipe made it onto your weeknight rotation!