Denver Omelette

When the after-school chaos bleeds into dinner prep and everyone’s hungry now, I reach for my non-stick pan and a few fridge staples. This Denver Omelette has rescued more hectic Tuesday nights than I can count, delivering a hearty, protein-packed meal in under fifteen minutes with barely a pan to wash.
Recipe Overview
- Prep Time: 5 minutes
- Cook Time: 8 minutes
- Total Time: 13 minutes
- Servings: 2
- Difficulty: Easy
Why You’ll Love This Denver Omelette
- Ready in under 15 minutes — from fridge to table faster than a takeaway delivery.
- One-pan cleanup means less time scrubbing and more time with your family.
- Uses everyday ingredients — you likely have eggs, peppers, and onions right now.
- Make-ahead friendly — prep the filling the night before for an even speedier cook.
- Packed with protein to keep everyone full until breakfast the next morning.

Ingredients You’ll Need
- 4 large eggs
- 2 tablespoons milk (whole or semi-skimmed)
- ¼ teaspoon salt
- ⅛ teaspoon black pepper
- 1 tablespoon unsalted butter
- ½ green bell pepper, finely diced
- ½ small onion, finely diced
- 75g cooked chicken breast, diced small (try using leftover Lemon Herb Roasted Chicken for extra flavor)
- 50g cheddar cheese, grated (leftover Honey Mustard Baked Chicken also works well here)
- 1 tablespoon vegetable oil
Tip: For the speediest prep, dice your pepper and onion at the weekend and store them in an airtight container in the fridge. They’ll stay crisp for three days.
How to Make Denver Omelette
- Sauté the filling: Heat the vegetable oil in a large non-stick frying pan over medium-high heat until it shimmers. Add the diced green pepper and onion, stirring frequently. Cook for 2–3 minutes until the onion turns translucent and the pepper softens, releasing a sweet, savoury aroma. Add the diced chicken and cook for another minute, just until heated through. Transfer this mixture to a small bowl and set aside. Wipe the pan clean with a paper towel.
- Whisk the eggs: Crack the eggs into a medium mixing bowl. Add the milk, salt, and pepper. Whisk vigorously for about 30 seconds until the mixture is a uniform pale yellow and slightly frothy on top — you want the yolks and whites fully combined so the omelette cooks evenly.
- Melt the butter: Return the clean pan to medium heat. Add the butter and let it melt slowly, tilting the pan to coat the bottom evenly. The butter should foam gently but not brown — if it starts sizzling loudly, your heat is too high.
- Pour and set: Pour the whisked eggs into the centre of the pan. Let them settle for about 10 seconds, then use a spatula to gently push the cooked edges toward the centre, tilting the pan so the uncooked egg flows to the edges. Repeat this motion 3–4 times until the eggs are mostly set but still slightly wet on top — about 2 minutes. The bottom should be a light golden brown.
- Add the filling: Spoon the sautéed pepper, onion, and chicken mixture evenly over one half of the omelette. Sprinkle the grated cheddar cheese on top. The residual heat will begin melting the cheese immediately.
- Fold and finish: Using your spatula, carefully lift the unfilled half of the omelette and fold it over the filling. Press down gently with the spatula to seal. Let it cook for another 30–45 seconds until the cheese is fully melted and the omelette is heated through. The edges should look slightly crisp, and you’ll hear a soft sizzle.
- Slide and serve: Tilt the pan over a warm plate and let the omelette slide out gently. The surface should be golden with no browning, and the interior steam should smell richly of cooked eggs and melted cheese. Serve immediately.
Tips From My Kitchen
- Use a non-stick pan you trust: A worn-out pan is the number one reason omelettes stick and tear. Invest in a good-quality non-stick skillet, and replace it every two years. I’ve been making this for over 2 years, and my pan still releases eggs like a dream.
- Don’t overfill your omelette: It’s tempting to pile on the ingredients, but too much filling makes folding difficult and causes the omelette to break apart. Stick to the measurements above for a perfect, tidy fold every time.
- Rest the eggs after whisking: Let the whisked egg mixture sit on the counter for 2 minutes before pouring it into the pan. This allows the bubbles to settle, resulting in a creamier, more tender omelette rather than a spongy one.
- Prep the filling in bulk: Double or triple the pepper, onion, and chicken mixture and store it in the fridge. This is my go-to recipe when I need something quick but impressive, and having the filling ready means dinner is on the table in less than 8 minutes.
- Keep the heat moderate: Medium heat is your friend here. Too high, and the eggs brown and toughen before the inside cooks. Too low, and the omelette turns out rubbery from prolonged cooking. The pan should be hot enough that a drop of water sizzles on contact, but not so hot that it instantly evaporates.
- Grate your own cheese: Pre-shredded cheese contains anti-caking agents that prevent smooth melting. Grating a block of cheddar yourself takes 30 seconds and gives you a much silkier, more cohesive melt inside the omelette.
Equipment You’ll Need
- Large frying pan or skillet (20–25cm non-stick recommended)
- Sharp knife and cutting board
- Mixing bowls (one medium, one small)
- Wooden spoon or silicone spatula
- Whisk or fork
Common Mistakes to Avoid
- Overcrowding the pan: When you add too many filling ingredients, the omelette becomes impossible to fold neatly, and the eggs can’t cook evenly. Stick to a modest amount of filling, and if you want more, simply make two separate omelettes.
- Wrong temperature: Cooking on high heat browns the eggs before the centre sets, leaving you with a burnt exterior and runny interior. Medium heat allows the eggs to cook gently and evenly, producing that soft, custard-like texture you’re after.
- Skipping the rest time: Cutting into the omelette immediately after folding causes the cheese to ooze out and the structure to collapse. Let it rest in the pan for 30 seconds off the heat before serving, which allows the filling to settle and the cheese to finish melting.
Delicious Variations to Try
- Spicy Version: Add ½ a finely chopped jalapeño or a pinch of chilli flakes to the vegetable mixture as it sautés. You can also swap the cheddar for pepper jack cheese for an extra layer of heat.
- Vegetarian/Vegan Option: Omit the chicken and add 75g of sautéed mushrooms or a handful of baby spinach. For a vegan version, use a plant-based egg substitute (such as blended silken tofu with a pinch of black salt) and vegan cheese that melts well.
- Different Protein: Diced leftover roast beef or turkey works beautifully in place of chicken. For a seafood twist, try flaked cooked salmon — it pairs wonderfully with the bell pepper and onion.
What to Serve With Denver Omelette
- A simple side salad with a light vinaigrette
- Buttered wholemeal toast or a crusty baguette
- Roasted cherry tomatoes or steamed asparagus
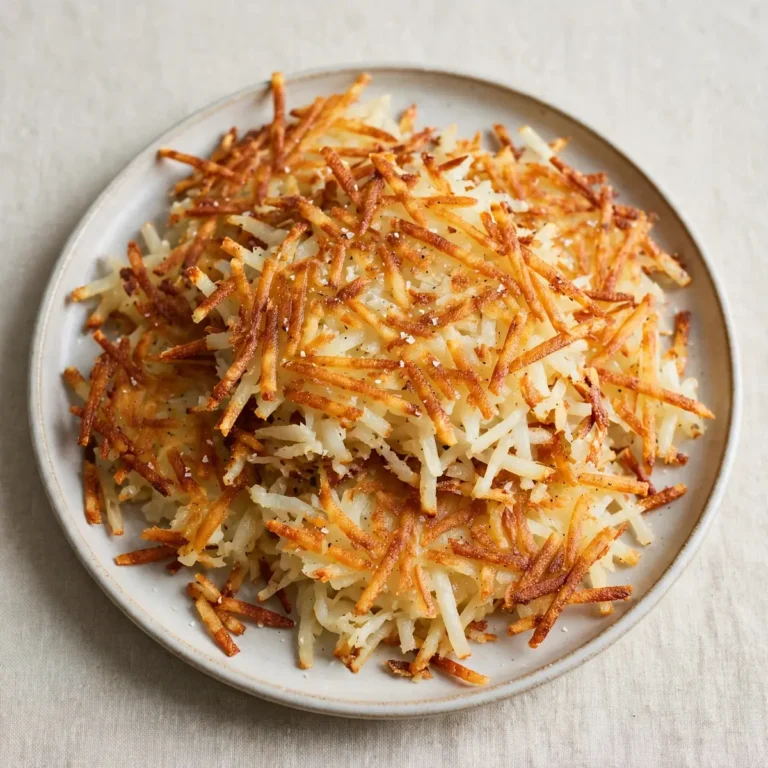
- Hash browns or roasted potato wedges for a heartier meal
If you’re planning a full dinner spread, this Creamy Garlic Herb Chicken Recipe Skillet Meal makes a fantastic main course for another night, while these Lemon Curd Tartlets Recipe Mini Desserts offer a bright, sweet finish to any meal.
Frequently Asked Questions
Denver Omelette
Ingredients
Method
-
Sauté the filling: Heat the vegetable oil in a large non-stick frying pan over medium-high heat until it shimmers. Add the diced green pepper and onion, stirring frequently. Cook for 2–3 minutes until the onion turns translucent and the pepper softens, releasing a sweet, savoury aroma. Add the diced chicken and cook for another minute, just until heated through. Transfer this mixture to a small bowl and set aside. Wipe the pan clean with a paper towel.
-
Whisk the eggs: Crack the eggs into a medium mixing bowl. Add the milk, salt, and pepper. Whisk vigorously for about 30 seconds until the mixture is a uniform pale yellow and slightly frothy on top — you want the yolks and whites fully combined so the omelette cooks evenly.
-
Melt the butter: Return the clean pan to medium heat. Add the butter and let it melt slowly, tilting the pan to coat the bottom evenly. The butter should foam gently but not brown — if it starts sizzling loudly, your heat is too high.
-
Pour and set: Pour the whisked eggs into the centre of the pan. Let them settle for about 10 seconds, then use a spatula to gently push the cooked edges toward the centre, tilting the pan so the uncooked egg flows to the edges. Repeat this motion 3–4 times until the eggs are mostly set but still slightly wet on top — about 2 minutes. The bottom should be a light golden brown.
-
Add the filling: Spoon the sautéed pepper, onion, and chicken mixture evenly over one half of the omelette. Sprinkle the grated cheddar cheese on top. The residual heat will begin melting the cheese immediately.
-
Fold and finish: Using your spatula, carefully lift the unfilled half of the omelette and fold it over the filling. Press down gently with the spatula to seal. Let it cook for another 30–45 seconds until the cheese is fully melted and the omelette is heated through. The edges should look slightly crisp, and you’ll hear a soft sizzle.
-
Slide and serve: Tilt the pan over a warm plate and let the omelette slide out gently. The surface should be golden with no browning, and the interior steam should smell richly of cooked eggs and melted cheese. Serve immediately.
Notes
I’d love to hear how this Denver Omelette worked for your busy weeknight. Drop a comment below and let me know which variation your family loved most — or if you have a speedy trick of your own to share.