Sheet Pan Dinners You Can Prep in 15 Minutes
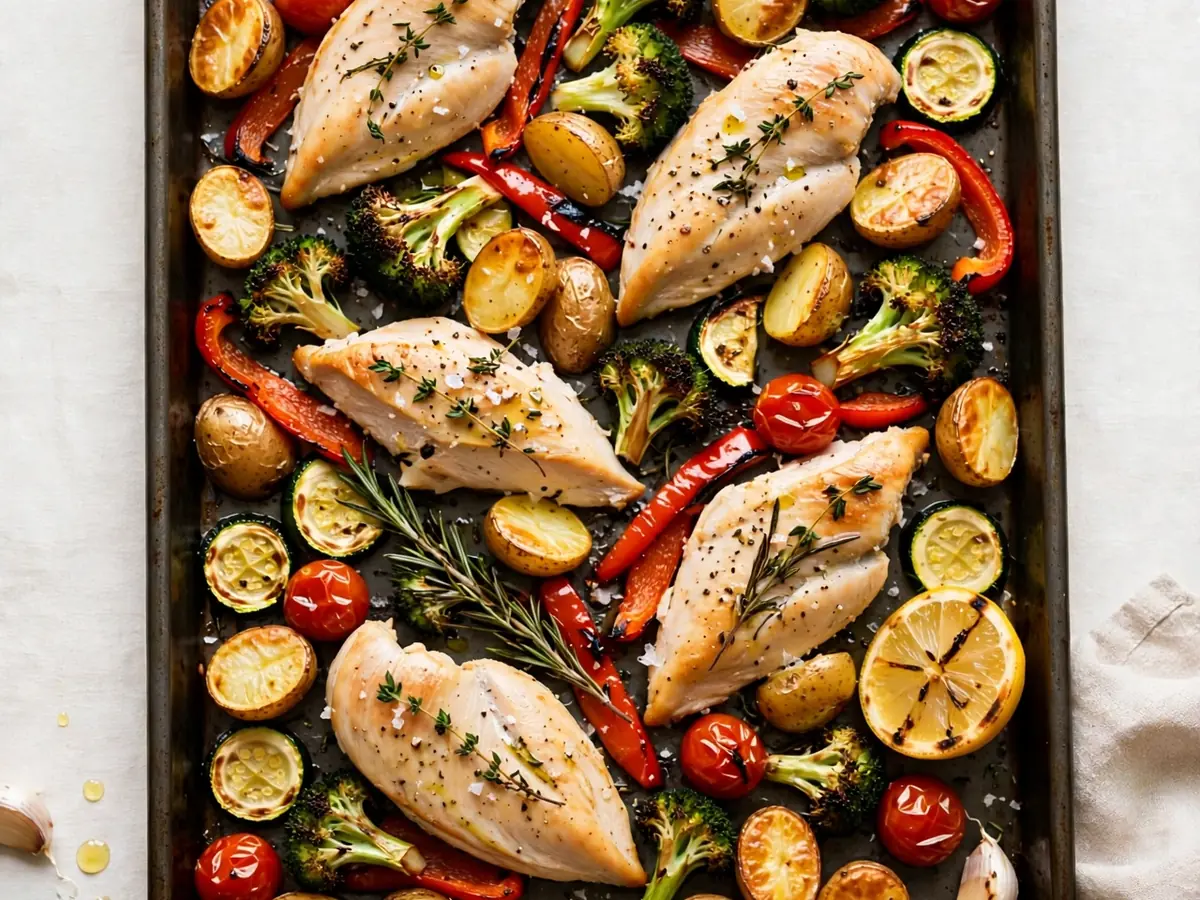
Weeknight cooking often collapses under one familiar pressure: the gap between wanting a real dinner and having the energy to make one. Sheet pan dinners solve that problem by design. Everything roasts together on one surface, the oven does the work, and cleanup is a single pan plus a cutting board. But many sheet pan recipes still demand 30 to 45 minutes of chopping, marinating, and par-cooking before anything goes in the oven. The recipes below are built around a stricter promise: 15 minutes of active prep, maximum. Each is a complete, distinct dinner with exact quantities, timing, and serving guidance, so you can pick one, prep it fast, and walk away while it roasts.
What Makes a True 15-Minute Sheet Pan Dinner
Speed in sheet pan cooking comes from three decisions: cutting ingredients small enough to roast quickly, choosing proteins that cook in the same window as the vegetables, and using pantry staples that carry flavor without extra steps. A few practical rules keep prep inside the 15-minute limit:
- Skip the marinade. Toss everything in oil and seasoning directly on the pan. Marinades need time you do not have.
- Cut dense vegetables into ¾-inch pieces or smaller. Potatoes, carrots, and squash roast faster and more evenly at this size.
- Choose thin or small proteins. Chicken thighs cut into strips, salmon fillets, shrimp, and sausage all cook in 15 to 25 minutes.
- Use one mixing bowl or none at all. Tossing ingredients directly on the lined pan saves a dish and about two minutes.
- Preheat the oven before you start chopping. By the time prep is done, the oven is at temperature.
For a sense of how versatile the sheet pan format can be, our recipe blog covers both savory and sweet applications, including a surprisingly crowd-friendly easy sheet pan pancakes recipe for a crowd if you want to explore the same technique at breakfast.
Recipe 1: Lemon-Herb Chicken Thighs with Baby Potatoes and Green Beans
Serves 4 | Prep: 15 minutes | Cook: 30–35 minutes | Total oven time: about 35 minutes
This is the workhorse of the collection: juicy chicken thighs, crispy-edged potatoes, and green beans that go in partway through so they do not overcook.
Ingredients:
- 8 boneless, skinless chicken thighs (about 2 lb / 900 g)
- 1½ lb (680 g) baby potatoes, halved if larger than a golf ball
- 12 oz (340 g) fresh green beans, trimmed
- 3 tbsp olive oil, divided
- 1 lemon, zested and juiced (about 2 tbsp juice)
- 1½ tsp kosher salt, divided
- ½ tsp black pepper
- 1 tsp dried oregano
- ½ tsp garlic powder
- 2 tbsp chopped fresh parsley, for finishing (optional)
Equipment: one large rimmed sheet pan (18×13 inches), parchment paper or aluminum foil, cutting board, knife, small bowl, measuring spoons.
Instructions:
- Preheat the oven to 425°F (220°C) and line the sheet pan with parchment or foil.
- Halve the baby potatoes and spread them on the pan. Drizzle with 1 tbsp olive oil and ½ tsp salt; toss to coat and push them to the edges of the pan.
- Pat the chicken thighs dry with paper towels. Arrange them in the center of the pan in a single layer.
- In a small bowl, whisk 2 tbsp olive oil, lemon zest, lemon juice, 1 tsp salt, pepper, oregano, and garlic powder. Spoon or brush the mixture over both sides of the chicken.
- Roast for 20 minutes.
- Remove the pan, add the green beans around the chicken, drizzle with the remaining oil and a pinch of salt, and toss the beans lightly with tongs.
- Return to the oven and roast 10 to 15 minutes more, until the chicken reaches 165°F (74°C) in the thickest part and the potatoes are fork-tender.
- Rest 3 minutes, scatter with parsley if using, and serve directly from the pan.
Substitutions: Boneless chicken breasts work but should be pounded to even ¾-inch thickness and may need 5 extra minutes. Green beans can be swapped for asparagus (add at the same point) or broccoli florets (add at the 20-minute mark). Dried oregano can become dried thyme or Italian seasoning.
Storage: Refrigerate leftovers in an airtight container for up to 3 days. Reheat at 350°F (175°C) for 10 to 12 minutes to avoid drying out the chicken; the potatoes crisp best in a skillet.
Recipe 2: Honey-Mustard Salmon with Broccoli and Red Onion
Serves 4 | Prep: 12 minutes | Cook: 14–16 minutes
Salmon is the fastest protein in this set, making this the quickest dinner overall. The honey-mustard glaze is mixed in one bowl and brushed on in seconds.
Ingredients:
- 4 salmon fillets, 6 oz (170 g) each, about 1 inch thick
- 1½ lb (680 g) broccoli crowns, cut into florets (about 5 cups)
- 1 medium red onion, cut into ½-inch wedges
- 2 tbsp olive oil
- ¾ tsp kosher salt
- ¼ tsp black pepper
- 2 tbsp Dijon mustard
- 1½ tbsp honey
- 1 tbsp fresh lemon juice
- ¼ tsp smoked paprika (optional)
Equipment: large rimmed sheet pan, parchment paper, knife, cutting board, small bowl, pastry brush or spoon.
Instructions:
- Preheat the oven to 425°F (220°C). Line the pan with parchment.
- Toss the broccoli florets and onion wedges with olive oil, ½ tsp salt, and pepper directly on the pan. Spread into a single layer and roast for 8 minutes.
- Meanwhile, whisk the Dijon, honey, lemon juice, smoked paprika if using, and remaining ¼ tsp salt in a small bowl.
- Remove the pan from the oven and push the vegetables to the sides. Place the salmon fillets skin-side down in the center.
- Brush each fillet generously with the honey-mustard glaze.
- Roast 6 to 8 minutes, until the salmon flakes easily with a fork and reaches 125–130°F (52–54°C) for medium, or 135°F (57°C) for well done.
- Serve immediately, spooning any pan juices over the fish.
Substitutions: Frozen broccoli works if thawed and patted dry; add it at the start with the fresh vegetables. Arctic char or trout can replace salmon with the same timing. Maple syrup can stand in for honey.
Storage: Salmon keeps refrigerated up to 2 days; reheat gently at 300°F (150°C) for 8 minutes or flake cold into salads. Broccoli keeps up to 3 days.
Recipe 3: Smoked Sausage, Bell Pepper, and Potato Hash
Serves 4 | Prep: 15 minutes | Cook: 30–35 minutes
Smoked sausage is already cooked, so it only needs browning. Small-diced potatoes are the key to getting everything tender in one pass.
Ingredients:
- 1 lb (450 g) smoked sausage (kielbasa or andouille), sliced into ½-inch rounds
- 1½ lb (680 g) Yukon Gold potatoes, cut into ¾-inch cubes
- 2 bell peppers (any color), cut into 1-inch pieces
- 1 medium yellow onion, cut into 1-inch chunks
- 3 tbsp olive oil
- 1 tsp smoked paprika
- ½ tsp garlic powder
- 1 tsp kosher salt
- ½ tsp black pepper
- 1 tsp dried thyme
Equipment: large rimmed sheet pan, parchment paper, knife, cutting board, measuring spoons.
Instructions:
- Preheat the oven to 425°F (220°C). Line the pan with parchment.
- Cube the potatoes into ¾-inch pieces and spread them on the pan. Drizzle with 2 tbsp olive oil and toss with half the salt, paprika, garlic powder, and pepper.
- Roast the potatoes alone for 12 minutes to give them a head start.
- Meanwhile, slice the sausage and chop the peppers and onion.
- Remove the pan, add the sausage, peppers, and onion. Drizzle with the remaining oil and season with the rest of the salt, paprika, garlic powder, pepper, and thyme. Toss everything together and spread into a single layer.
- Roast 18 to 22 minutes more, stirring once halfway, until the potatoes are golden and tender and the sausage edges are browned.
- Taste for salt and serve hot.
Substitutions: Sweet potatoes can replace Yukon Golds but may need 5 extra minutes. Chicken sausage works but should be sliced and added at the same point; it will brown rather than crisp. Add a pinch of red pepper flakes for heat.
Storage: Refrigerate up to 4 days. Reheat in a 400°F (200°C) oven for 10 minutes or in a skillet over medium heat, which restores crispness better than a microwave.
Recipe 4: Shrimp and Zucchini Sheet Pan Scampi
Serves 4 | Prep: 13 minutes | Cook: 10–12 minutes
Shrimp cook in minutes, so this dinner is on the table in under half an hour start to finish. Use large shrimp so they do not overcook before the zucchini is tender.
Ingredients:
- 1½ lb (680 g) large shrimp, peeled and deveined (about 24–30 count)
- 2 medium zucchini, sliced into ¼-inch half-moons
- 1 pint (10 oz / 280 g) cherry tomatoes
- 3 tbsp olive oil
- 4 garlic cloves, minced
- ¾ tsp kosher salt
- ¼ tsp red pepper flakes
- 2 tbsp fresh lemon juice
- 2 tbsp chopped fresh parsley
- ¼ cup (25 g) grated Parmesan, optional
Equipment: large rimmed sheet pan, parchment paper, knife, cutting board, small bowl.
Instructions:
- Preheat the oven to 425°F (220°C). Line the pan with parchment.
- Toss the zucchini and cherry tomatoes with 1½ tbsp olive oil, ¼ tsp salt, and half the garlic on the pan. Spread in a single layer.
- Roast the vegetables for 6 minutes.
- Meanwhile, pat the shrimp dry and toss in a bowl with the remaining olive oil, garlic, salt, and red pepper flakes.
- Remove the pan, nestle the shrimp among the vegetables in a single layer, and roast 4 to 6 minutes more, until the shrimp are pink and opaque and reach 120°F (49°C).
- Drizzle with lemon juice, scatter with parsley and Parmesan if using, and serve right away, ideally over rice or with crusty bread.
Substitutions: Frozen shrimp work if fully thawed and patted dry. Scallops can replace shrimp but need the same short timing. Add a drained can of white beans at the vegetable stage for extra substance.
Storage: Shrimp dishes are best eaten fresh; leftovers keep 1 day refrigerated and should be reheated gently at 300°F (150°C) for 6 to 8 minutes to prevent rubberiness.
Recipe 5: Chickpea and Cauliflower Shawarma-Style Tray
Serves 4 | Prep: 15 minutes | Cook: 25–30 minutes
A fully plant-based option that still feels substantial, thanks to crisped chickpeas and a yogurt drizzle added at the end.
Ingredients:
- 1 large head cauliflower (about 2 lb / 900 g), cut into 1-inch florets
- 2 cans (15 oz / 425 g each) chickpeas, drained, rinsed, and patted dry
- 1 medium red onion, cut into wedges
- 3 tbsp olive oil
- 1½ tsp ground cumin
- 1½ tsp smoked paprika
- 1 tsp ground coriander
- ¾ tsp kosher salt
- ¼ tsp black pepper
- ¾ cup (180 g) plain Greek yogurt
- 1 tbsp lemon juice
- 1 garlic clove, grated
- 2 tbsp chopped fresh cilantro or parsley
Equipment: large rimmed sheet pan, parchment paper, knife, cutting board, colander, small bowl.
Instructions:
- Preheat the oven to 425°F (220°C). Line the pan with parchment.
- Cut the cauliflower into 1-inch florets and drain, rinse, and dry the chickpeas thoroughly with a kitchen towel; moisture prevents crisping.
- On the pan, toss the cauliflower, chickpeas, and onion with olive oil, cumin, paprika, coriander, salt, and pepper until evenly coated. Spread into a single layer with space between pieces.
- Roast for 25 to 30 minutes, stirring once at the 15-minute mark, until the cauliflower is browned at the edges and the chickpeas are crisp.
- While it roasts, stir together the yogurt, lemon juice, and grated garlic in a small bowl.
- Drizzle the yogurt sauce over the hot tray, scatter with cilantro or parsley, and serve with flatbread or rice.
Substitutions: Canned chickpeas can be replaced with 3 cups cooked chickpeas, well dried. Broccoli or Romanesco can stand in for cauliflower. For a dairy-free version, use a thin tahini-lemon sauce instead of yogurt.
Storage: Refrigerate up to 4 days. The cauliflower softens on reheating; a 400°F (200°C) oven for 10 minutes is best. Keep the yogurt sauce separate and add it after reheating.
Practical Tips for Faster Sheet Pan Prep
- Line the pan every time. Parchment or foil turns cleanup into a five-second job.
- Prep in oven order. Start the oven, then cut the longest-cooking item first so it can begin roasting while you finish the rest.
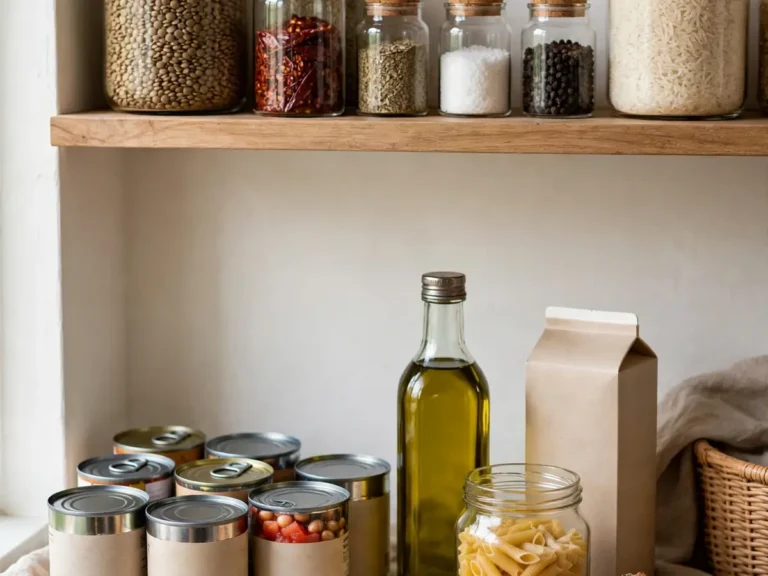
- Keep a “shortcut shelf” stocked. Pre-washed green beans, baby potatoes, cherry tomatoes, and jarred minced garlic cut minutes off prep without hurting quality.
- Do not crowd the pan. Use a second pan rather than piling ingredients; steam trapped between pieces prevents browning.
- Check protein temperature, not just time. An instant-read thermometer is the most reliable way to avoid dry chicken or salmon.
- Salt potatoes and dense vegetables at the start, delicate items at the end. This improves browning and seasoning at once.
- Rest before serving. Three minutes off the heat lets juices redistribute, especially for chicken and salmon.
If you enjoy the sheet pan approach beyond dinner, our lemon crumb bars recipe shows the same one-pan logic applied to dessert, with a press-in crust and no mixer required.
Frequently Asked Questions
Can I prep these sheet pan dinners ahead of time?
Yes, with one adjustment: chop vegetables and measure seasonings up to 24 hours ahead and store them in separate containers in the refrigerator. Do not toss everything together in advance, because salt draws moisture from vegetables and proteins and prevents proper browning. Add oil and seasonings right before roasting. Raw chicken and salmon should be seasoned no more than a few hours ahead.
What size sheet pan should I use, and does it matter?
A standard large rimmed sheet pan measures 18×13 inches, which comfortably holds the quantities in these recipes for four servings. A smaller pan will crowd the ingredients, trapping steam and producing soggy vegetables instead of browned ones. If your pan is smaller, split the recipe between two pans or reduce the quantities by a third.
Can I double these recipes for a larger family?
Doubling works best with two sheet pans rather than one crowded pan. Divide the ingredients evenly and rotate the pans halfway through cooking, swapping their oven positions. Expect 3 to 5 extra minutes of cooking time, and check protein temperatures rather than relying on the original timing.
How do I keep chicken and salmon from drying out while the vegetables finish?
Cut dense vegetables small, give them a head start in the oven, and add quick-cooking proteins later, as the recipes above do. Use an instant-read thermometer: chicken should reach 165°F (74°C) and salmon 125–135°F (52–57°C). If the vegetables need more time, remove the protein to a plate, tent it with foil, and return the pan to the oven.
Are these recipes suitable for meal prep?
Most are. Chicken, sausage, and chickpea trays hold up well for three to four days refrigerated and reheat best in an oven or skillet. Salmon and shrimp are best eaten within one to two days and should be reheated gently at a low temperature. Store sauces and garnishes separately and add them after reheating.
What can I serve alongside a sheet pan dinner?
Because the pan already contains protein and vegetables, keep sides simple: steamed rice, couscous, warm flatbread, or a crisp green salad. For the salmon and shrimp trays, crusty bread is enough. For the sausage hash, a fried egg on top turns it into a substantial brunch plate.