Beginner’s Guide to Baking Bread at Home
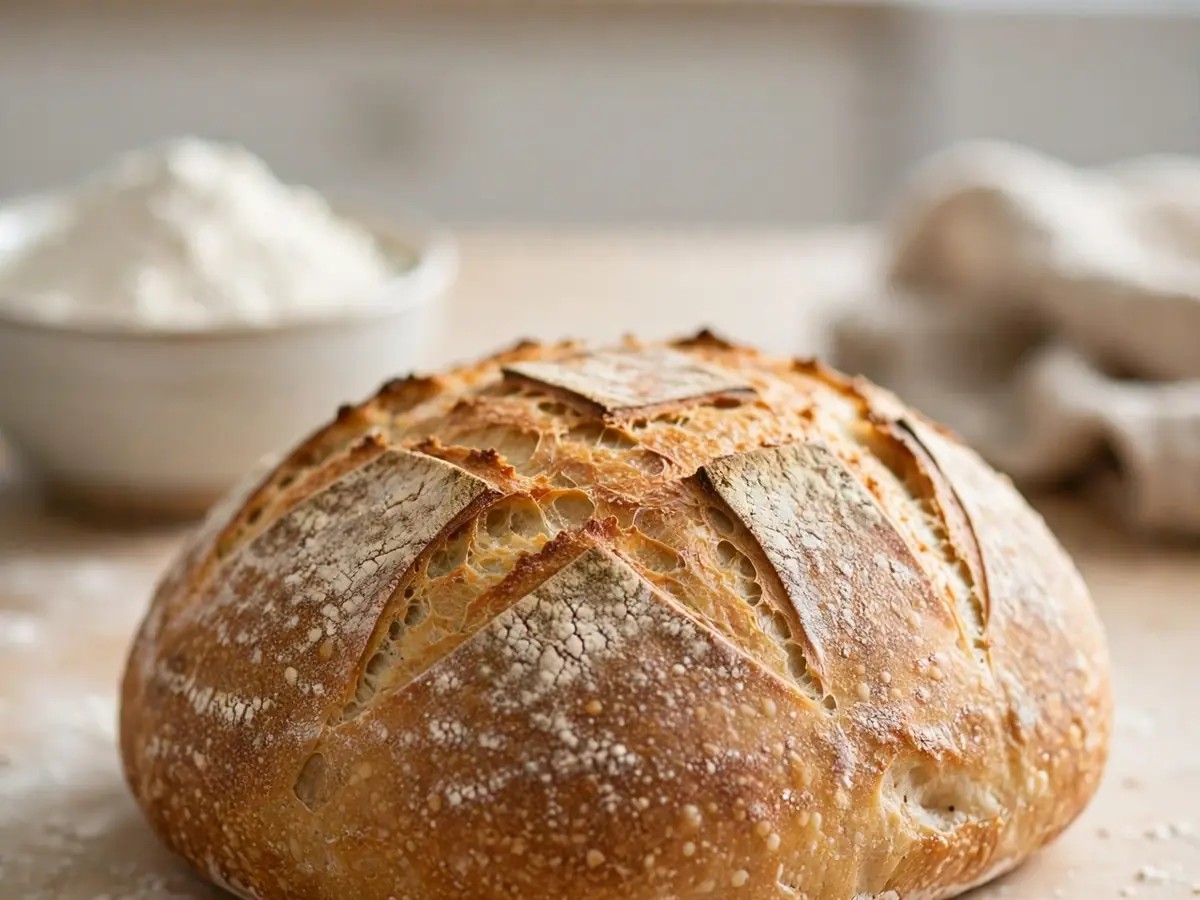
Baking bread at home has a reputation for being fussy, but it doesn’t have to be. At its core, bread is flour, water, salt, and yeast — four ordinary ingredients that transform into something extraordinary with a little time and warmth. If you’ve never baked a loaf before, this beginner’s guide walks you through everything: the equipment worth owning, the ingredients that matter, a reliable white sandwich loaf recipe with precise measurements, and the practical knowledge that turns a one-time experiment into a regular habit. No special skills required — just a bowl, an oven, and a bit of patience.
Why Start With Bread?
Homemade bread is one of the most rewarding kitchen projects because the margin for error is wider than most people expect. Yeast is forgiving, dough is flexible, and even a “mistake” loaf usually tastes good toasted. Starting with a simple yeasted white loaf teaches you the fundamentals — kneading, proofing, shaping, and baking — without overwhelming you with variables. Once you’ve baked two or three loaves, the process becomes intuitive, and you can branch into whole wheat, sourdough, or enriched doughs with confidence.
Equipment You Actually Need
You do not need a stand mixer, a proofing box, or a baking stone to make excellent bread. Here is the short list of what genuinely helps:
- Large mixing bowl (4–5 quart / 4–5 liter): Dough roughly doubles in size, so give it room.
- Digital kitchen scale: The single most useful purchase for bread baking. Weighing flour eliminates the biggest source of inconsistency, since a cup of flour can vary by 20 percent or more depending on how it’s scooped.
- Liquid measuring cup and measuring spoons: For water, oil, salt, and yeast if you don’t weigh everything.
- Wooden spoon or dough whisk: For the initial mix.
- Clean kitchen towel or plastic wrap: To cover dough while it rises.
- 8.5 x 4.5-inch (22 x 12 cm) loaf pan: Standard size for a 1-pound (450 g) loaf. A 9 x 5-inch pan also works and produces a slightly wider, flatter loaf.
- Instant-read thermometer (optional but helpful): For checking water temperature and confirming the loaf is done.
- Wire cooling rack: Essential — bread left in the pan steams and turns soggy on the bottom.
A stand mixer with a dough hook is convenient but not necessary; this recipe is designed for hand kneading.
Understanding the Four Core Ingredients
Flour: All-purpose flour works well for beginners. Bread flour, with its higher protein content, gives a chewier, taller loaf, but all-purpose produces perfectly good sandwich bread. Avoid pastry flour, which is too low in protein.
Water: Lukewarm water — about 100–110°F (38–43°C) — activates yeast comfortably. Water that’s too hot (above 120°F / 49°C) can kill yeast; cold water simply slows the rise.
Yeast: Instant yeast is the most beginner-friendly option because it can be mixed directly into dry ingredients and doesn’t require proofing in water first. One standard packet contains 2¼ teaspoons (7 grams), which is exactly what this recipe calls for. Active dry yeast also works — dissolve it in the lukewarm water with a pinch of sugar and wait 5–10 minutes for foam before proceeding.
Salt: Fine table salt or fine sea salt. Salt does more than flavor: it strengthens gluten and controls yeast activity. Never skip it, and never dump it directly onto yeast in a dry bowl — it can inhibit the yeast.
Beginner’s White Sandwich Loaf
Yield: One 8.5 x 4.5-inch loaf, about 12 slices
Active time: 25 minutes
Total time: 3 hours to 3 hours 30 minutes, including rising and cooling
Ingredients
- 3¼ cups (390 g) all-purpose flour, plus 2–4 tablespoons for kneading and shaping
- 2¼ teaspoons (7 g / one packet) instant yeast
- 1 tablespoon (12 g) granulated sugar
- 1½ teaspoons (9 g) fine salt
- 1¼ cups (300 ml) lukewarm water, 100–110°F (38–43°C)
- 2 tablespoons (28 g) unsalted butter, melted and slightly cooled, or neutral oil — plus extra for greasing
Instructions
- Combine dry ingredients. In a large bowl, whisk together the 3¼ cups flour, instant yeast, sugar, and salt until evenly distributed.
- Add the wet ingredients. Pour in the lukewarm water and melted butter. Stir with a wooden spoon until a shaggy, sticky dough forms and no dry flour remains, about 1 minute.
- Knead. Turn the dough onto a lightly floured counter. Knead for 8–10 minutes, adding flour 1 tablespoon at a time only if the dough sticks aggressively. The dough should feel soft and slightly tacky, not dry. It’s ready when it’s smooth, elastic, and springs back gently when poked. Resist adding too much flour — tacky dough makes moister bread.
- First rise. Shape the dough into a ball, place it in a lightly oiled bowl, and cover with a towel or plastic wrap. Let it rise in a warm, draft-free spot (75–80°F / 24–27°C) until doubled in size, 60–90 minutes. A finger pressed ½ inch into the dough should leave an indentation that springs back slowly.
- Shape the loaf. Grease the loaf pan. Gently punch down the dough and turn it onto a lightly floured surface. Pat it into a rough 9 x 12-inch rectangle. Roll it up tightly from the short end, pinching the seam closed, then place it seam-side down in the pan.
- Second rise. Cover loosely and let rise until the dough crowns about 1 inch above the rim of the pan, 45–60 minutes.
- Preheat. About 20 minutes before baking, set a rack in the lower-middle position and preheat the oven to 375°F (190°C).
- Bake. Bake for 32–38 minutes, until the top is deep golden brown and the loaf sounds hollow when tapped on the bottom (or registers 195–200°F / 90–93°C on an instant-read thermometer). If the top browns too quickly after 25 minutes, tent it loosely with foil.
- Cool. Remove the loaf from the pan immediately and cool on a wire rack for at least 1 hour before slicing. Cutting hot bread crushes the crumb and makes it gummy — this wait is genuinely worth it.
Tips for Reliable Results
- Weigh your flour when possible. If using cups, spoon flour into the cup and level it off rather than scooping directly from the bag.
- Judge rising by appearance, not the clock. Kitchen temperature swings can double or halve rising times. Doubled volume is the real signal.
- Keep dough out of cold drafts. The top of the refrigerator or a closed microwave (turned off) makes a decent warm spot.
- Let the loaf cool completely before slicing. The interior continues cooking and setting as it cools.
- Slice from the center outward for even slices, and use a serrated bread knife.
Practical Substitutions
- Active dry yeast: Use the same 2¼ teaspoons, but dissolve it in the lukewarm water with the sugar first and let it sit 5–10 minutes until foamy before mixing.
- Bread flour: Replace up to half the all-purpose flour with bread flour for a chewier texture; if replacing all of it, add 1–2 extra tablespoons of water.
- Butter: An equal amount of neutral oil (canola, vegetable) or olive oil works. Olive oil adds a subtle flavor that suits rustic loaves.
- Sugar: Honey can replace the sugar — use 1 tablespoon (21 g) honey and reduce the water by 1 teaspoon.
- Whole wheat: For a light whole wheat loaf, swap 1 cup (130 g) of the all-purpose flour for whole wheat flour and add 1 tablespoon extra water.
- No loaf pan: Shape the dough into a round and bake it on a parchment-lined baking sheet at 375°F (190°C) for 28–34 minutes.
Storage and Freezing
Homemade bread contains no preservatives, so it stales faster than commercial loaves. Store it cut-side down on a cutting board or in a paper bag at room temperature for 2–3 days; plastic bags trap moisture and soften the crust, which is fine if you prefer soft slices but less ideal for crusty styles. For longer storage, slice the cooled loaf and freeze it in a zip-top bag with the air pressed out for up to 3 months — toast slices directly from frozen. Never refrigerate bread, which accelerates staling. Stale slices make excellent toast, croutons, or breadcrumbs.
Once this loaf feels routine, explore more of the Cuisinebite blog for other kitchen projects, and if you enjoy baking for a crowd, these easy sheet pan pancakes are a natural next step. For a sweet baking change of pace, try these lemon crumb bars.
Frequently Asked Questions
Why didn’t my bread rise?
The most common causes are yeast past its expiration date, water that was too hot (above 120°F / 49°C) and killed the yeast, or a rising spot that was too cold. Check that your yeast is fresh, use lukewarm water, and let the dough rise somewhere around 75–80°F (24–27°C). If the dough hasn’t doubled after 90 minutes, move it somewhere warmer and give it more time — rushing is rarely the answer.
Can I make this recipe with a stand mixer?
Yes. Mix the ingredients in the mixer bowl with the dough hook on low speed until combined, then knead on medium-low for 6–8 minutes instead of hand kneading for 8–10. Watch the dough rather than the timer: it should clear the sides of the bowl and feel smooth and elastic. Add flour 1 tablespoon at a time only if it sticks persistently to the bowl.
How do I know when the bread is fully baked?
Visual cues help — a deep golden-brown crust and a hollow sound when the loaf is tapped on the bottom — but the most reliable test is an instant-read thermometer inserted into the center, which should read 195–200°F (90–93°C). Underbaked bread feels heavy and has a gummy center, so when in doubt, give it another 3–5 minutes.
Can I prepare the dough ahead of time?
Yes. After the first rise, punch down the dough, cover the bowl tightly, and refrigerate it for up to 24 hours. Cold slows the yeast dramatically and actually improves flavor. When ready to bake, let the dough come to room temperature for about 30 minutes, then shape, let it rise in the pan until crowned above the rim (this may take 1½–2 hours from cold), and bake as directed.
Why is my bread dense or crumbly?
Dense loaves usually come from too much flour — either over-measuring by scooping or adding excessive flour during kneading. A crumbly texture can also indicate under-kneading (insufficient gluten development) or skipping the cooling period. Weigh your flour if possible, knead until the dough is smooth and elastic, and always let the loaf cool completely before slicing.