No-Bake Peanut Butter Oat Bars
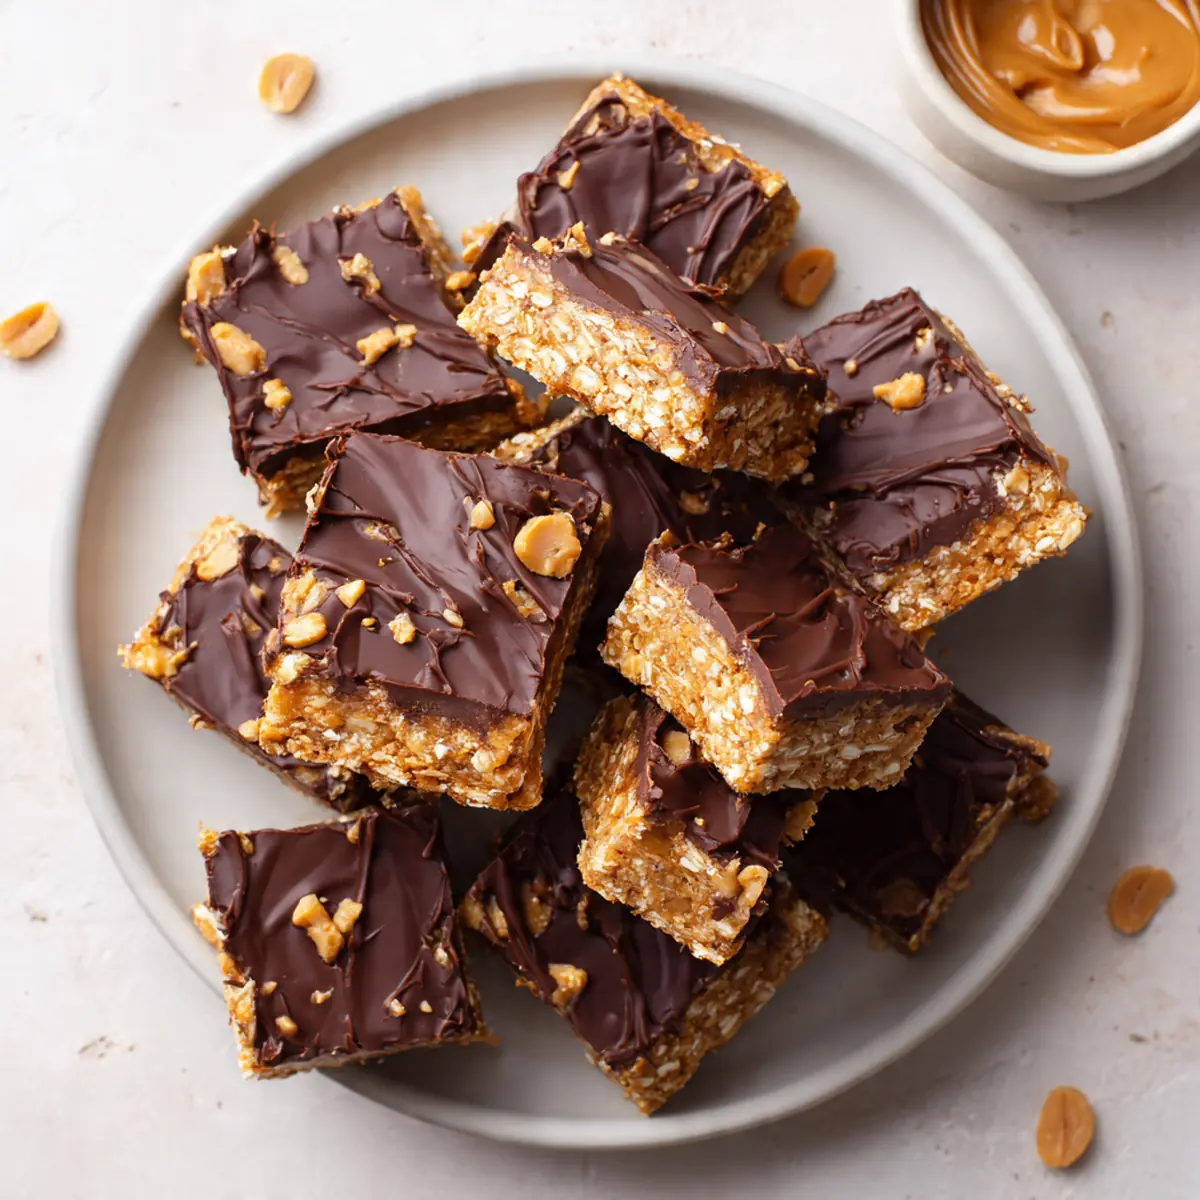
There are days when the oven feels like an adversary, when time is a luxury we simply don’t have, yet the craving for something truly satisfying and wholesome lingers. For me, those moments often lead straight to a batch of these glorious No-Bake Peanut Butter Oat Bars. They’re a staple in my kitchen, a beacon of deliciousness that comes together with minimal fuss but delivers maximum joy. I’ve been making these for over 9 years, and they never disappoint, always saving the day when a sweet treat or an energy boost is desperately needed.
I remember first stumbling upon a rudimentary version of this recipe during a particularly hectic week. My children were younger, after-school activities were relentless, and my energy reserves were constantly depleted. I needed something nutritious enough to silence the afternoon hunger pangs, but also indulgent enough to feel like a proper treat. What started as a simple experiment quickly evolved into this perfected recipe, a testament to how humble ingredients can transform into something truly extraordinary with just a little thought and care. They’ve seen me through countless school runs, busy workdays, and even impromptu gatherings where they always disappear in a flash.
These bars are more than just a snack; they’re a little hug in every bite. They embody the essence of home cooking – comforting, adaptable, and made with love. There’s a certain magic in combining wholesome oats with creamy peanut butter and a touch of sweetness, then letting the fridge do all the hard work. No fuss, no baking, just pure, unadulterated goodness ready to fuel your day or simply bring a moment of blissful indulgence. Let’s dive into making these delightful bars that I know you’ll come to adore as much as I do.
Recipe Overview
- Prep time: 15 minutes
- Chill time: 2 hours
- Total time: 2 hours 15 minutes
- Servings: 12-16 bars
- Difficulty: Very Easy
Why You’ll Love This No-Bake Peanut Butter Oat Bars
- They offer incredible convenience, requiring absolutely no oven time, making them perfect for warmer days or when you’re short on time.
- Packed with wholesome rolled oats and protein-rich peanut butter, these bars provide sustained energy, making them a satisfying snack or a delightful breakfast on the go.
- This recipe is wonderfully adaptable; you can easily customise it with different add-ins like seeds, dried fruit, or various chocolate types to suit your preferences.
- They are incredibly satisfying, hitting that sweet and salty craving without feeling overly heavy, leaving you feeling content and nourished.
- These bars are excellent for meal prepping, as they store beautifully in the fridge or freezer, providing a ready-made healthy treat whenever you need one.
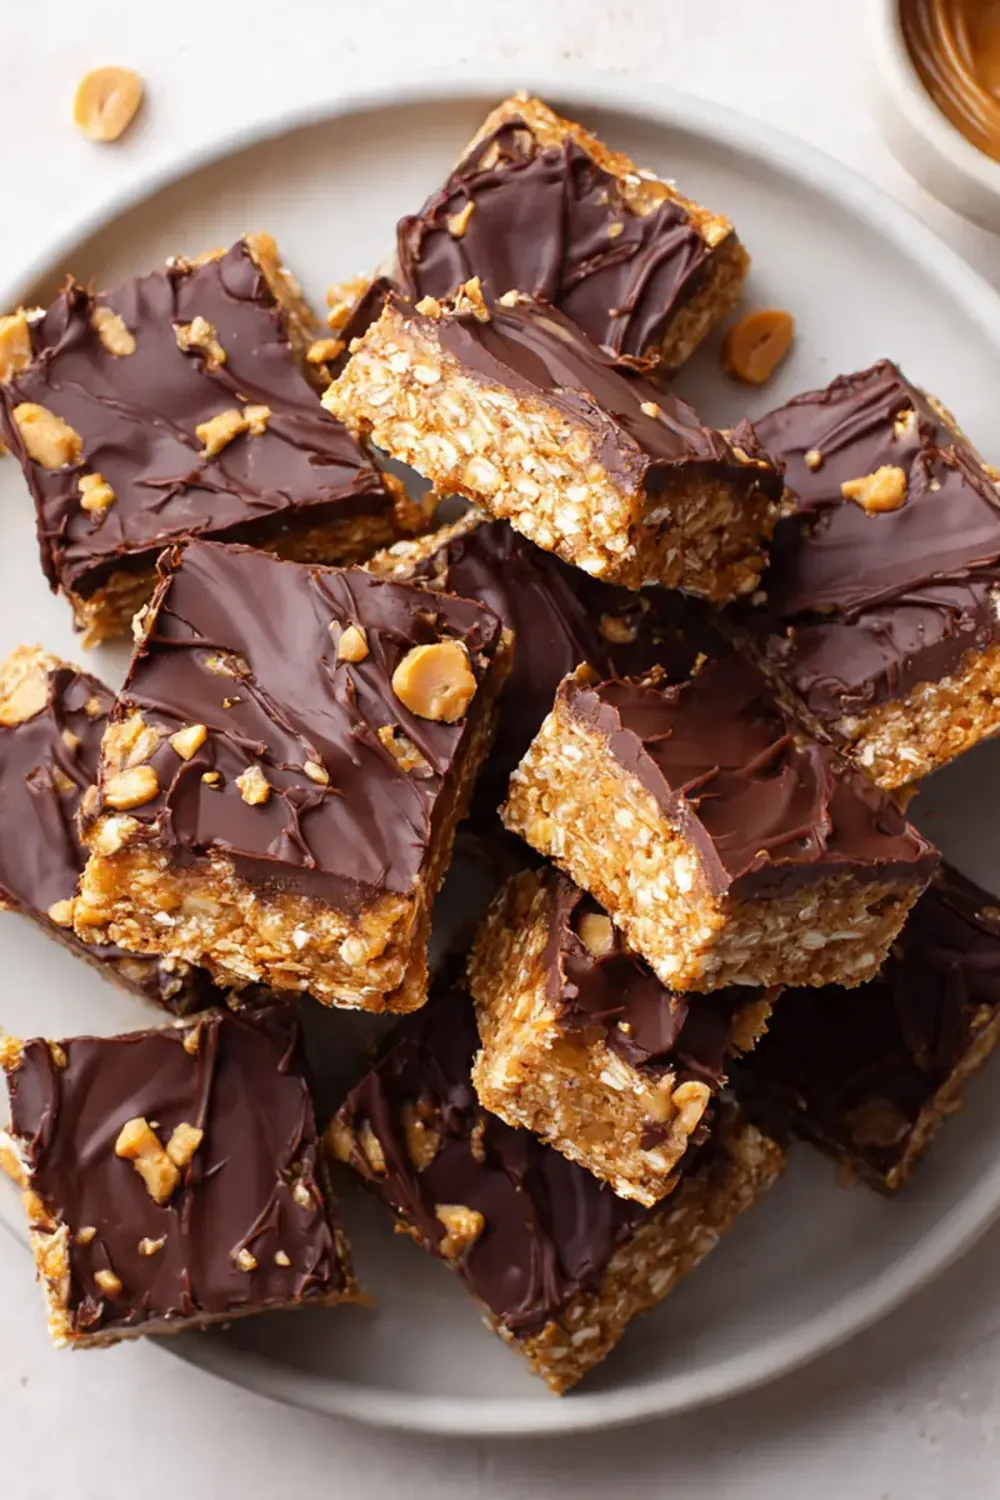
Ingredients You’ll Need
- 250g (2 ½ cups) rolled oats (not instant)
- 180g (¾ cup) smooth peanut butter
- 120g (½ cup) runny honey or maple syrup
- 60g (¼ cup) unsalted butter or coconut oil
- 1 teaspoon vanilla extract
- ½ teaspoon fine sea salt
- 100g (½ cup) dark chocolate chips or chopped dark chocolate
- 50g (¼ cup) milk chocolate chips (optional, for extra sweetness)
- 2 tablespoons flaxseed meal (optional, for added fibre)
- 2 tablespoons chia seeds (optional, for omega-3s)
Tip: Always opt for good quality, natural peanut butter that contains minimal added sugar and oils for the best flavour and texture. The oil can separate from natural peanut butter, so give it a good stir before measuring to ensure a consistent texture in your bars.
How to Make No-Bake Peanut Butter Oat Bars
- Prepare Your Pan: Line a 9×13 inch (or similar size) baking dish with aluminium foil or baking parchment, leaving an overhang on the sides. This overhang will act as a sling, making it much easier to lift the set bars out of the dish later. Lightly grease the foil or parchment with a little butter or coconut oil.
- Melt the Wet Ingredients: In a medium saucepan set over a low heat, combine the peanut butter, honey (or maple syrup), unsalted butter (or coconut oil), and salt. Stir continuously until the mixture is completely melted and smooth, forming a glossy, cohesive sauce. You’ll notice a rich, nutty aroma filling your kitchen, and the mixture will be a uniform, creamy caramel colour. Remove from the heat.
- Add Vanilla and Combine: Stir in the vanilla extract until fully incorporated into the warm peanut butter mixture. Then, pour this wet mixture over the rolled oats (and optional flaxseed meal or chia seeds if using) in a large mixing bowl. Fold gently with a spatula until all the oats are thoroughly coated and no dry patches remain, creating a sticky, uniform oat mixture.
- Press into Pan: Transfer the oat mixture into your prepared baking dish. Using the back of a spoon or your hands (lightly dampened to prevent sticking), press the mixture down firmly and evenly into the pan. The surface should be smooth and compact, ensuring the bars hold together well.
- Add Chocolate Topping: Sprinkle the dark chocolate chips and any optional milk chocolate chips evenly over the pressed oat mixture. Gently press the chocolate chips down slightly into the surface so they adhere. This will create a delightful chocolate layer once chilled.
- Chill and Set: Place the baking dish into the refrigerator for at least 2 hours, or until the bars are completely firm and the chocolate has set. You’ll know they’re ready when the entire slab feels solid to the touch and the chocolate has lost its glossy sheen, looking opaque and firm.
- Slice and Serve: Once fully chilled, use the foil overhangs to lift the large slab of bars out of the dish and onto a cutting board. Using a sharp knife, cut into 12-16 evenly sized bars. For cleaner cuts, you can warm your knife slightly under hot water and wipe it dry between cuts. Serve immediately or store for later enjoyment.
Tips From My Kitchen
- Choose the Right Oats: Always use rolled oats (sometimes called old-fashioned oats) for this recipe, not instant or quick oats. Rolled oats provide a chewier texture and hold their shape better, preventing the bars from becoming too mushy. Instant oats, on the other hand, absorb liquid too quickly and can result in a softer, less structured bar that might crumble. The robust texture of rolled oats is key to the satisfying bite.
- Stir Peanut Butter Well: Natural peanut butter often separates, with oil rising to the top. Before measuring, give it a really good stir to combine the oil and solids. This ensures a consistent texture and flavour throughout your bars and prevents them from being too oily or too dry. An un-stirred peanut butter can lead to an unbalanced ratio of fat and solids, affecting how well the bars bind.
- Press Firmly: When pressing the oat mixture into the pan, don’t be shy! Use significant pressure to compact it as much as possible. This is crucial for the bars to hold their shape and not fall apart when cut. A firmly pressed base creates a dense, cohesive bar that will slice beautifully and maintain its structure. I often use a second piece of parchment paper on top and press down with my hands or another flat dish.
- Chilling is Non-Negotiable: The chilling time isn’t just a suggestion; it’s an essential step. The butter or coconut oil needs to solidify completely to bind all the ingredients together. Rushing this step will result in soft, crumbly bars that are difficult to cut and handle. Allow at least 2 hours, or even longer if your kitchen is warm, for the best firm texture.
- Clean Cuts with a Warm Knife: For perfectly neat bars, heat your knife under hot water for a few seconds, wipe it dry, and then make your cuts. Reheat and wipe the knife between each slice. The warm blade glides through the chocolate and the dense oat mixture more cleanly, preventing crumbling and ensuring crisp edges. I used to struggle with getting clean cuts until I discovered this technique, and it makes all the difference!
Equipment You’ll Need
- 9×13 inch baking dish
- Aluminium foil or baking parchment
- Medium saucepan
- Large mixing bowls
- Spatula
- Sharp knife
Common Mistakes to Avoid
- Using the wrong type of oats: Avoid instant or quick oats as they absorb liquid too rapidly and will result in a mushy texture rather than the desired chewy bite. Stick to rolled oats for their structural integrity.
- Not melting ingredients thoroughly: Ensure the peanut butter, honey, and butter/coconut oil are fully melted and combined into a smooth, uniform liquid. Any lumps will prevent the oats from being evenly coated, leading to dry, crumbly sections in your bars.
- Skipping or shortening the chill time: The bars absolutely need adequate time in the refrigerator (at least 2 hours) for the fat to solidify and bind all the ingredients. Rushing this step will result in soft, messy bars that won’t hold their shape when you try to cut them.
Delicious Variations to Try
- Nut Butter Swaps: While peanut butter is classic, feel free to experiment with almond butter, cashew butter, or even sunflower seed butter for a nut-free option. Ensure the consistency is similar to smooth peanut butter for best results.
- Dried Fruit & Seed Boost: Fold in a handful of chopped dried cranberries, raisins, apricots, or even some pumpkin or sunflower seeds along with the oats for extra texture and nutritional value. This adds a lovely chewiness and burst of flavour.
- White Chocolate & Coconut: For a different flavour profile, swap the dark chocolate chips for white chocolate chips and sprinkle some desiccated coconut on top before chilling. The combination is wonderfully sweet and tropical.
What to Serve With No-Bake Peanut Butter Oat Bars
- A steaming mug of tea or coffee for a delightful afternoon treat.
- Alongside a glass of cold milk for a comforting snack.
- As an energising pre-workout boost or a satisfying post-workout refuel.
- Packed into lunchboxes for a wholesome and tasty school or work snack.
Frequently Asked Questions
No-Bake Peanut Butter Oat Bars
Ingredients
Method
- Prepare Your Pan: Line a 9x13 inch (or similar size) baking dish with aluminium foil or baking parchment, leaving an overhang on the sides. This overhang will act as a sling, making it much easier to lift the set bars out of the dish later. Lightly grease the foil or parchment with a little butter or coconut oil.
- Melt the Wet Ingredients: In a medium saucepan set over a low heat, combine the peanut butter, honey (or maple syrup), unsalted butter (or coconut oil), and salt. Stir continuously until the mixture is completely melted and smooth, forming a glossy, cohesive sauce. You'll notice a rich, nutty aroma filling your kitchen, and the mixture will be a uniform, creamy caramel colour. Remove from the heat.
- Add Vanilla and Combine: Stir in the vanilla extract until fully incorporated into the warm peanut butter mixture. Then, pour this wet mixture over the rolled oats (and optional flaxseed meal or chia seeds if using) in a large mixing bowl. Fold gently with a spatula until all the oats are thoroughly coated and no dry patches remain, creating a sticky, uniform oat mixture.
- Press into Pan: Transfer the oat mixture into your prepared baking dish. Using the back of a spoon or your hands (lightly dampened to prevent sticking), press the mixture down firmly and evenly into the pan. The surface should be smooth and compact, ensuring the bars hold together well.
- Add Chocolate Topping: Sprinkle the dark chocolate chips and any optional milk chocolate chips evenly over the pressed oat mixture. Gently press the chocolate chips down slightly into the surface so they adhere. This will create a delightful chocolate layer once chilled.
- Chill and Set: Place the baking dish into the refrigerator for at least 2 hours, or until the bars are completely firm and the chocolate has set. You'll know they're ready when the entire slab feels solid to the touch and the chocolate has lost its glossy sheen, looking opaque and firm.
- Slice and Serve: Once fully chilled, use the foil overhangs to lift the large slab of bars out of the dish and onto a cutting board. Using a sharp knife, cut into 12-16 evenly sized bars. For cleaner cuts, you can warm your knife slightly under hot water and wipe it dry between cuts. Serve immediately or store for later enjoyment.
Notes
There you have it – a recipe that has truly stood the test of time in my kitchen, bringing smiles and satisfying cravings for nearly a decade. These No-Bake Peanut Butter Oat Bars are a testament to the fact that sometimes, the simplest recipes are the most rewarding. They’re wholesome, adaptable, and a joy to have on hand for any occasion, from a quick breakfast to an afternoon pick-me-up. I hope they become as beloved in your home as they are in mine.
I’m always keen to hear about your experiences! Do you have a favourite addition to these bars, or perhaps a clever serving suggestion? Share your thoughts and photos in the comments below – I love seeing your culinary creations. And if you’re looking for more simple yet satisfying meals, be sure to check out my Easy Sheet Pan Pancakes Recipe For A Crowd, perfect for another fuss-free start to your day!